3D Modelling
09. Bowling Tutorial Part 1 - Modelling
Introduction
This documentation is intended as a text guide to accompany the first video in the 'Bowling' set of videos. It will cover modelling your bowling pin.
Step 1 - Deleting default cube and moving to a top-down view
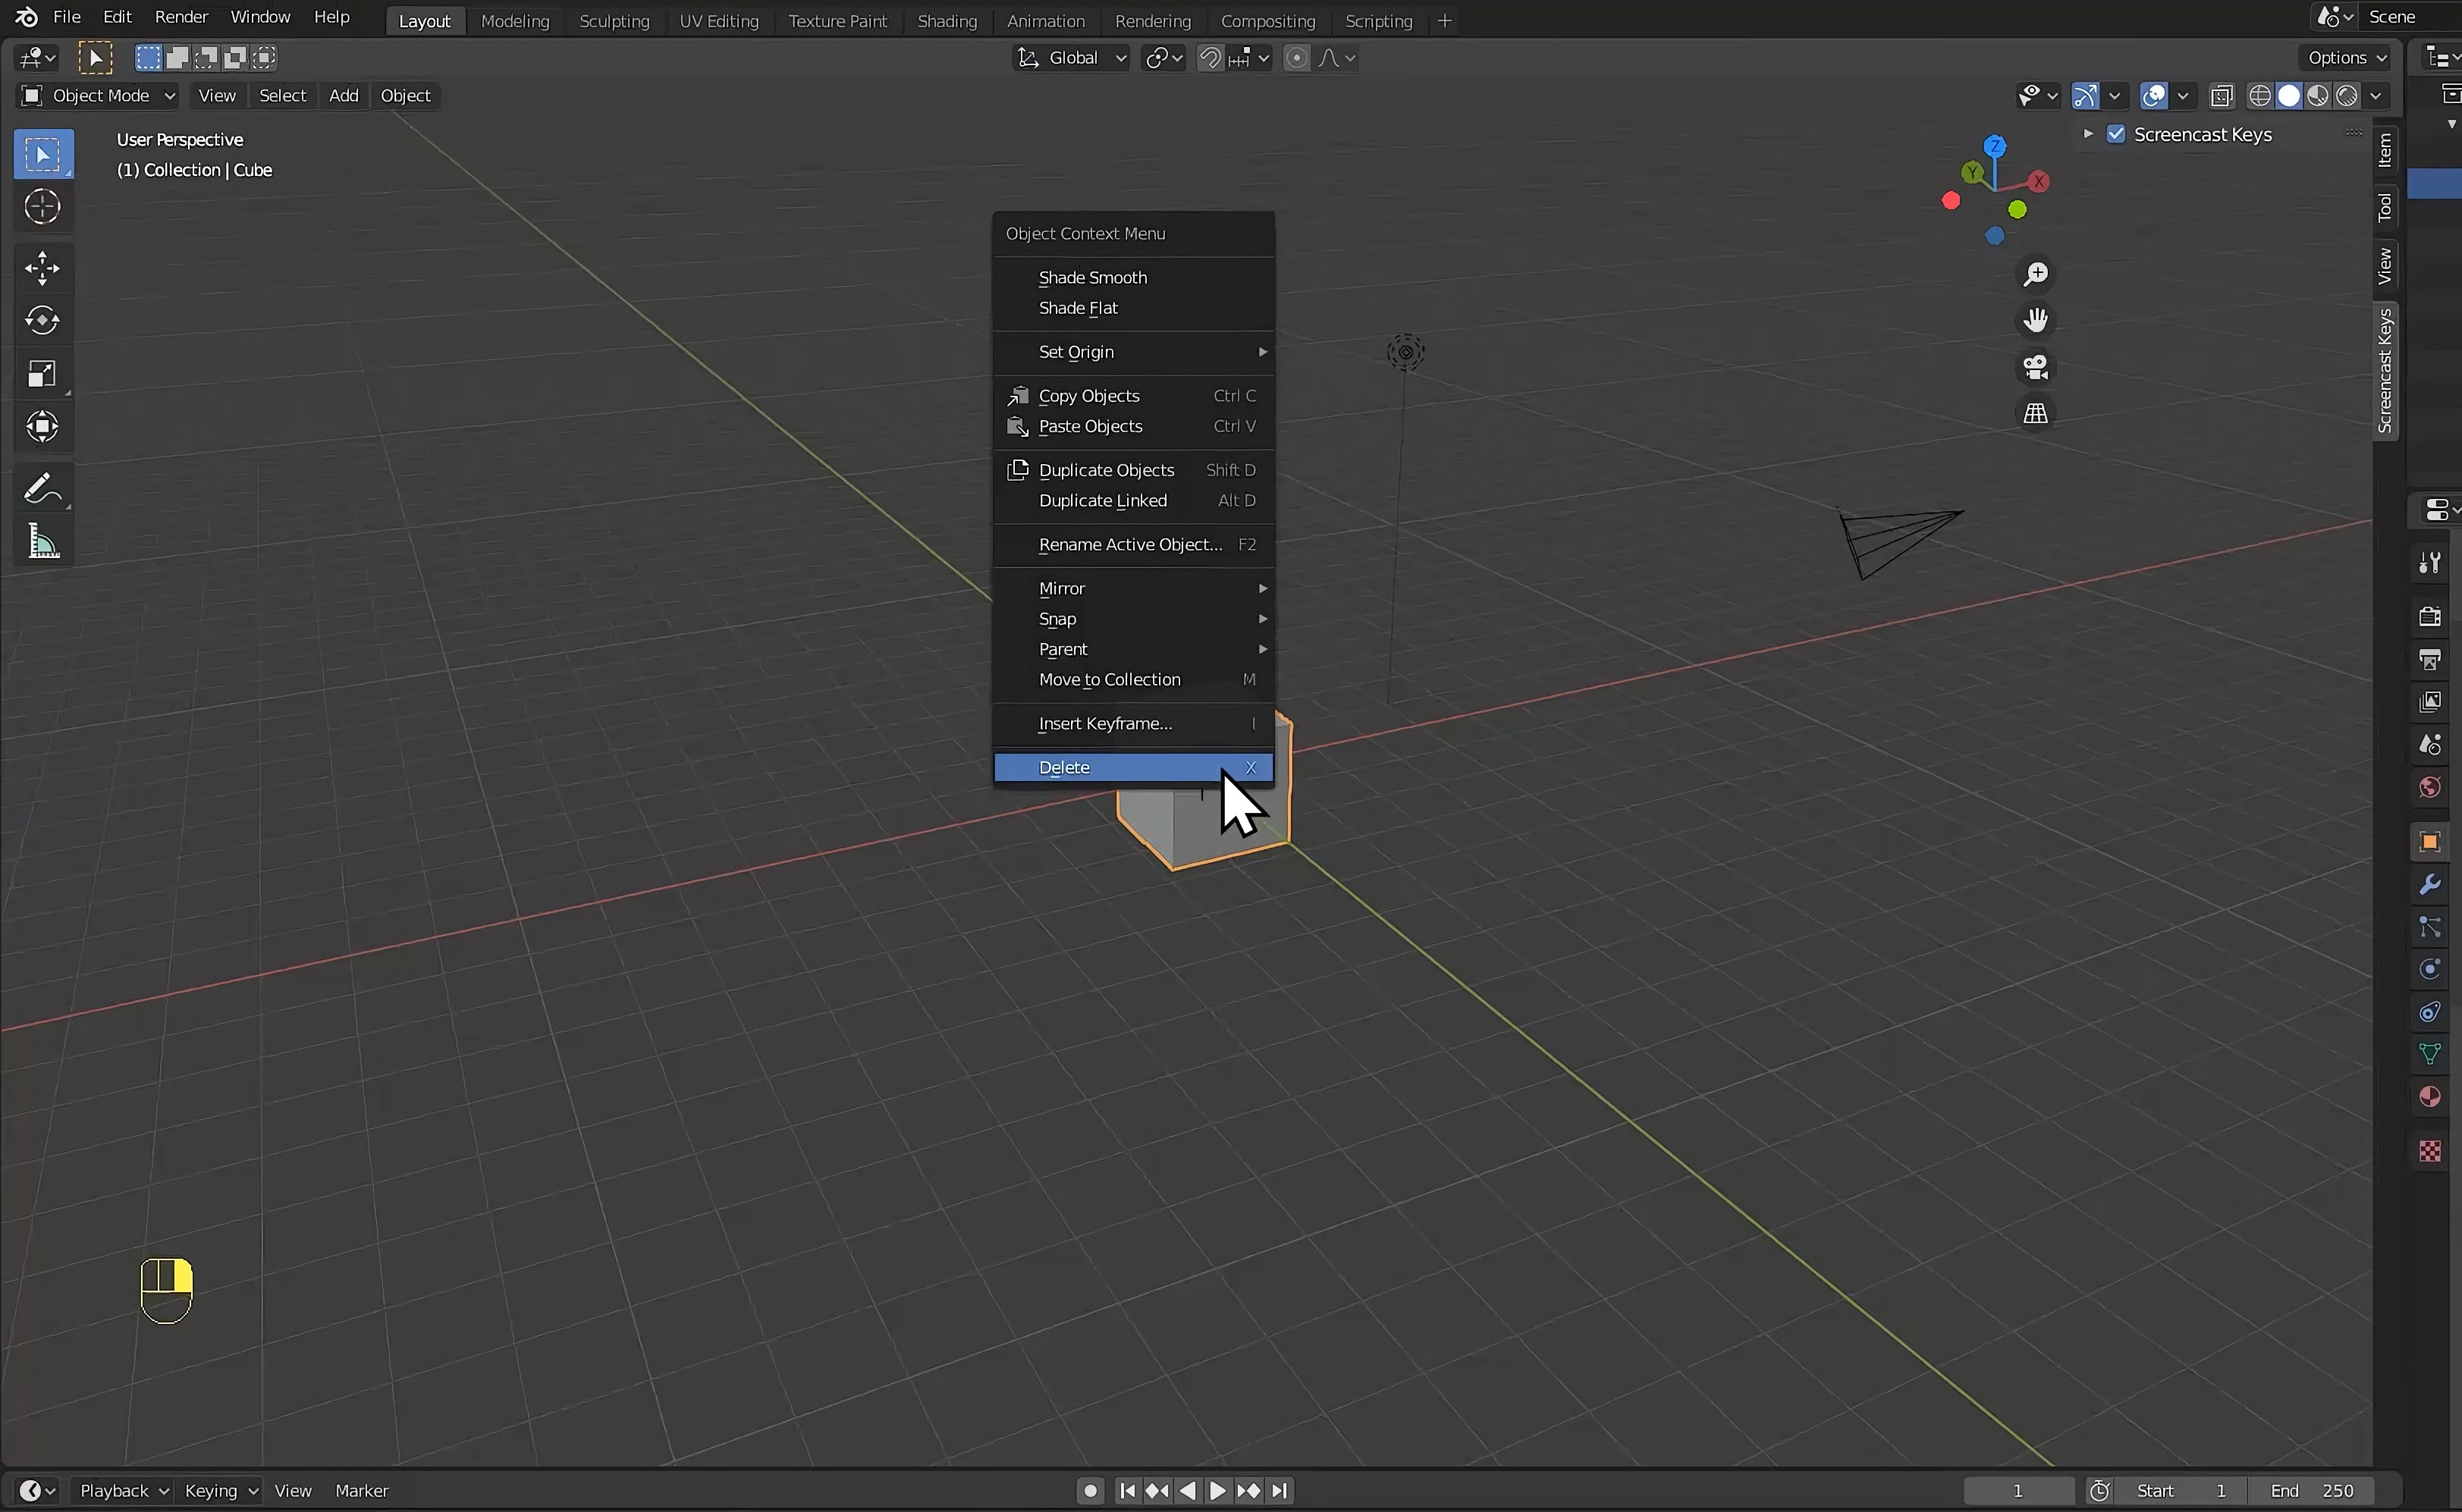
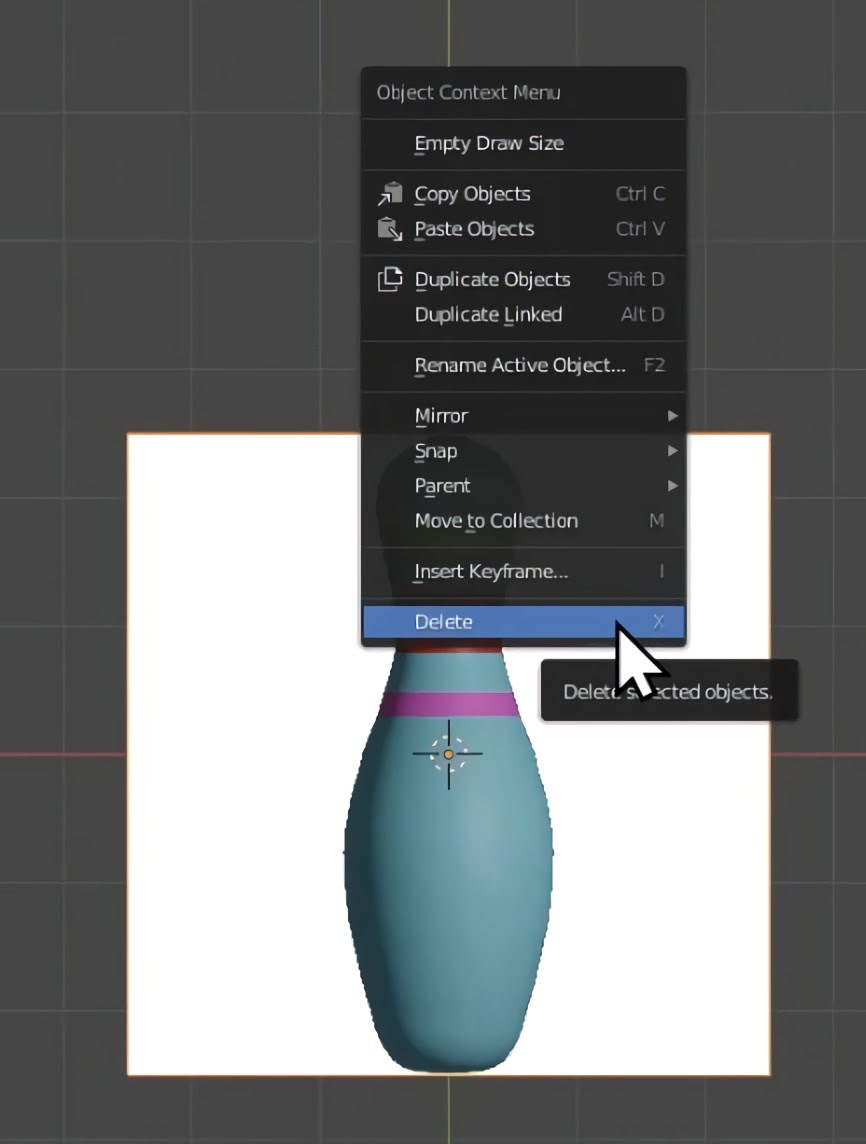
Right-click the default cube. Click delete.
Press the numpad 7 to move to a top-down view.
If your laptop doesn't have a number pad, go to the edit drop-down in the top-left corner of Blender's interface. Enter the preferences menu. Choose input. From here, go to the keyboard section and tick 'Emulate Numpad'.
This will allow you to use the numbers across the top of your keyboard instead.
Step 2 - Adding reference image
Before you continue, find an image of a bowling pin online and download it. This will be used to trace around when creating the outline of your model.
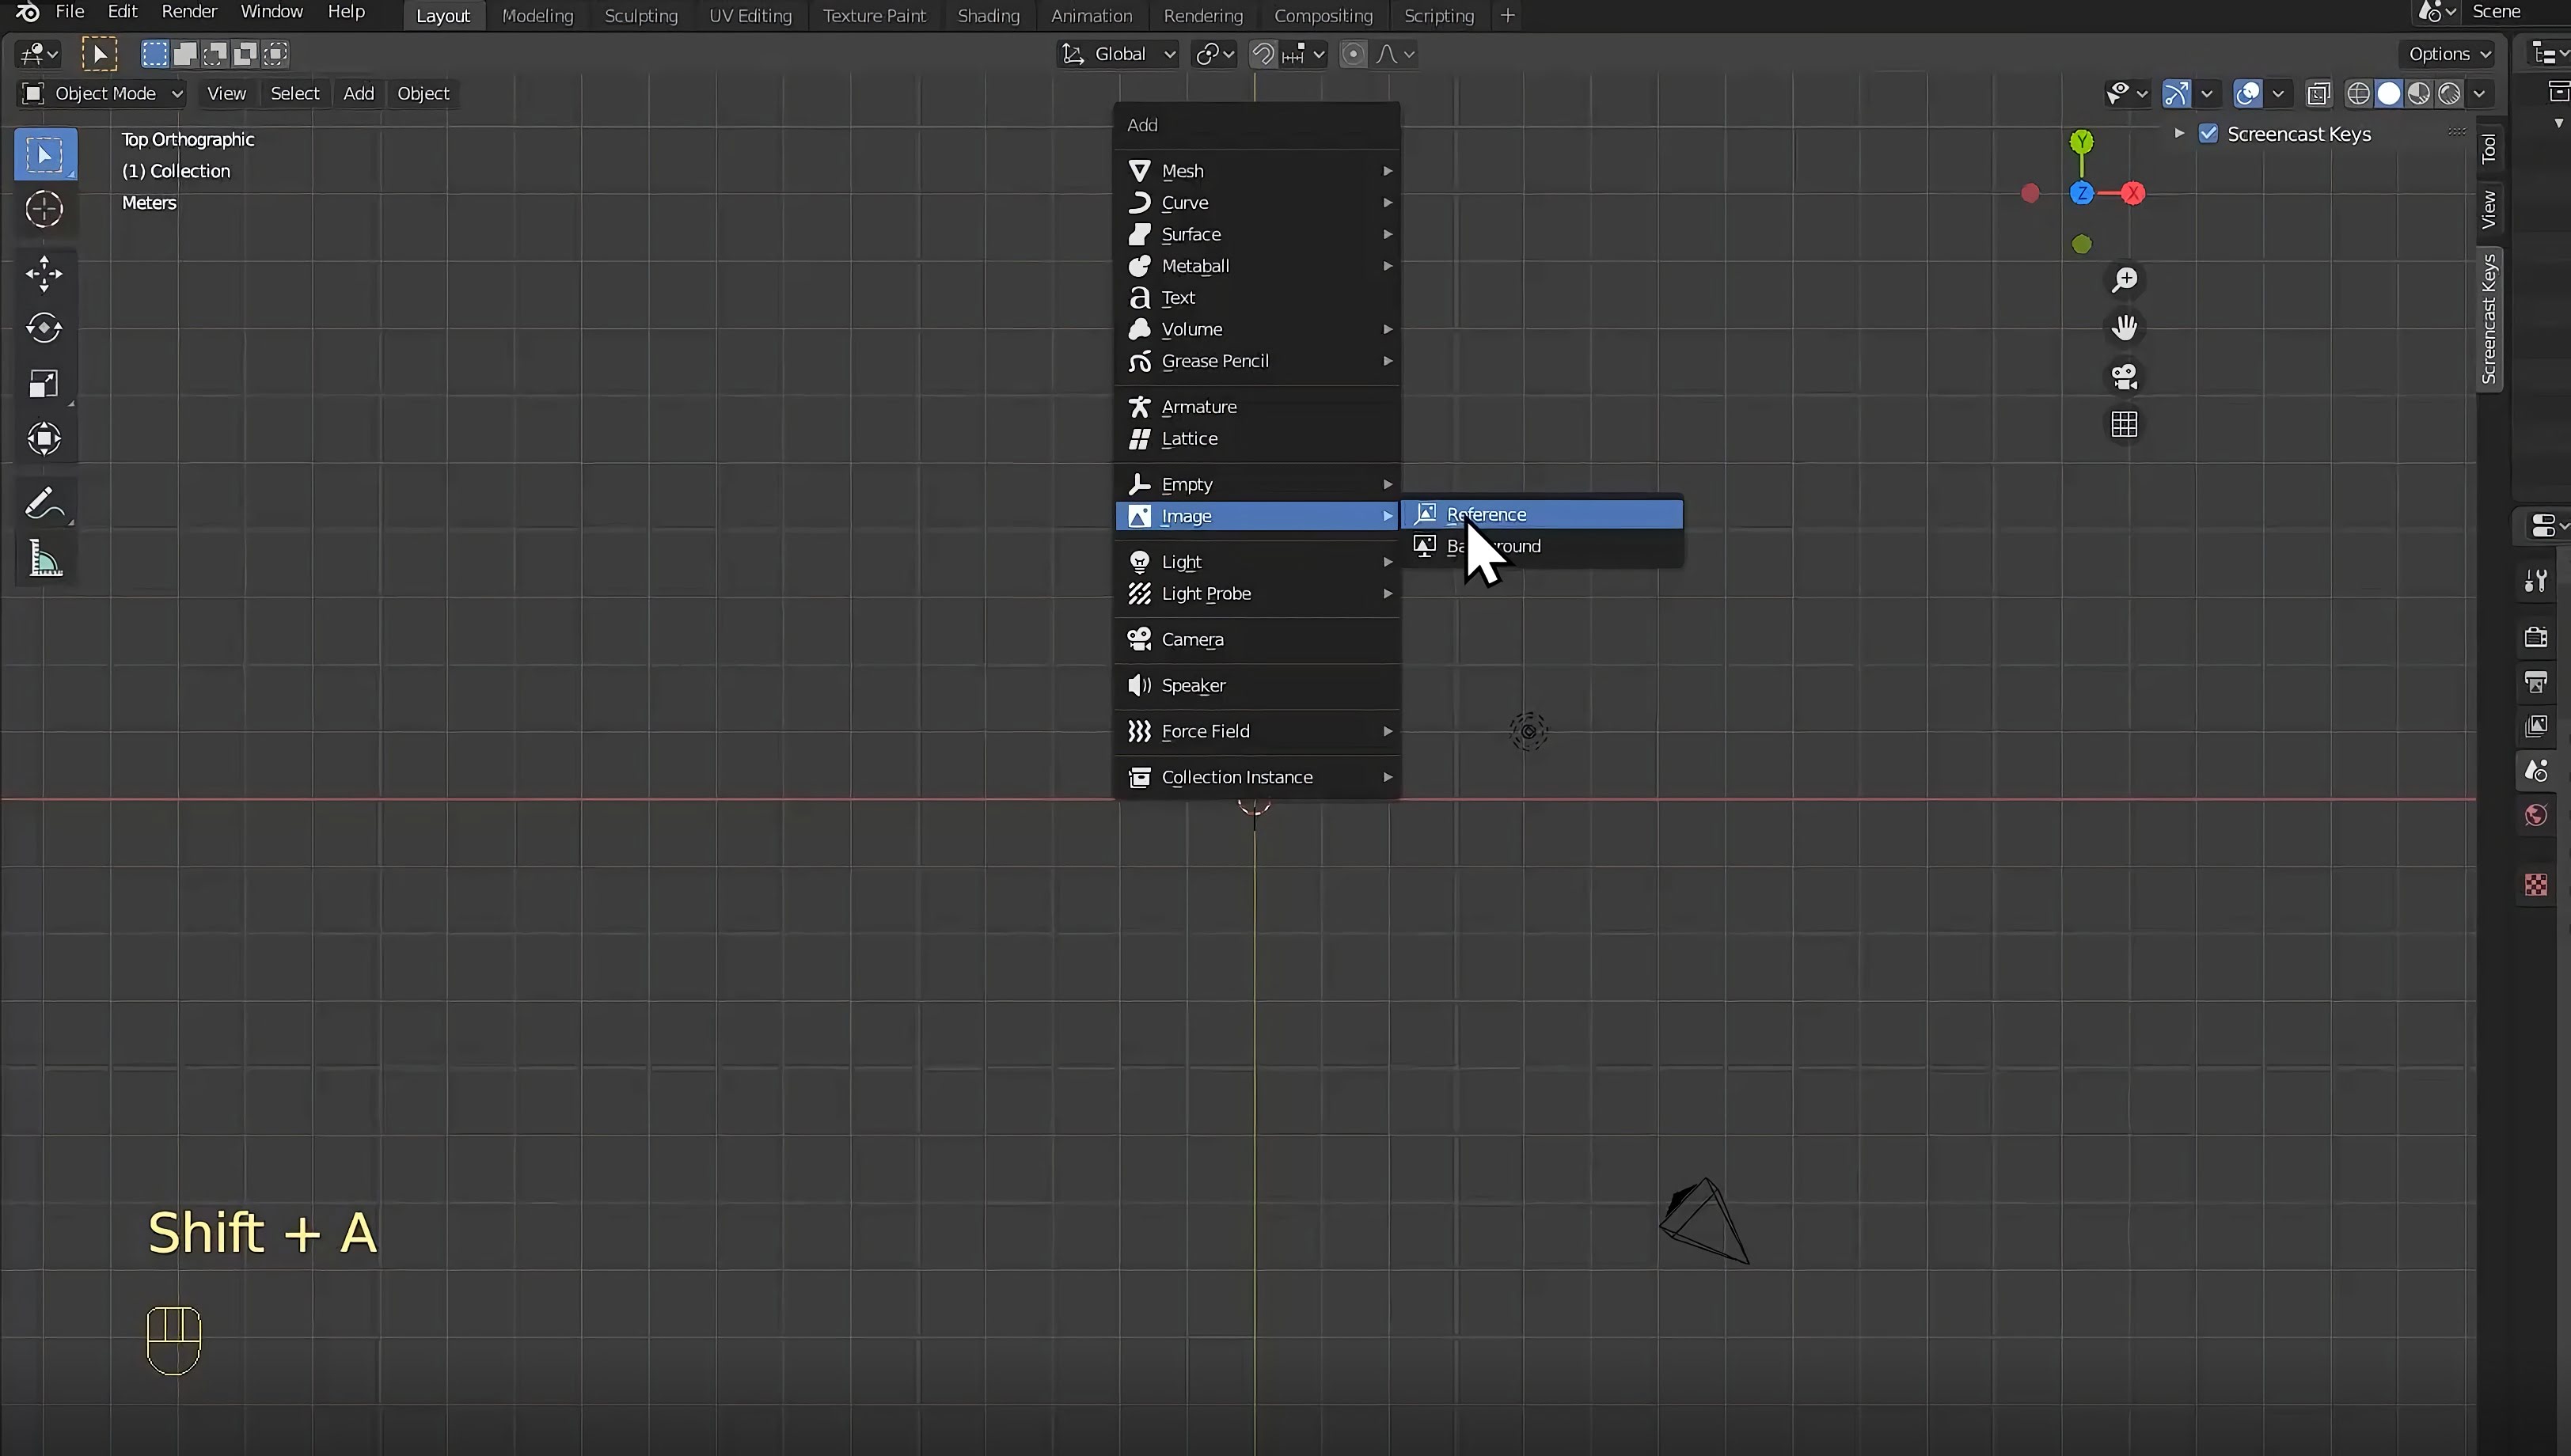
Press Shift+A to open the add menu. From here, image and then click reference.
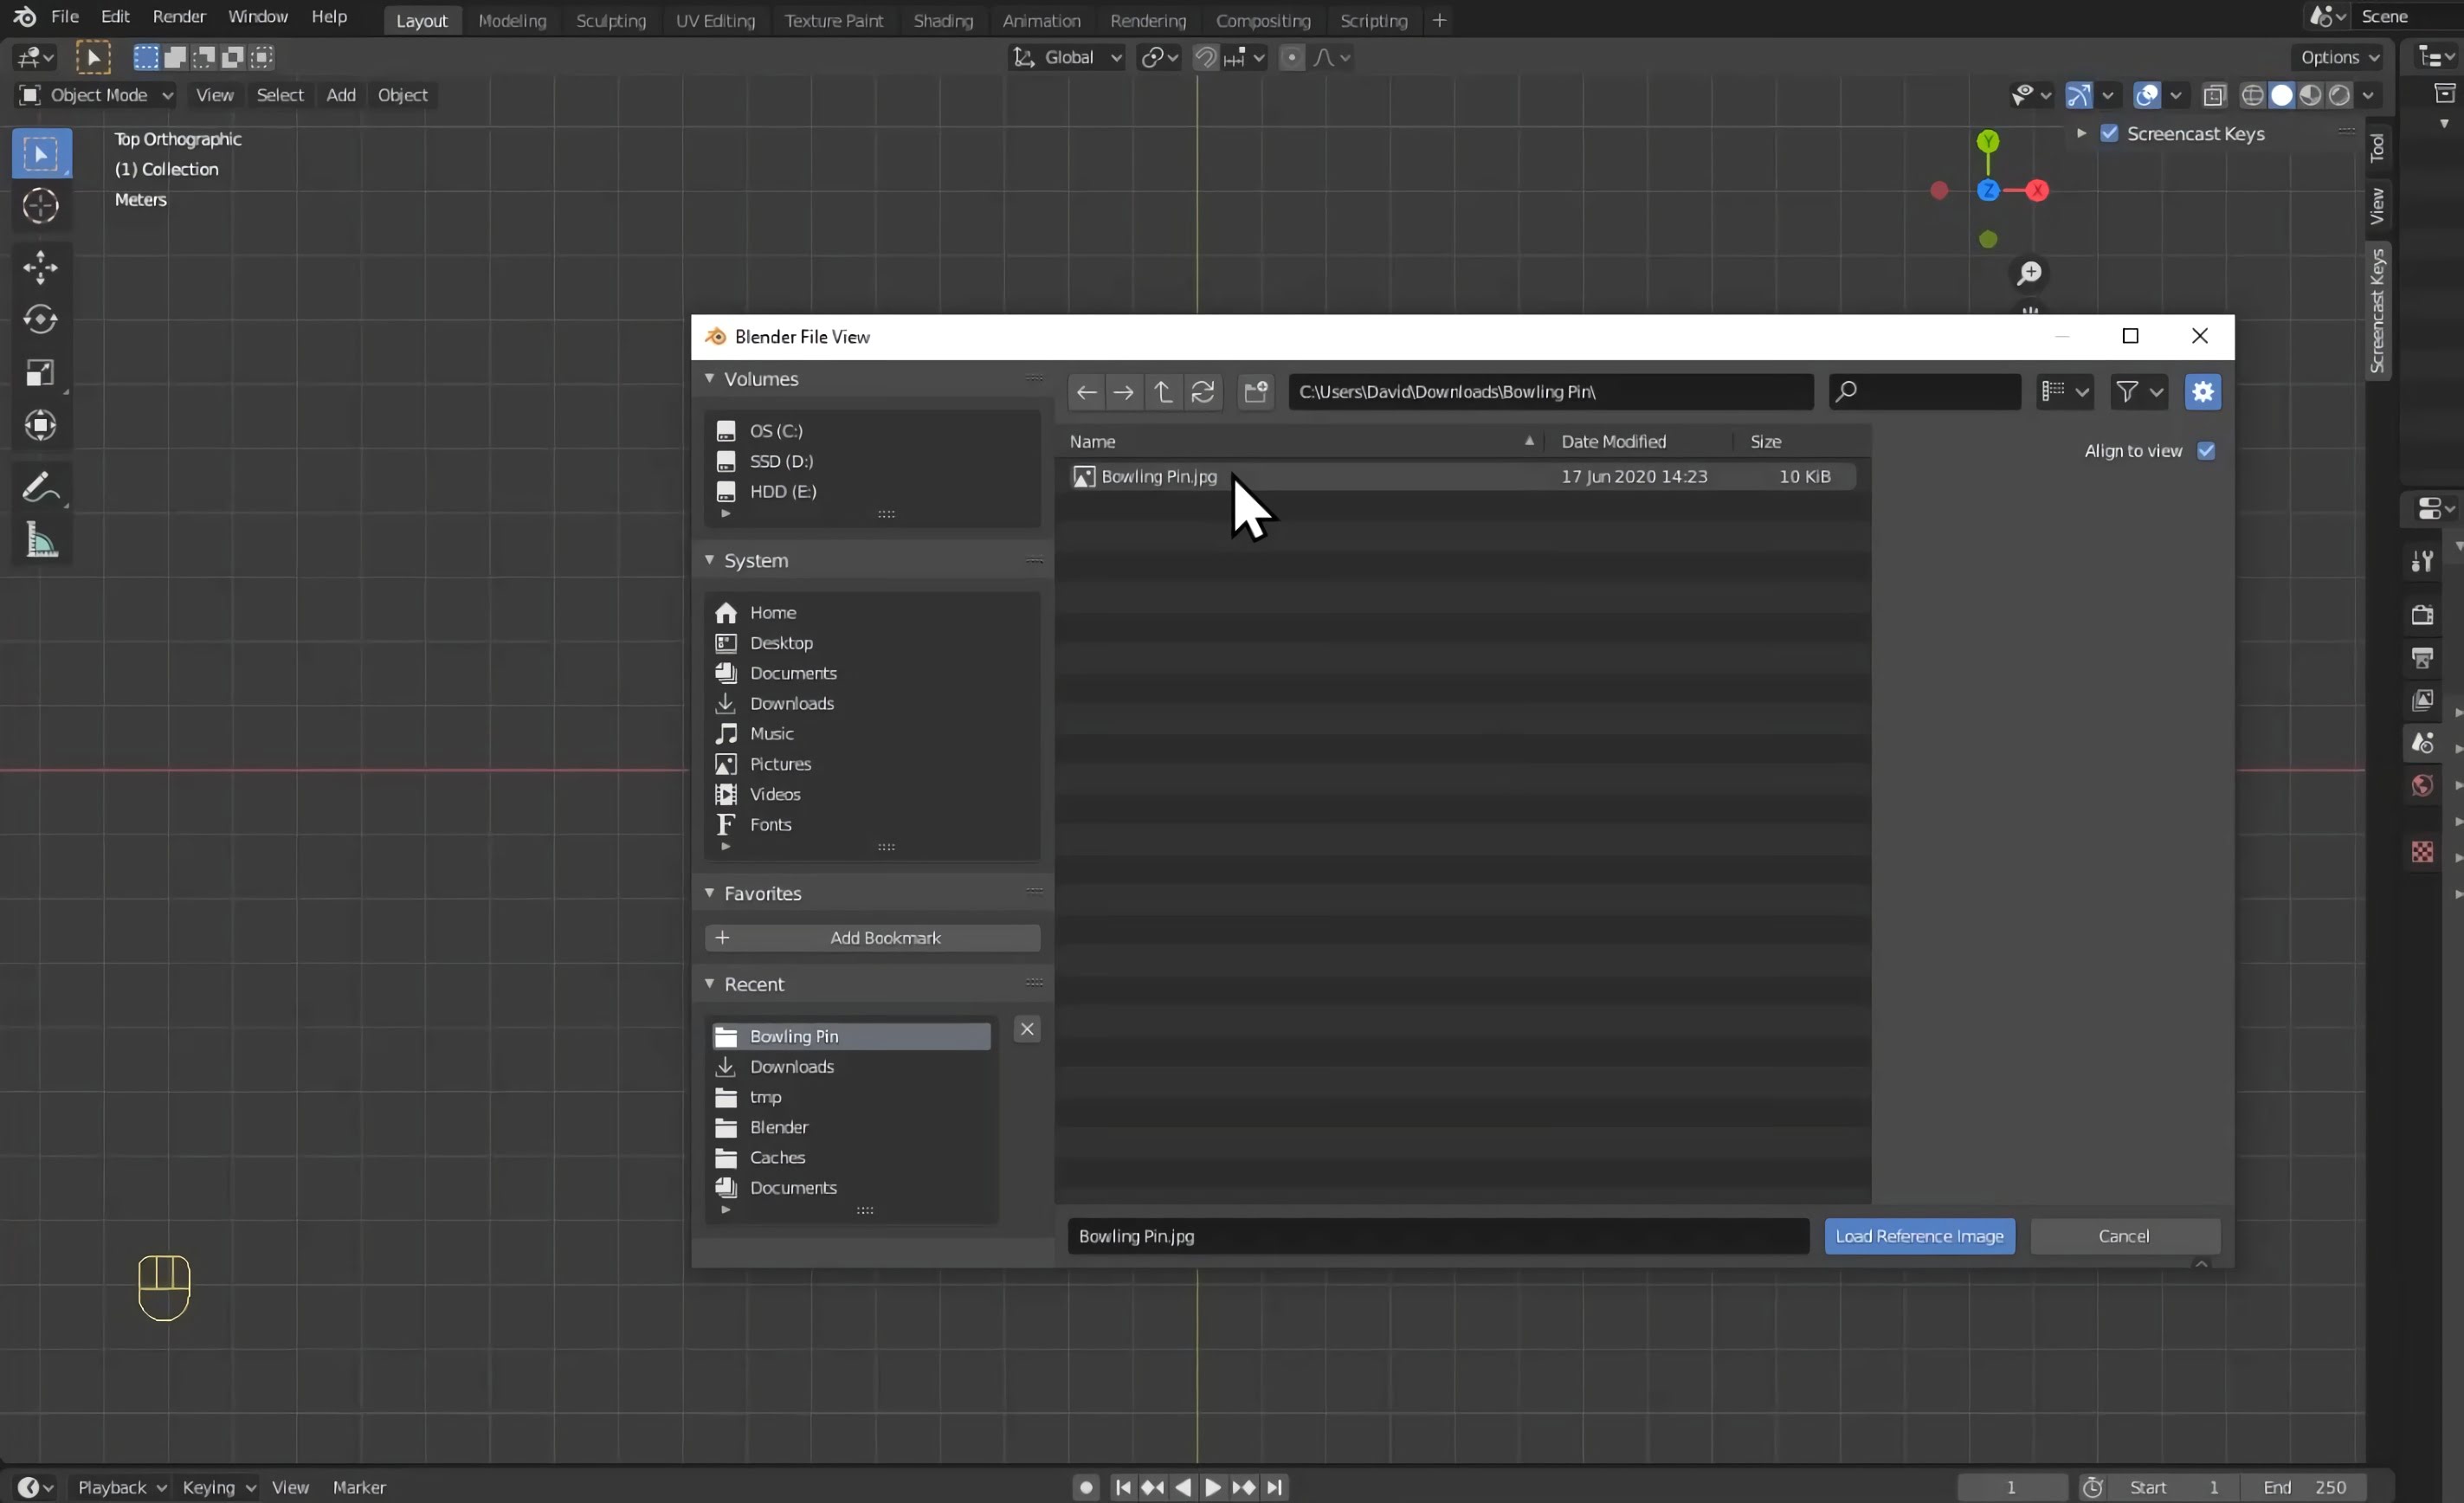
Navigate to where you saved your bowling pin image and then click load reference image.
Step 3 - Adding bezier curve and tracing around image
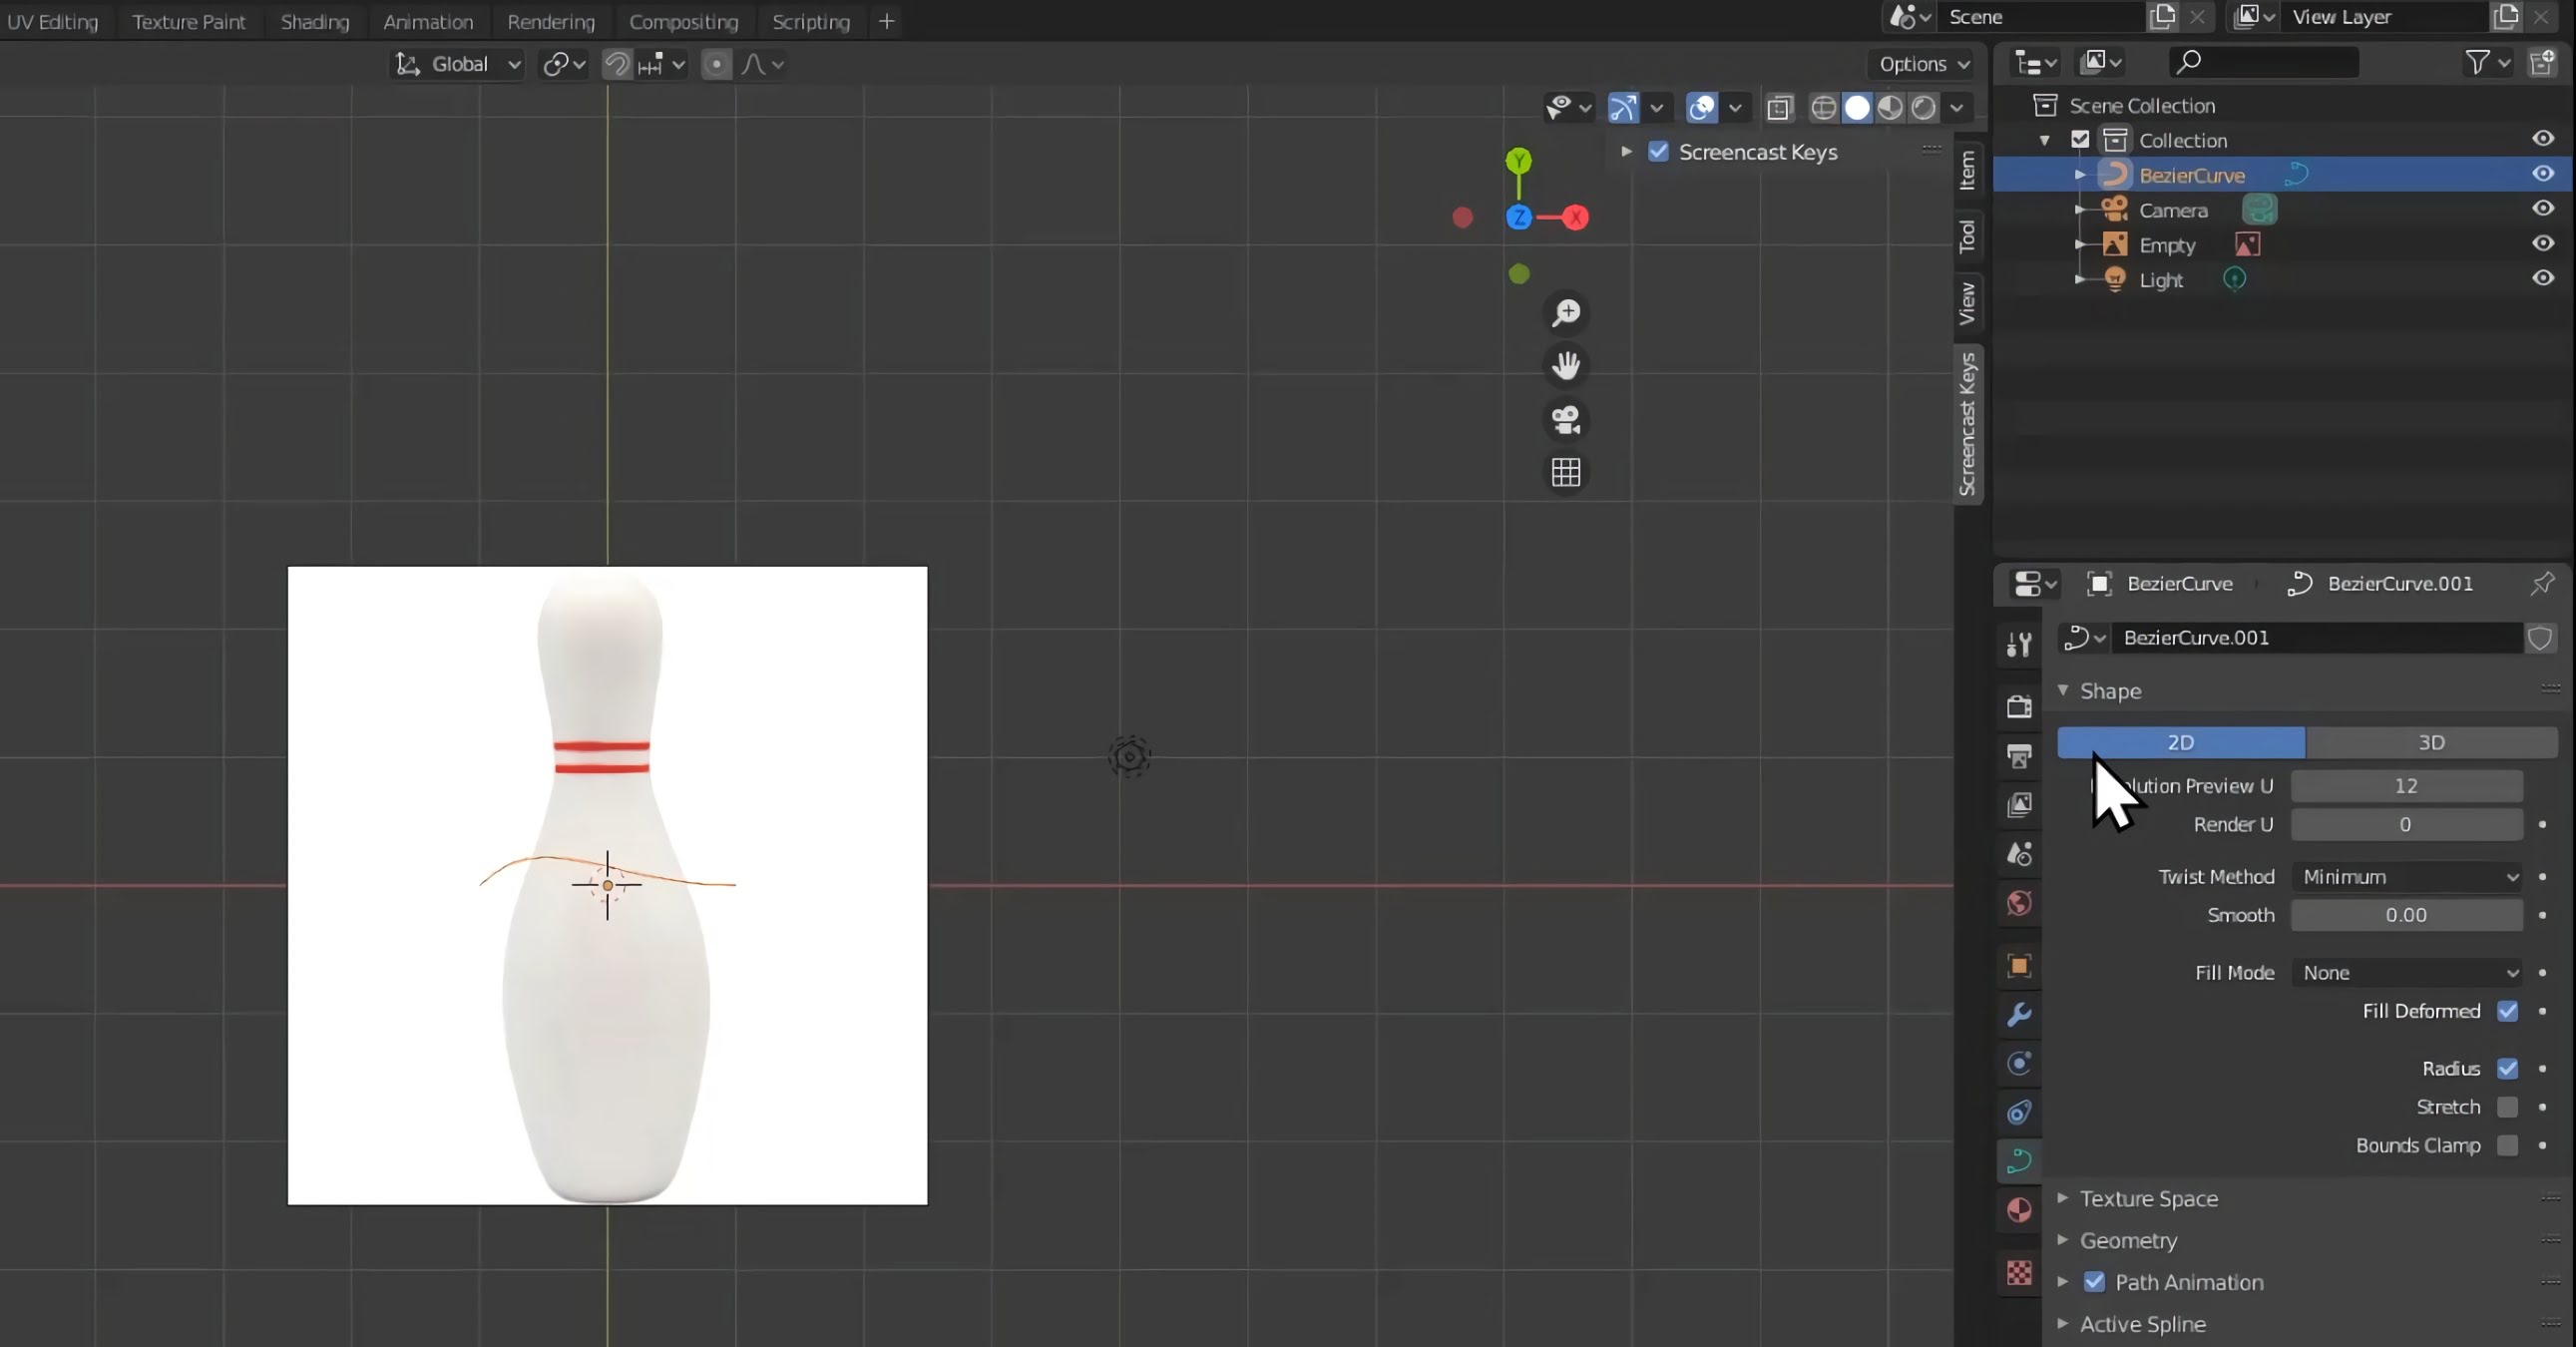
Press Shift+A to open the add menu. From here, go to curve and then click bezier.
Once the curve has been added, make sure that 2D is selected in the curve properties menu. This is because we're working with a 2D image.
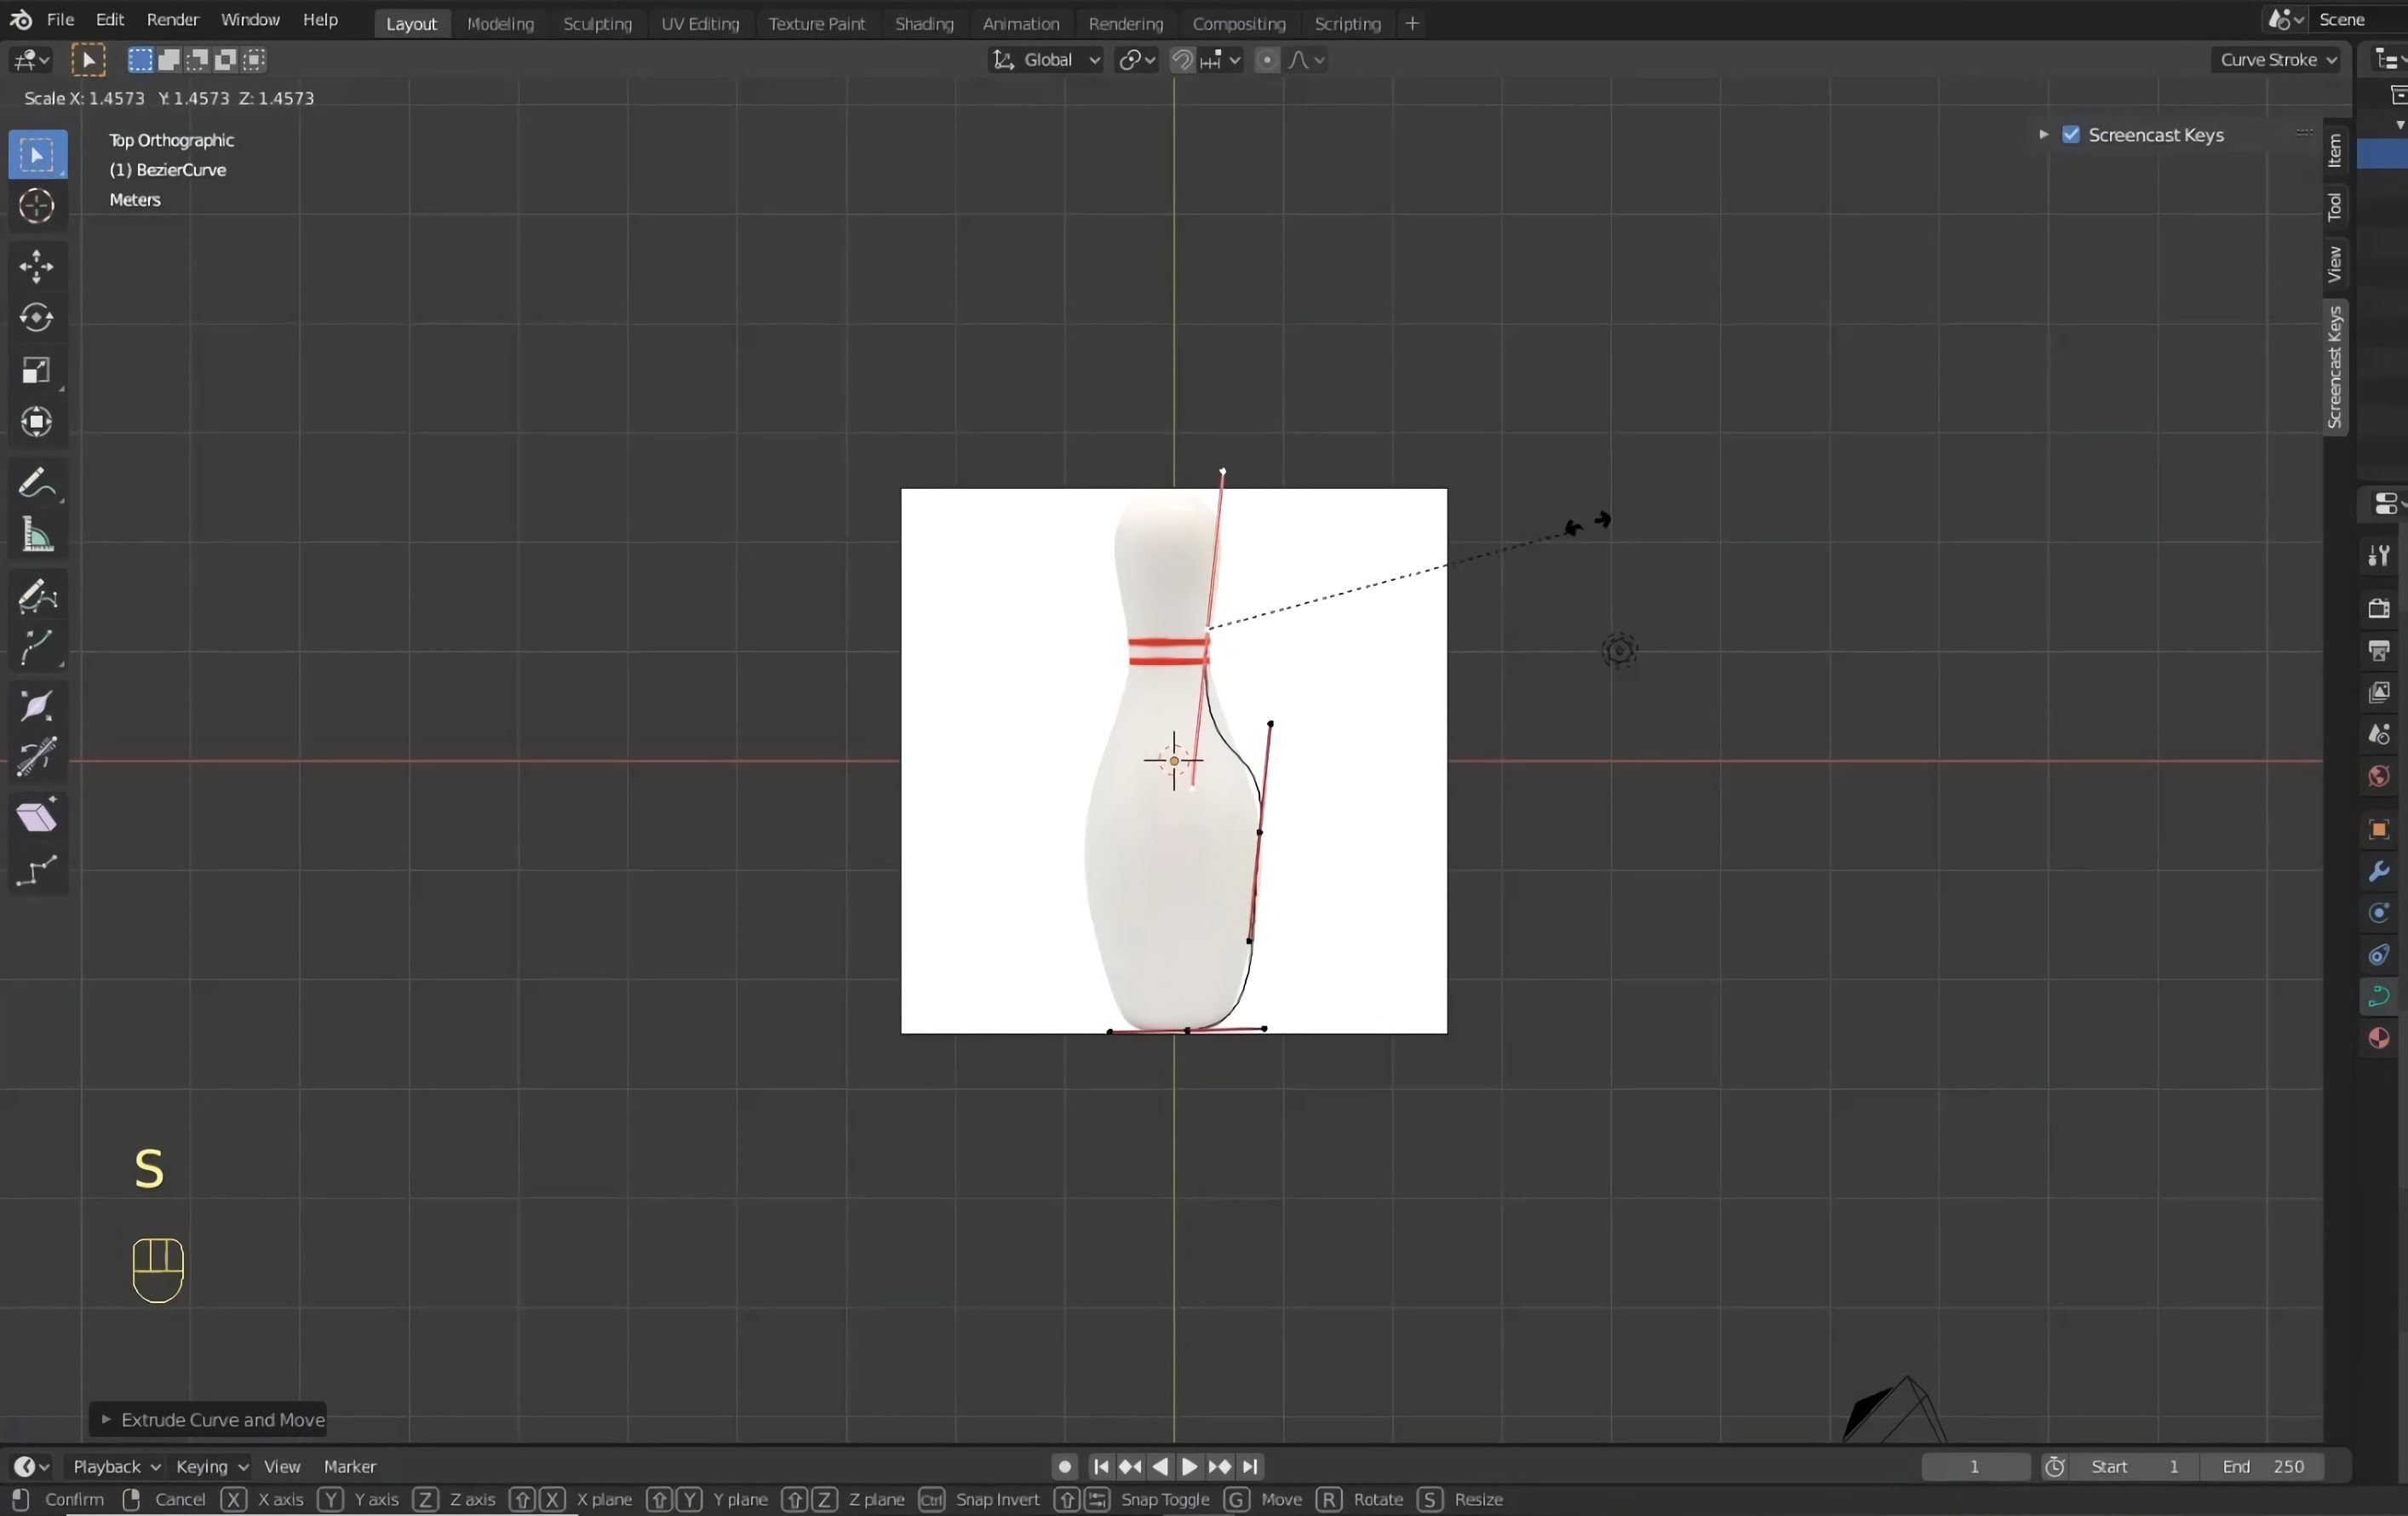
Press tab to change to edit mode.
Once you're in edit mode, you will notice that the curve now has several points that you can control. These points are going to be used to move the curve such that it traces around your bowling pin image.
Press G to grab and move, R to rotate and S to scale the points/curve.
With a point selected, press E to create another point
Using these tools, create a rough outline of the bowling pin. This will be cleaned up in the next step.
Step 4 - Converting curve to mesh and making tracing more accurate
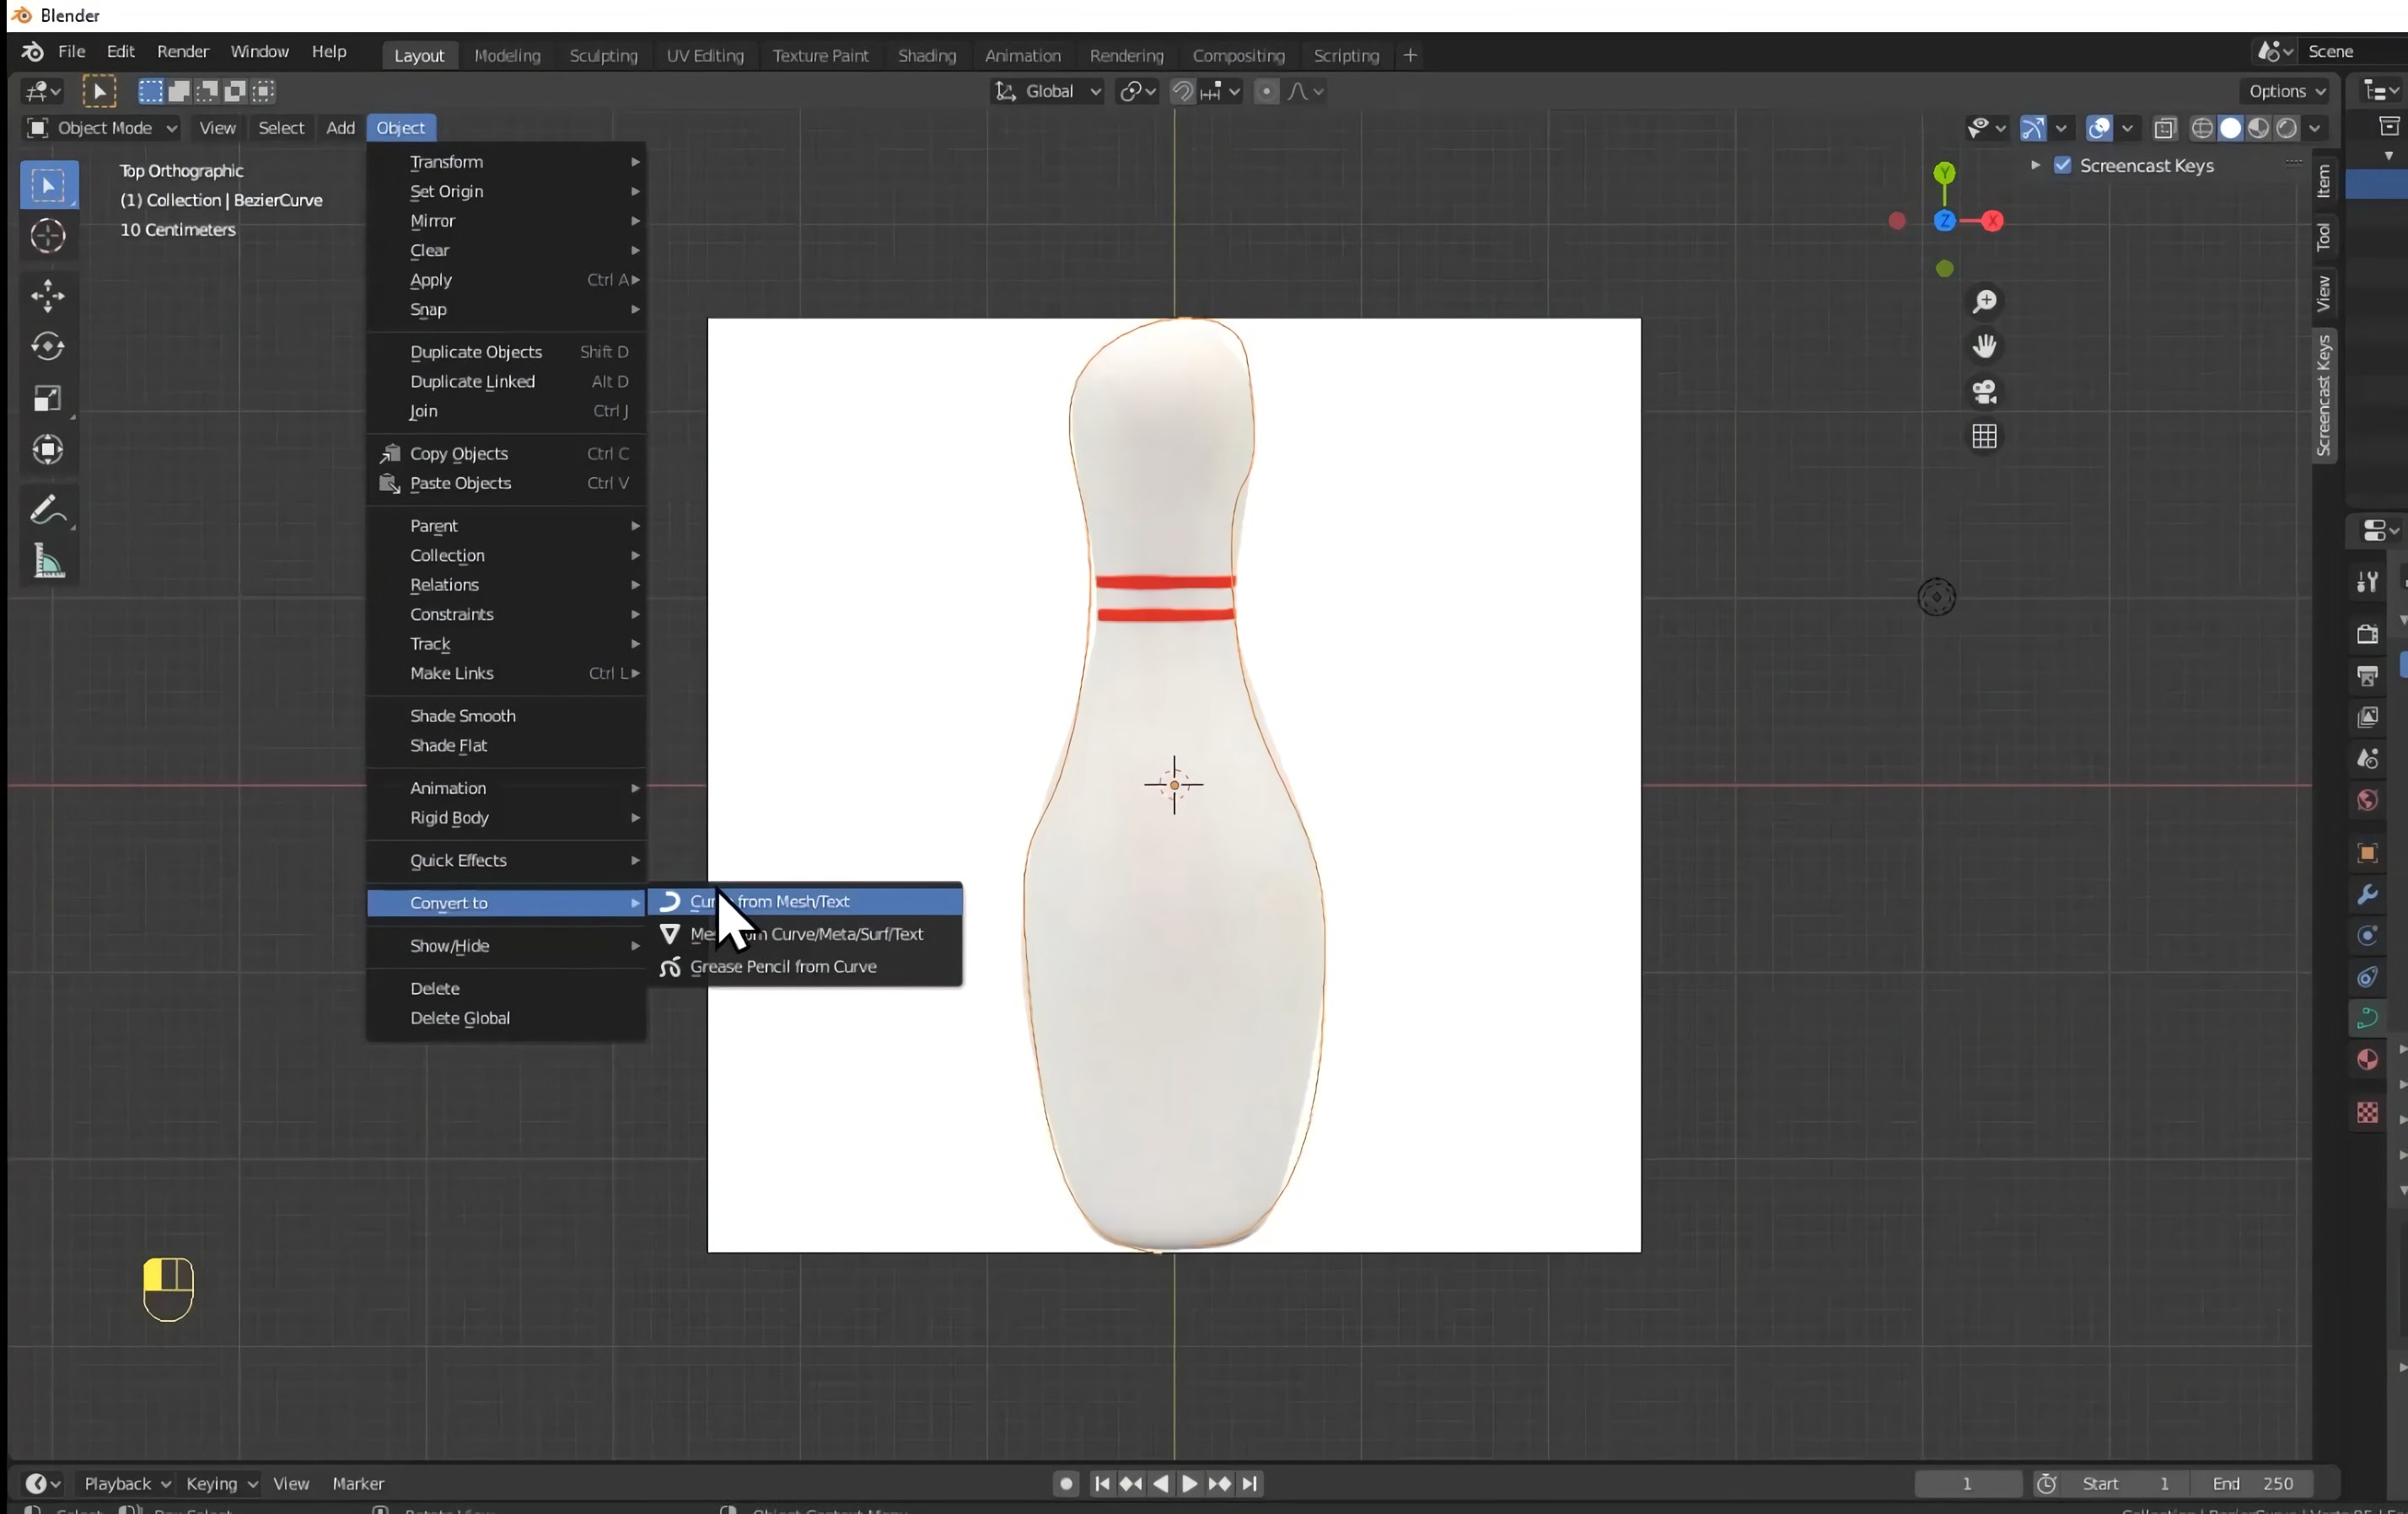
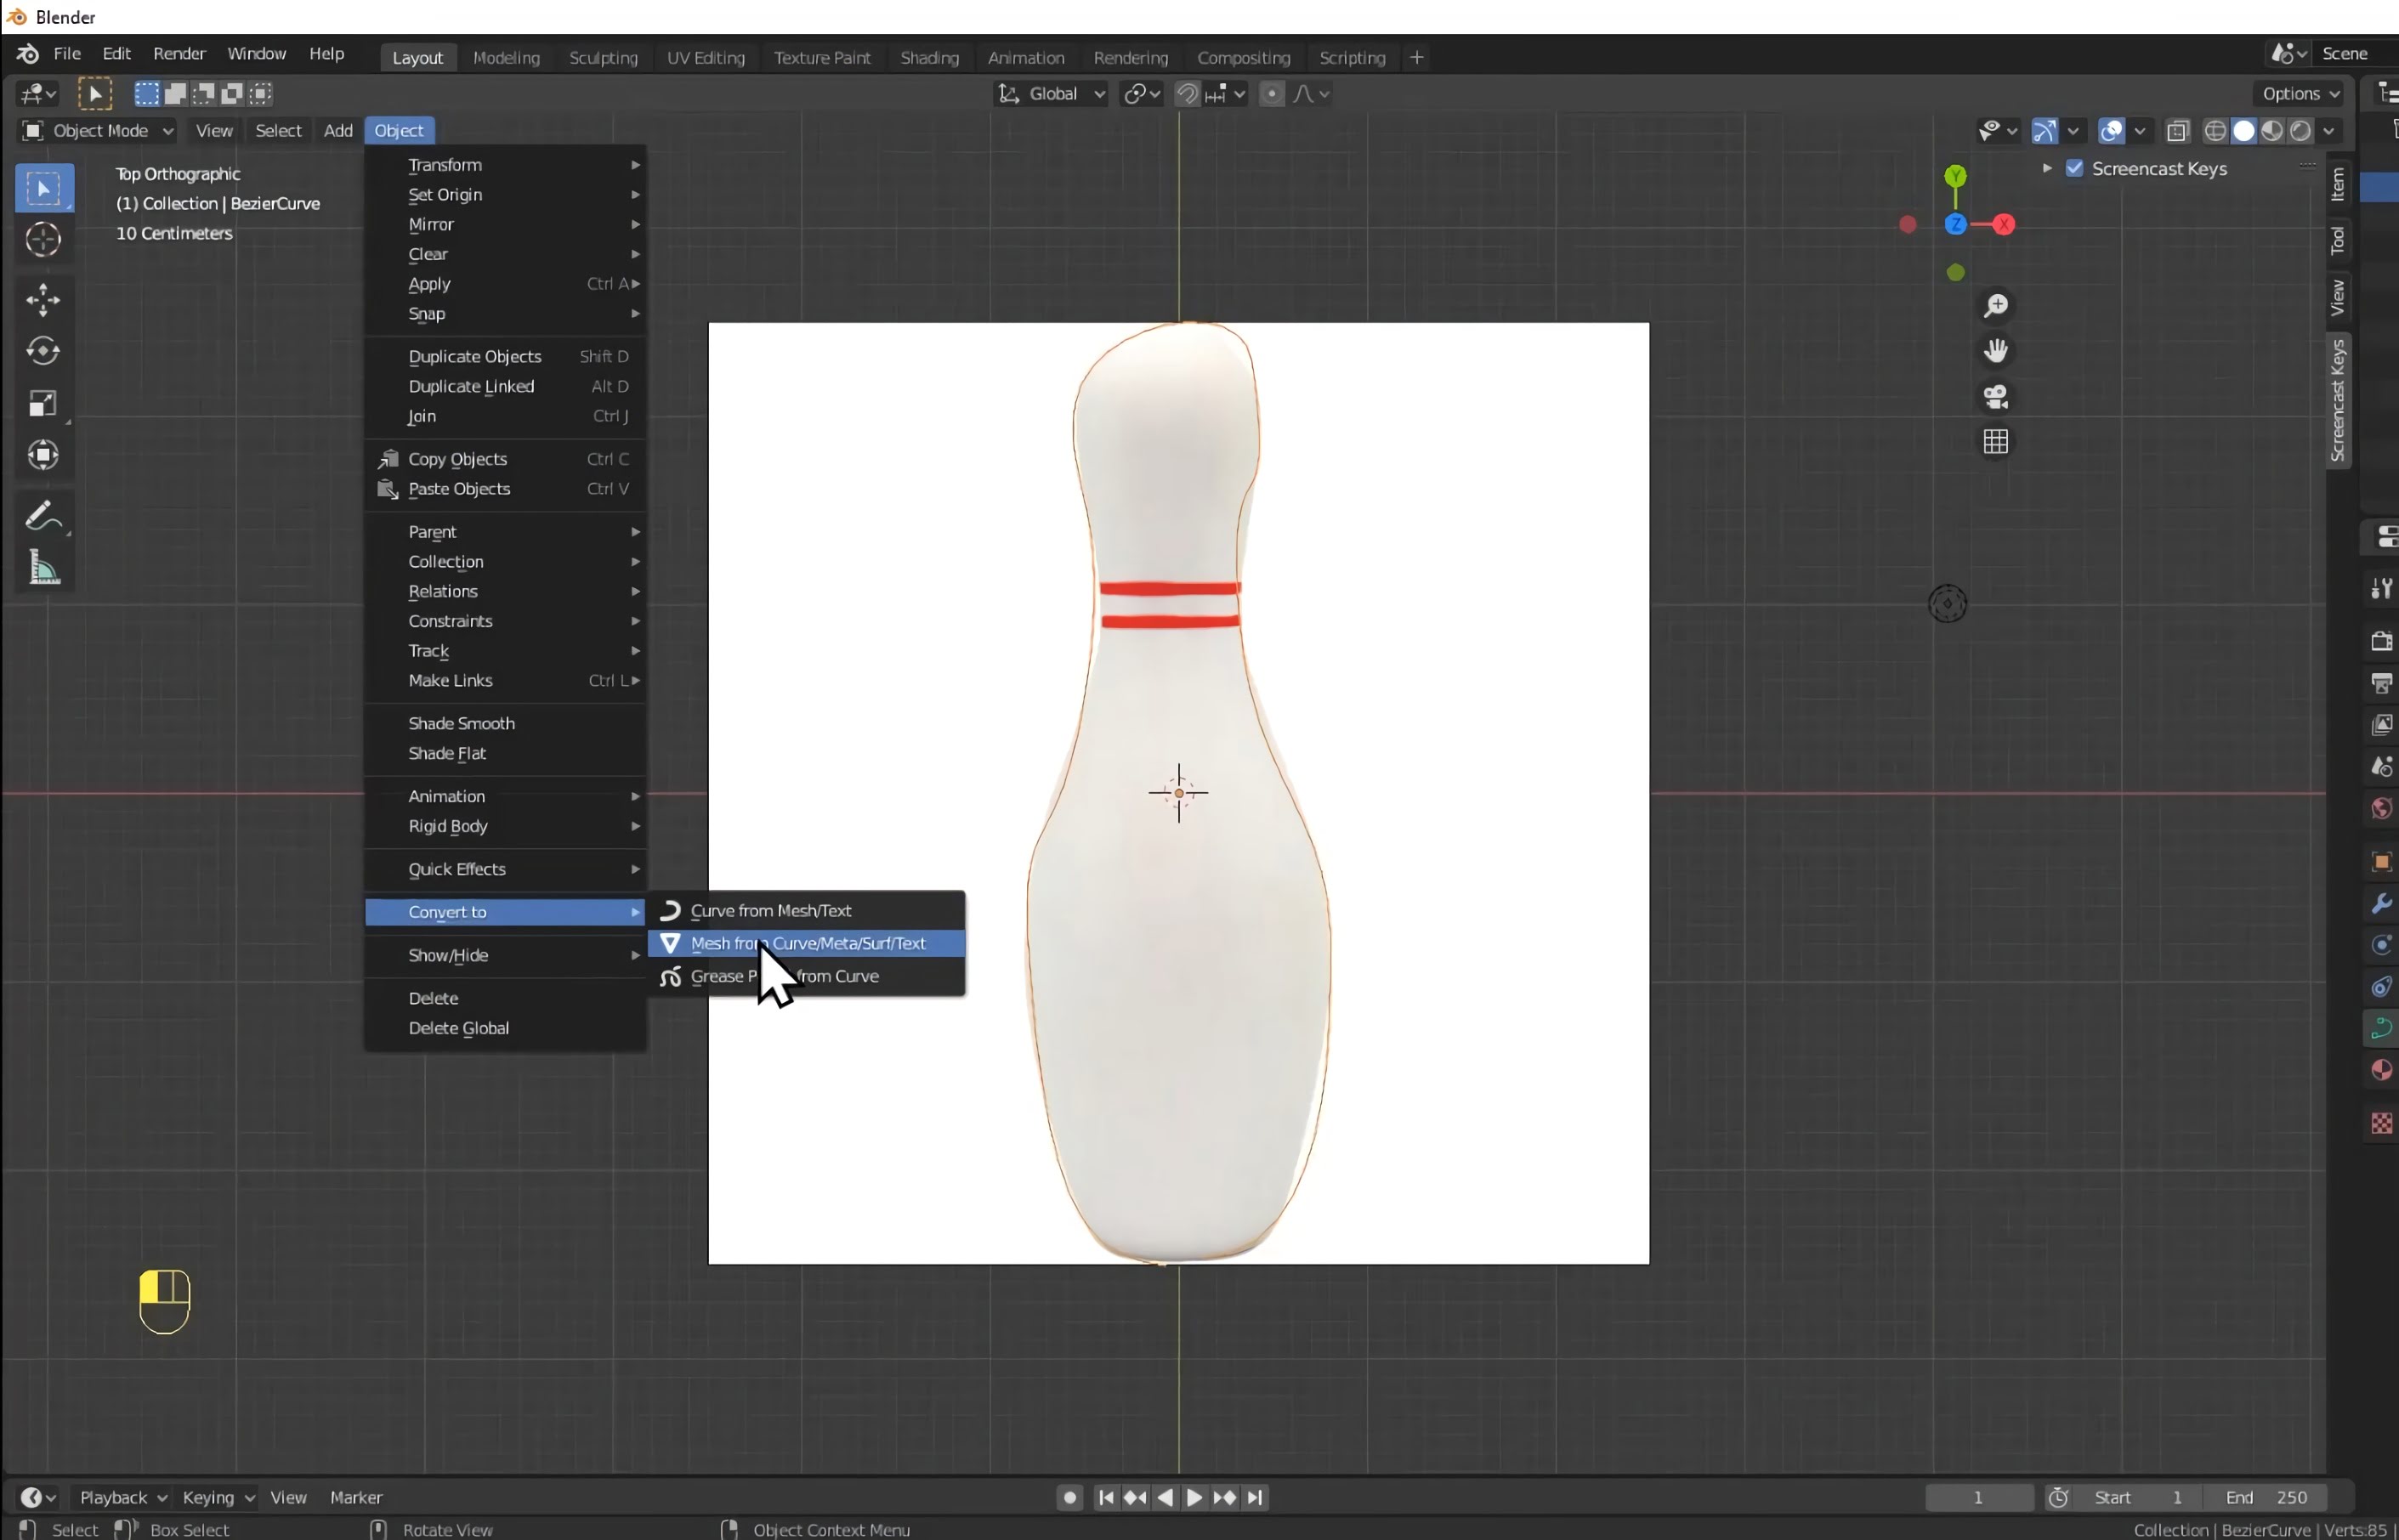
Press tab to return to object mode.
Select the curve and go to the object menu in the top-left of the 3D viewport. From here, go to convert to and then select mesh from curve.
Press tab to change to edit mode.
The curve will now be made from a number of dots which you can manipulate to make your tracing more accurate.
Make your tracing as accurate as possible. Be especially sure that the bottom is level as you don't want your bowling pin to fall over later.
Step 5 - Turning your 2D tracing into a 3D model
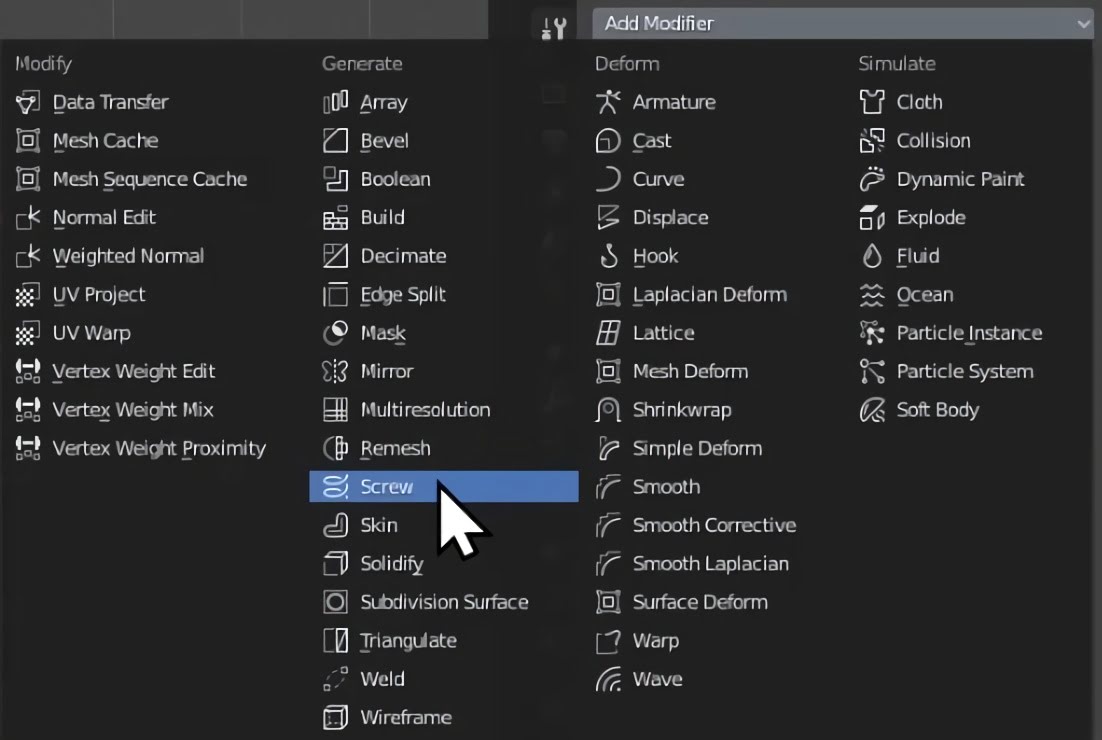
Go to the modifier menu at the right-side of the viewport and then click add modifier.
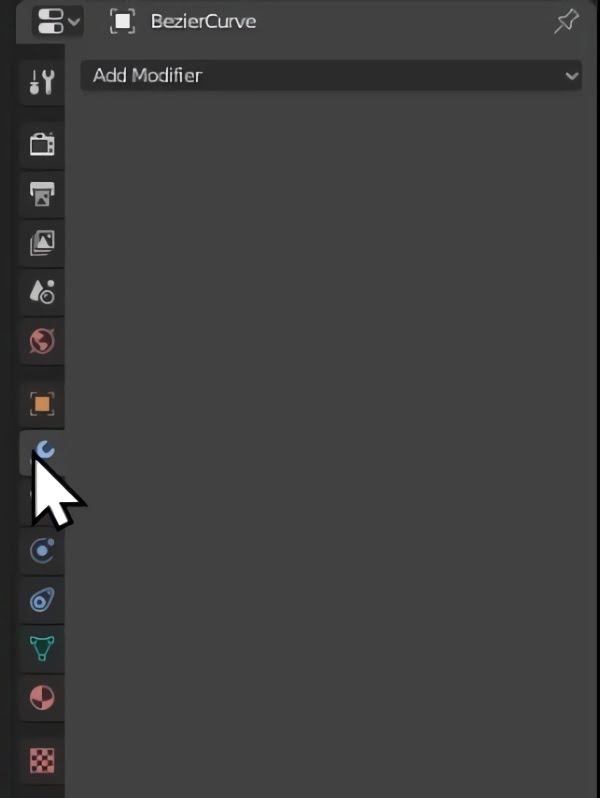
Select the screw modifier.
Change the axis to Y, steps to 60 & render steps to 60.
Click apply.
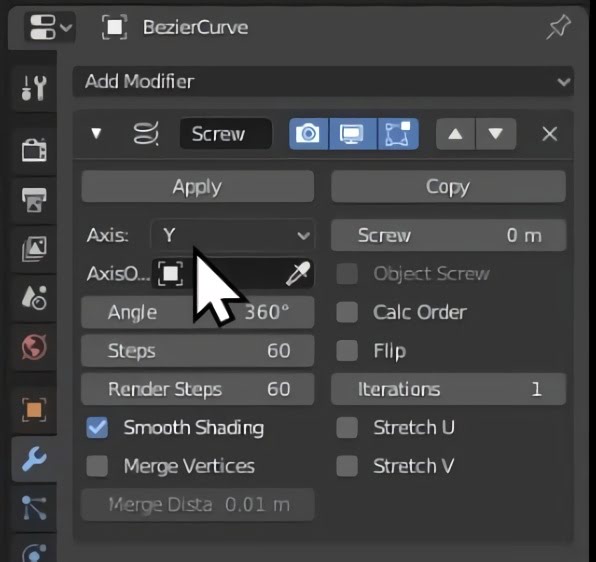
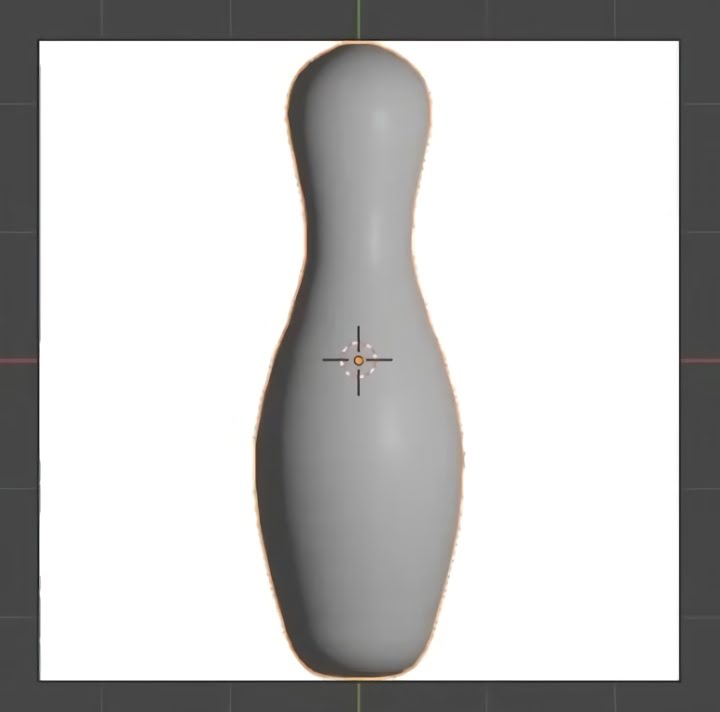
You now have a grey bowling pin!
Step 6 - Adding a base colour
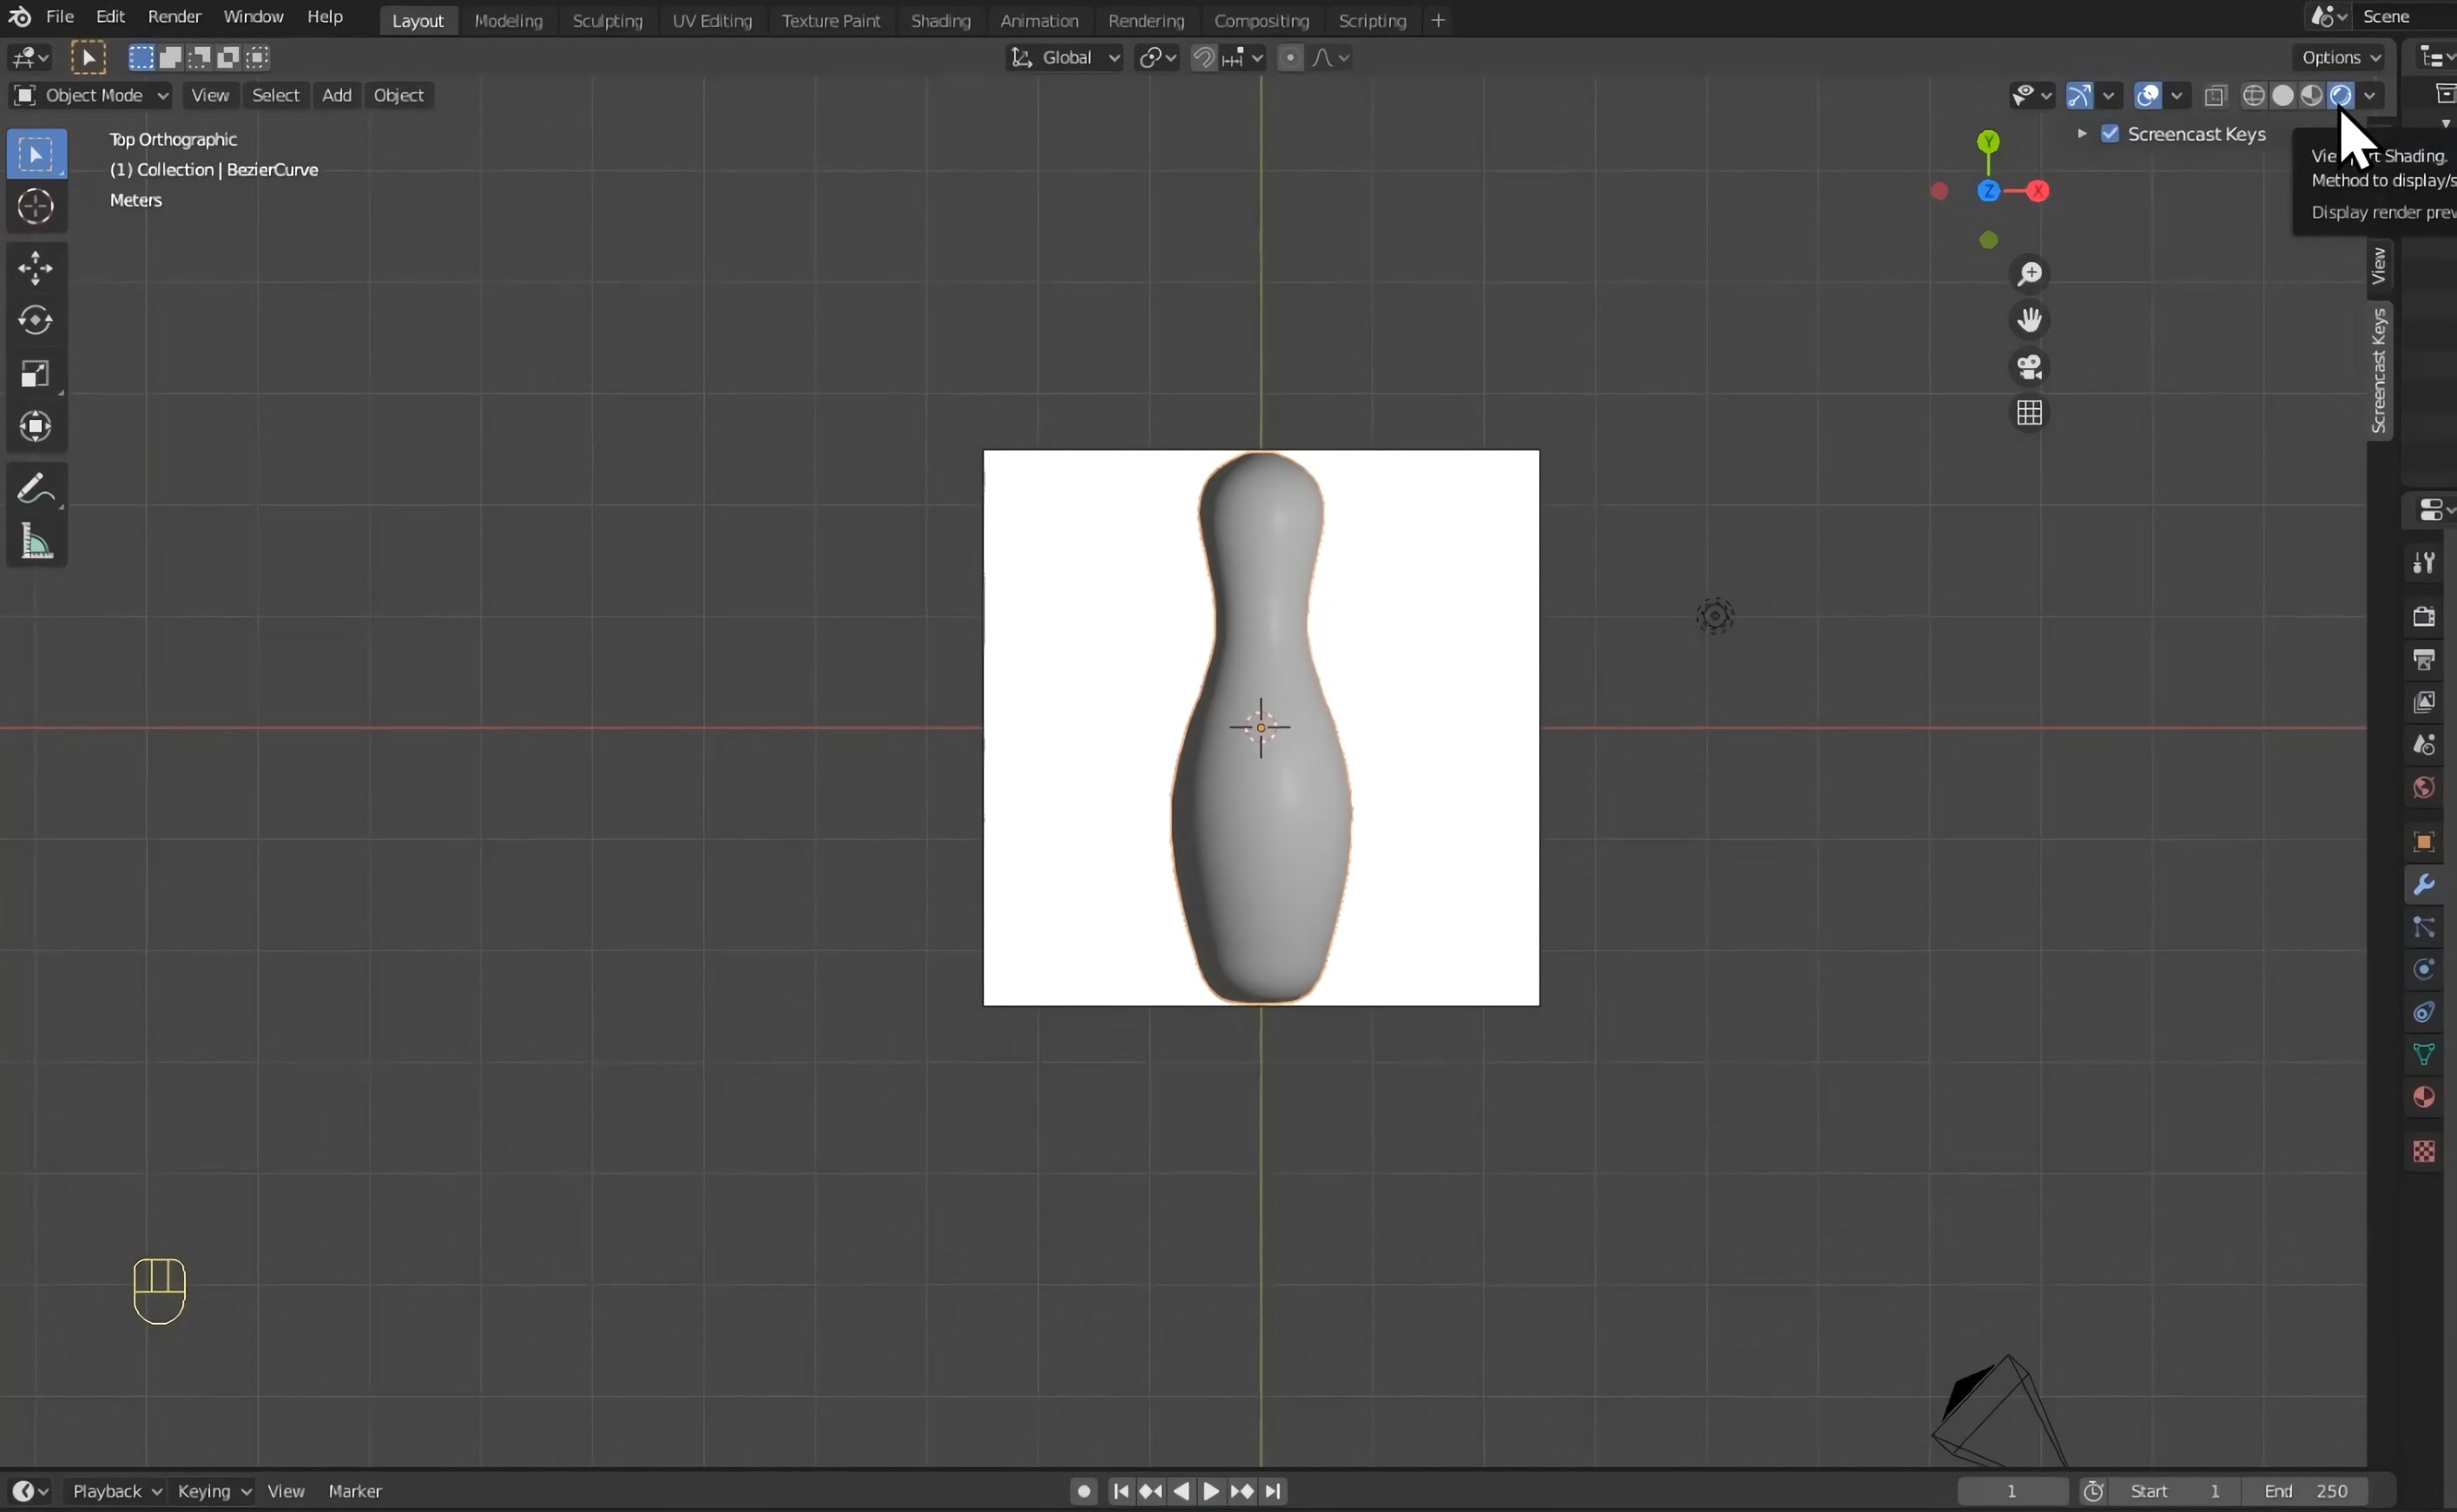
Go to the top-right of the viewport and switch to viewport shading.
Make sure that your bowling pin is selected.
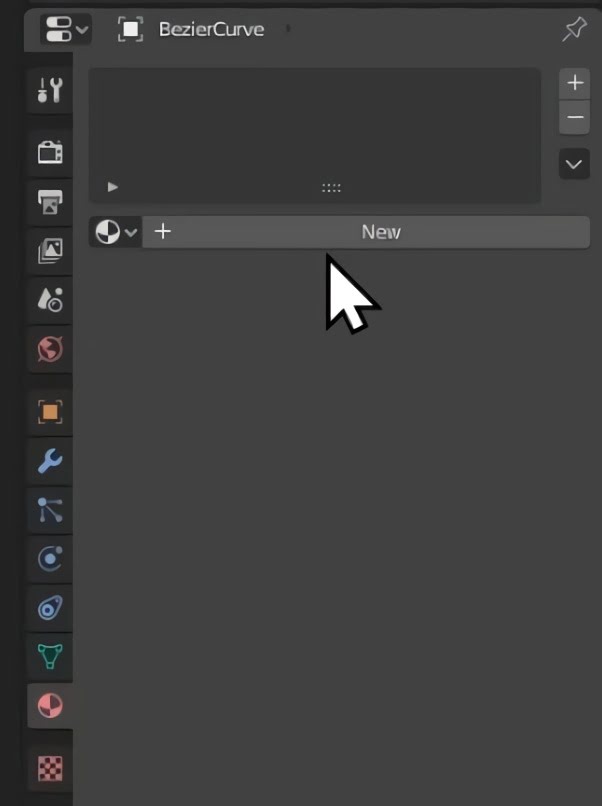
Go to the material properties tab
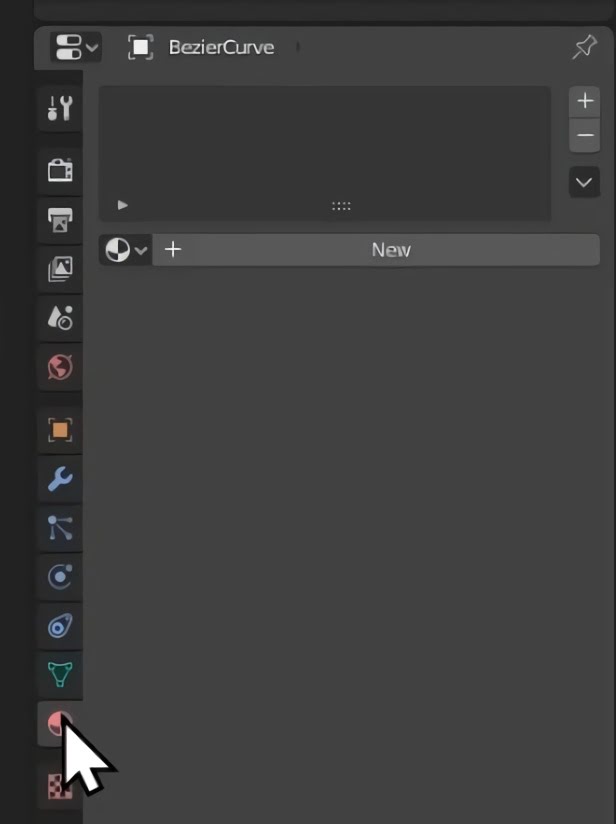
Click new.
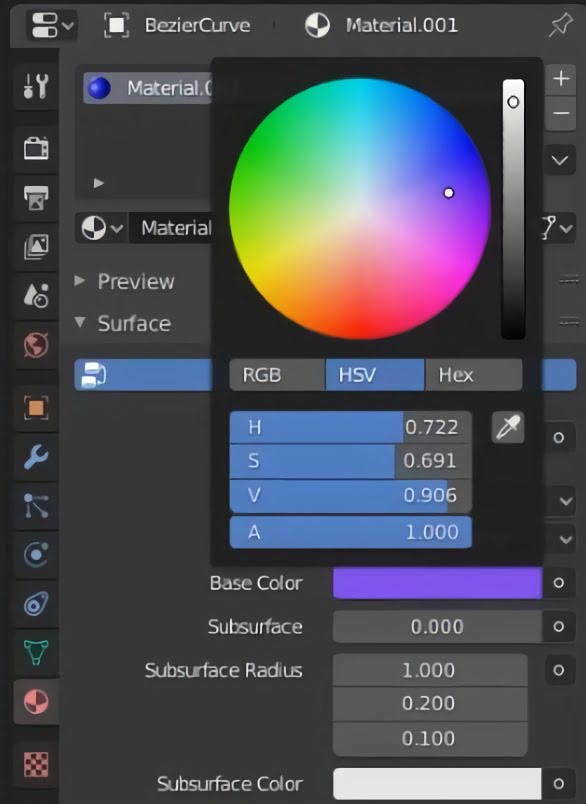
From here, select base colour. You can now use the colour wheel to change the colour of your bowling pin.
Step 7 - Adding more colour
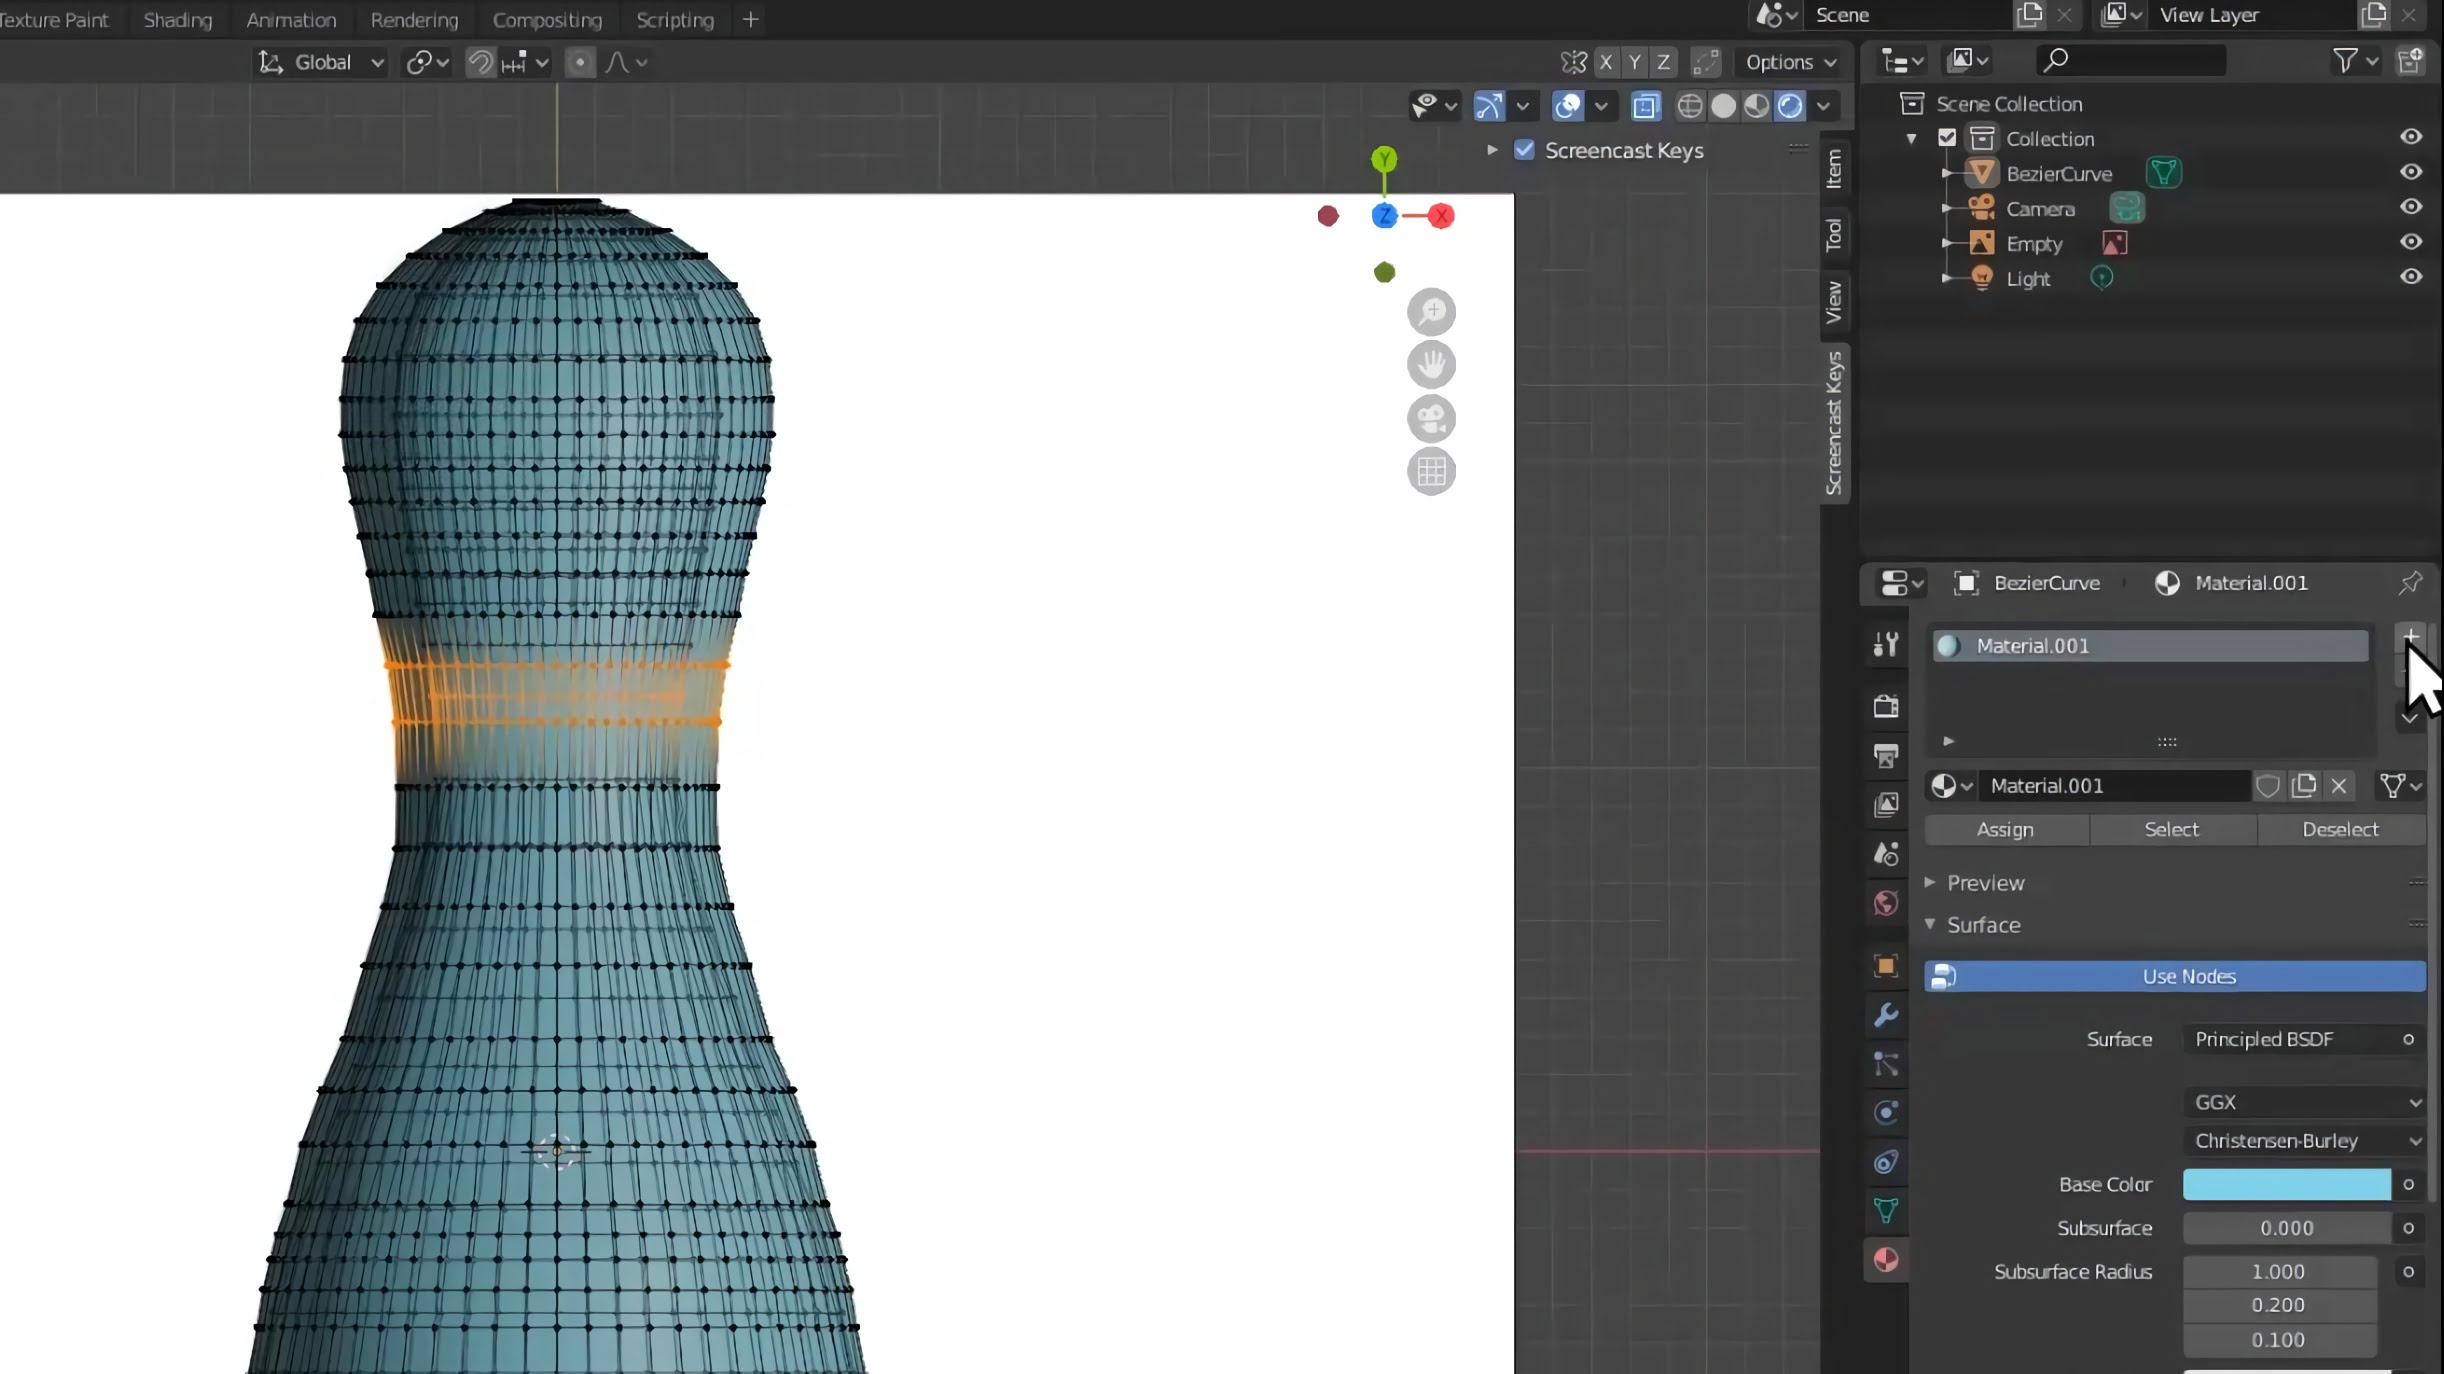
Press tab to change to edit mode.
Go to the top-right of the viewport and click x-ray mode. This will ensure that when we start modifying colour, we are changing both sides of the bowling pin.
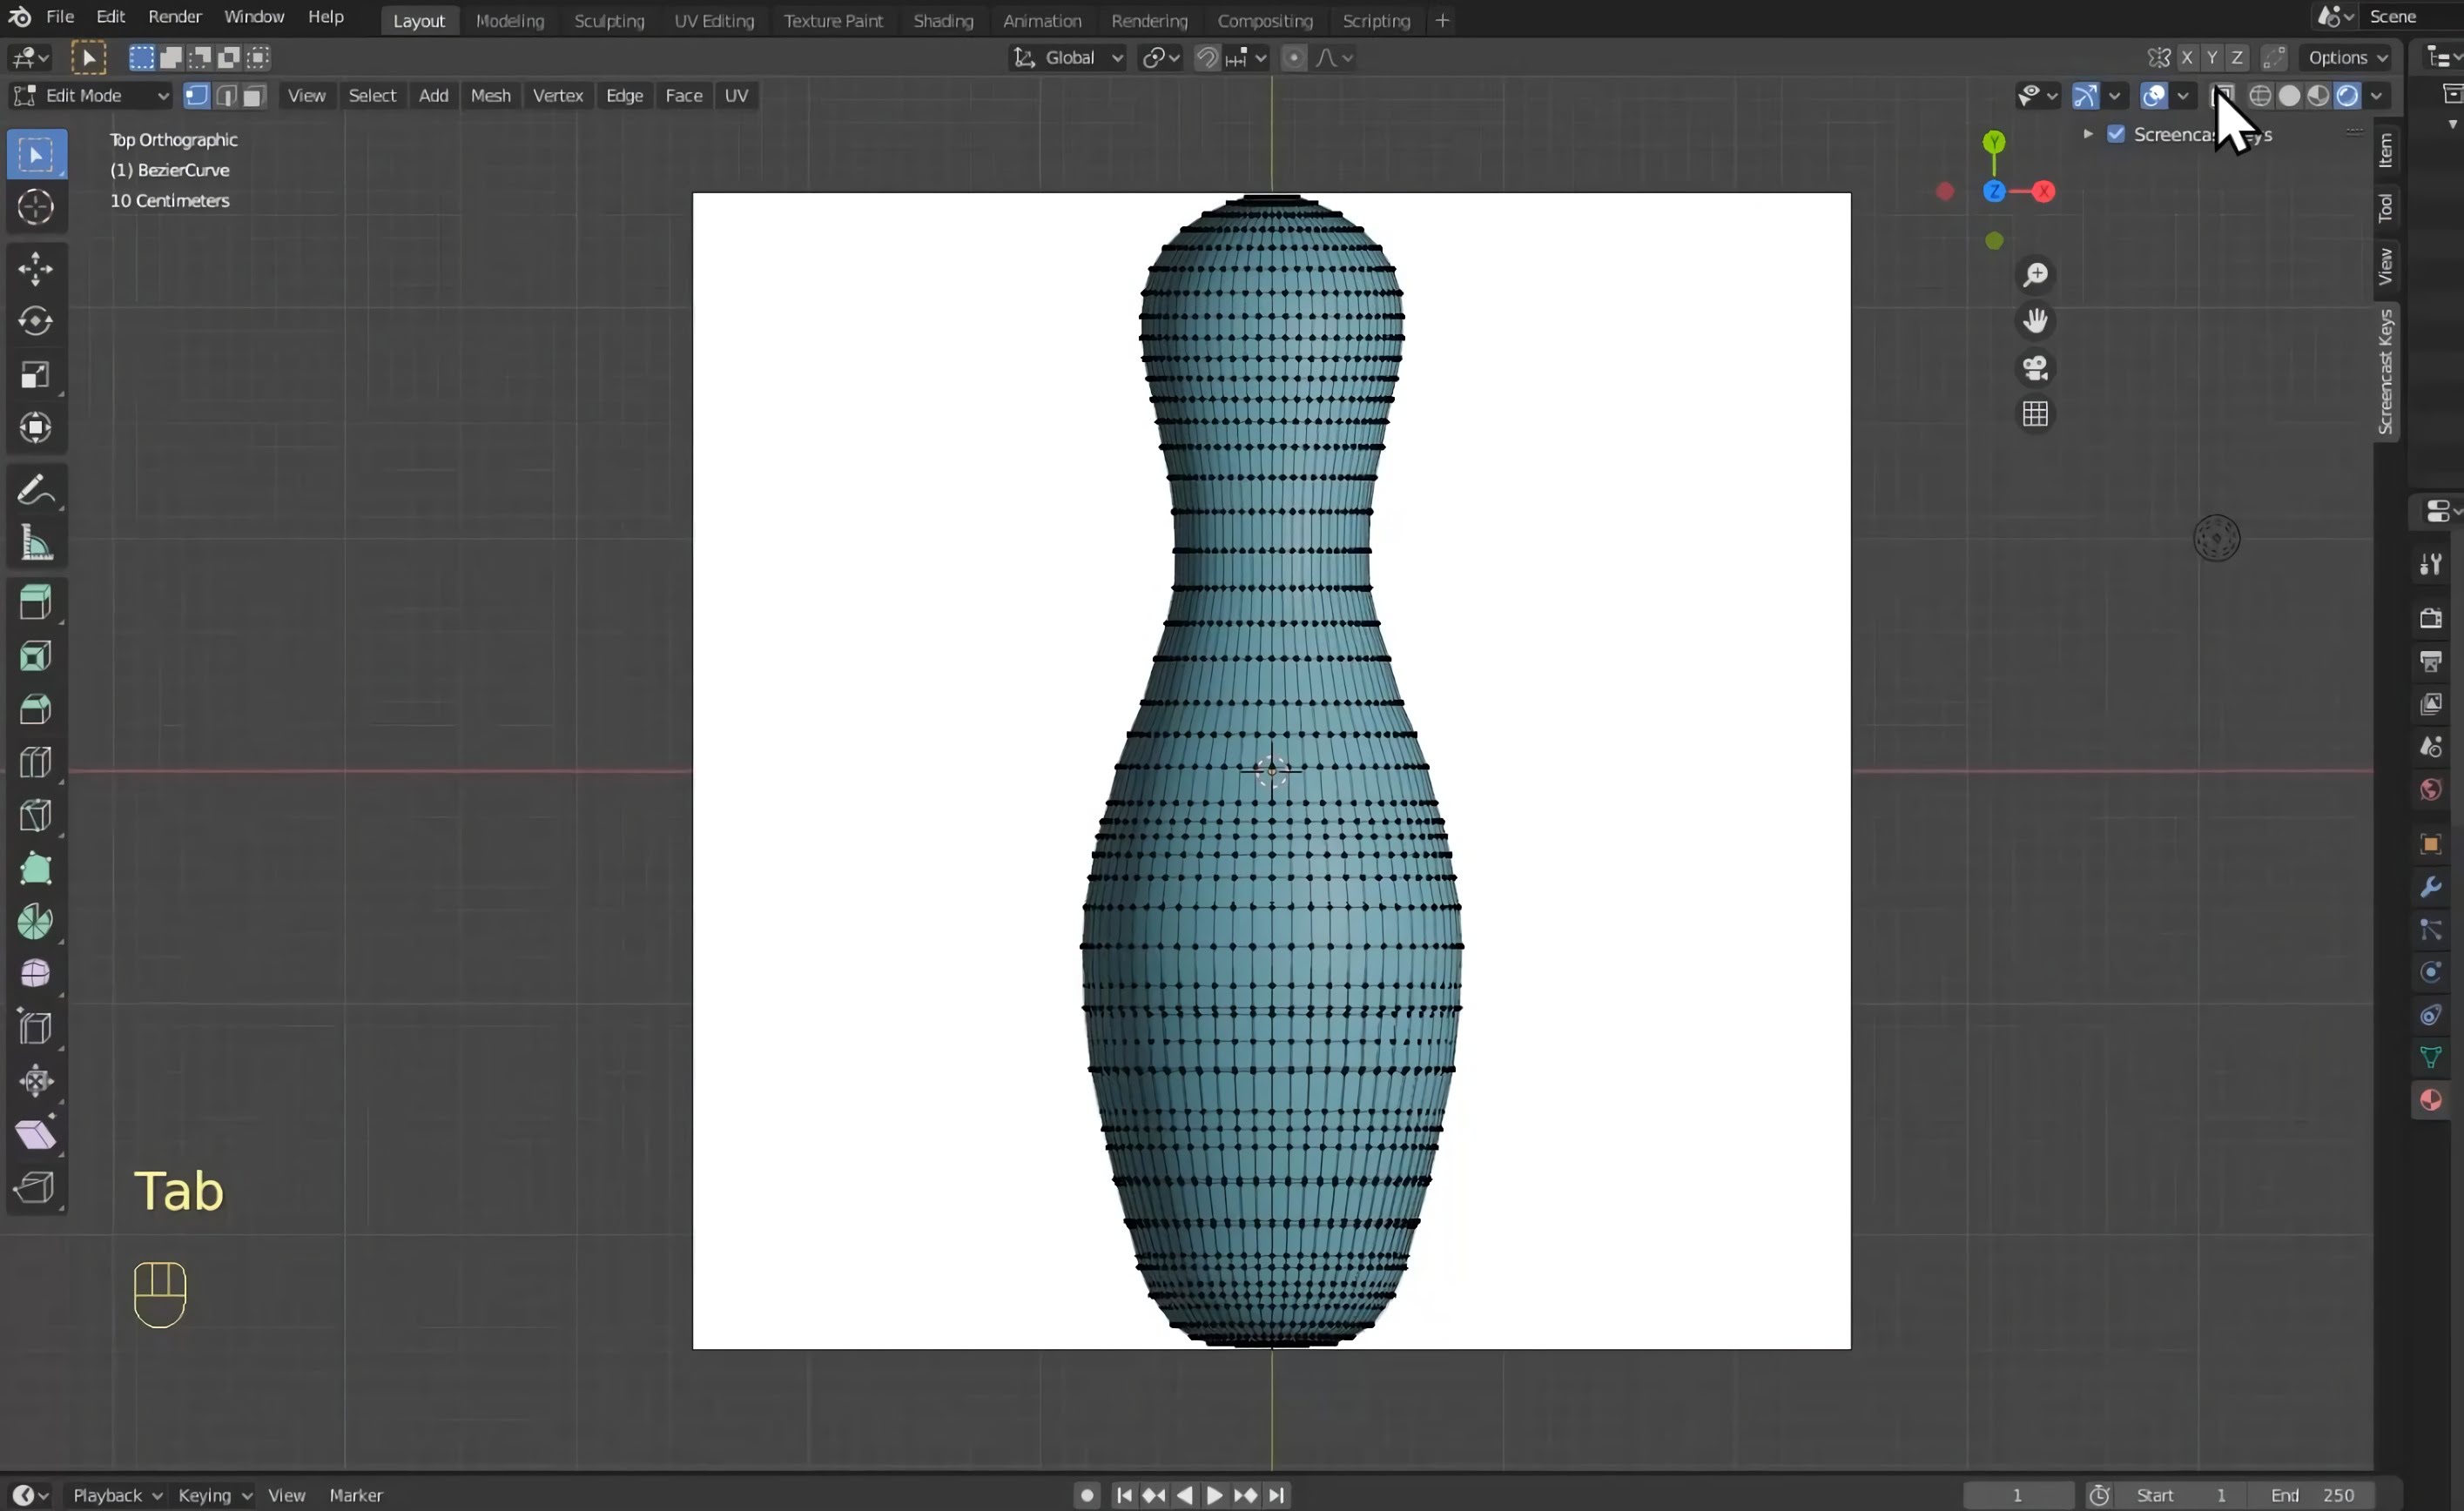
Click and drag over a section of your bowling pin to select it.
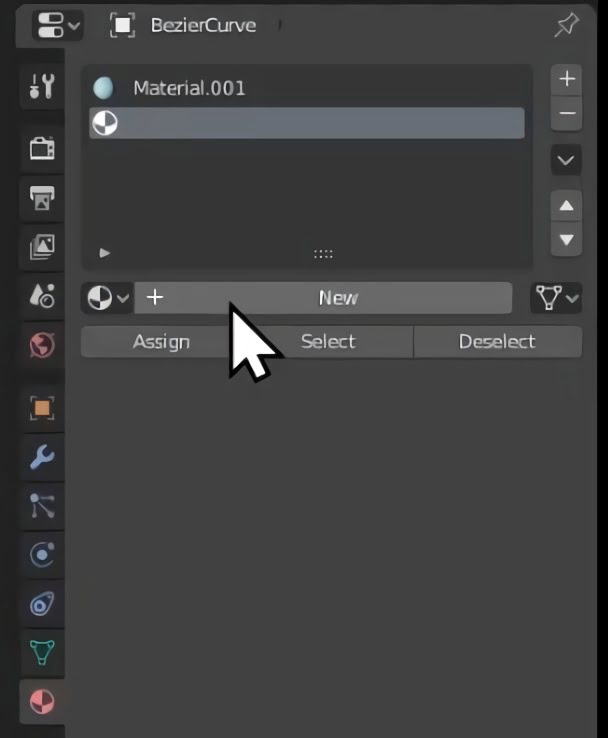
Go to the material properties tab and click the plus icon.
Click new.
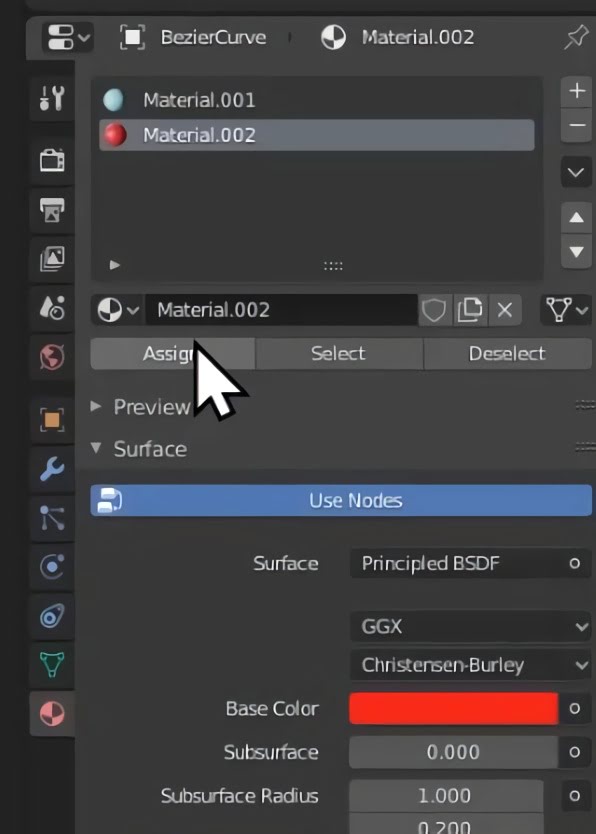
Again, select your colour using the colour wheel.
Click assign to change your selected section to the desired colour.
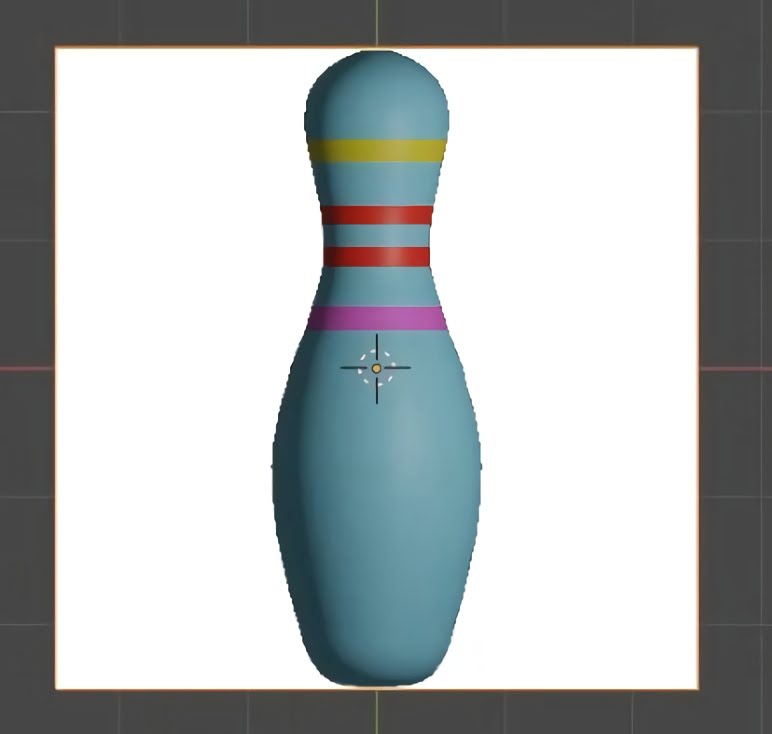
You can make it any variety of colours you want!
Step 8- Deleting reference image & placing model on plane
Select your reference image. Right-click and then click delete.
Press the scroll wheel to orbit your view.
If you don't have a scroll wheel, go to the edit drop-down in the top-left corner of Blender's interface. Enter the preferences menu. Choose input. From here, go to the mouse section and tick 'Emulate 3 Button Mouse'.
You can now press alt + left-click as a replacement for a scroll wheel.
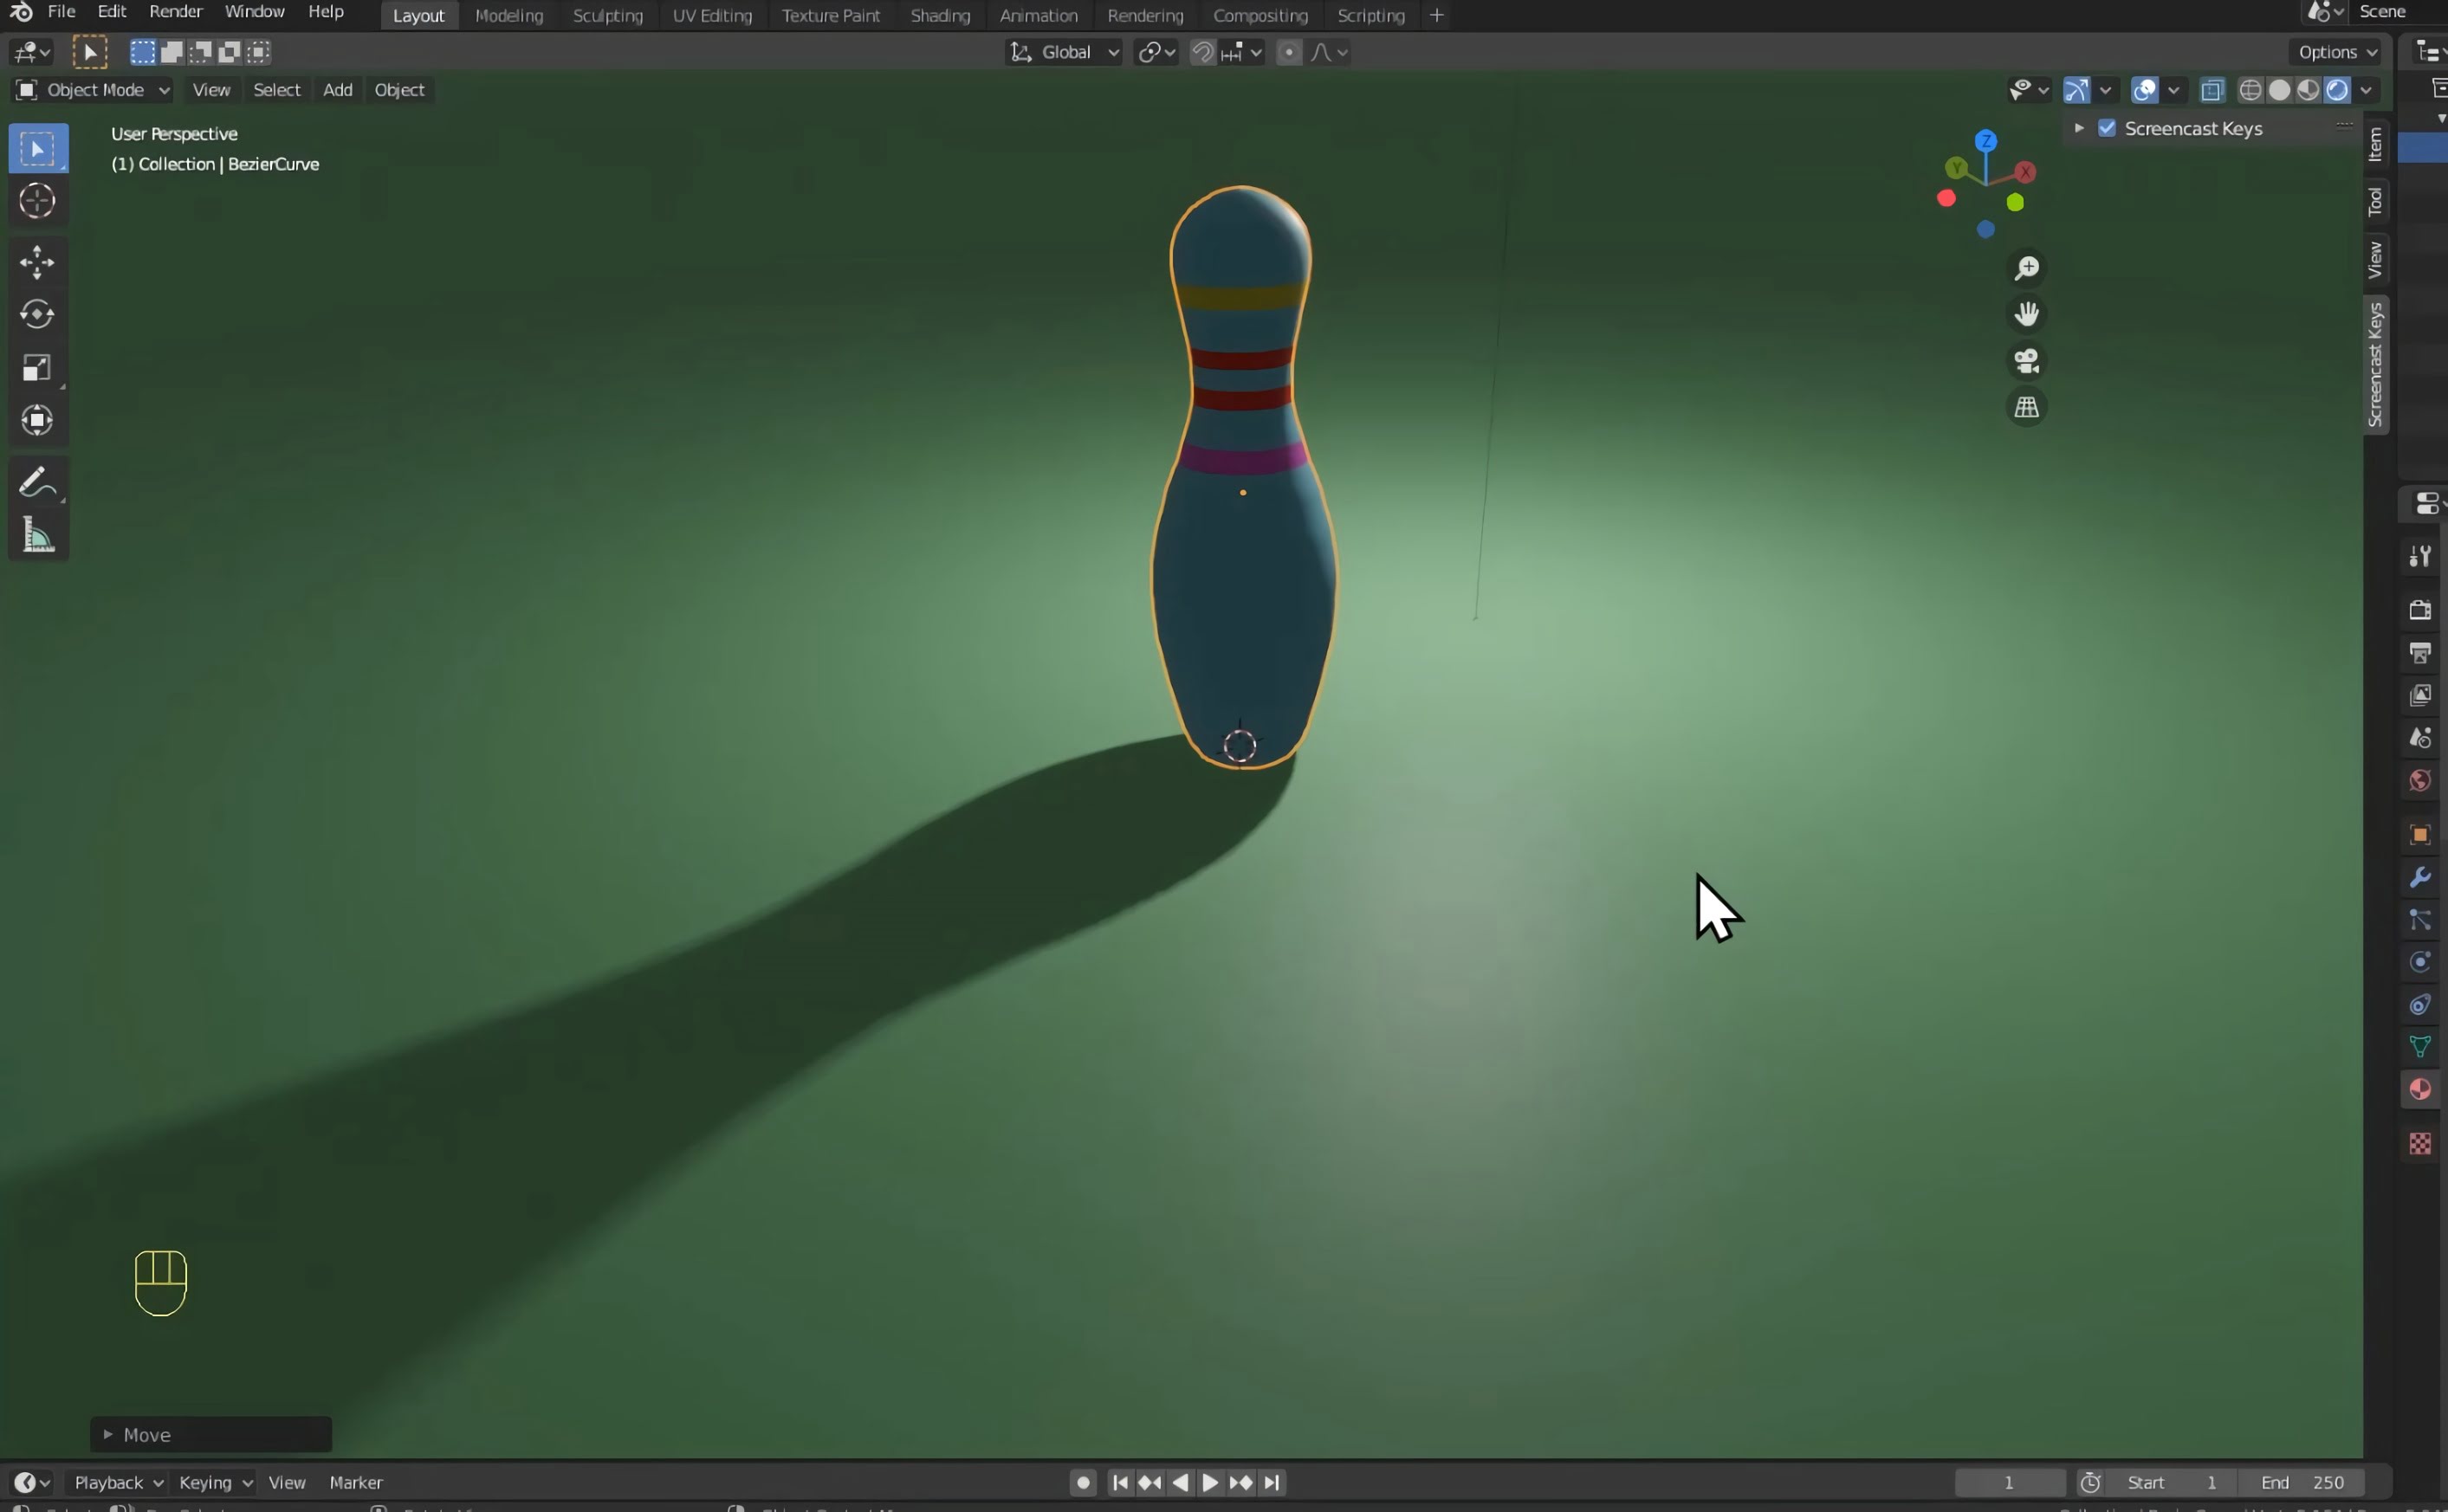
Using R to rotate your bowling pin and G to move it, place your bowling pin upright.

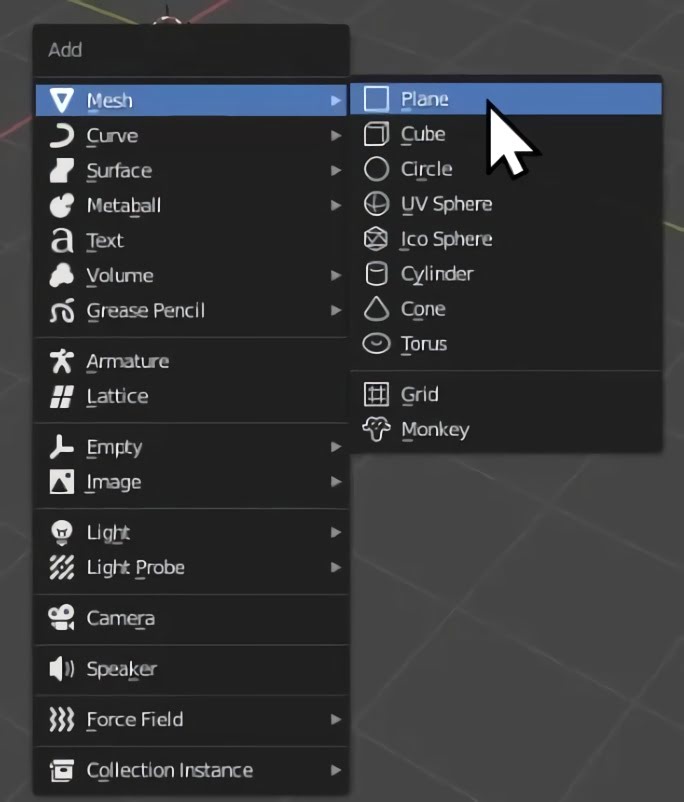
Press Shift+A to open the add menu. Go to mesh. Click on plane. This will add a floor for your bowling pin to stand on.
Press S to scale up the plane.
You can change the colour of this plane using the material properties tab (the same way you changed the bowling pin colour).

Press G then Z to place your bowling pin slightly above the plane.
Conclusion
You have now successfully modelled a bowling pin!
In the next part of this series, we're going to add physics and then knock a set of bowling pins over with a bowling ball! Make sure to check it out.
Created by: David Corish