3D Modelling
08. Ice Cream Tutorial Part 3 - Lighting & Rendering
Introduction
This documentation is intended as a text guide to accompany the third video in the 'Ice Cream Tutorial' series. It will cover lights, cameras, and rendering your final image.
Step 1 - Render engine
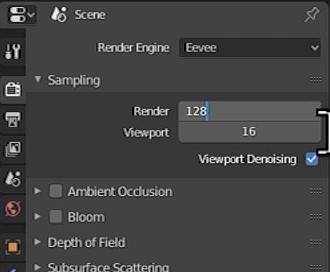
Go to the rendering tab at the top of the screen.
In the top-right of the rendering window, you can change the render engine and render quality.
For the purpose of this project, we will be using Eevee with a render setting of 128.
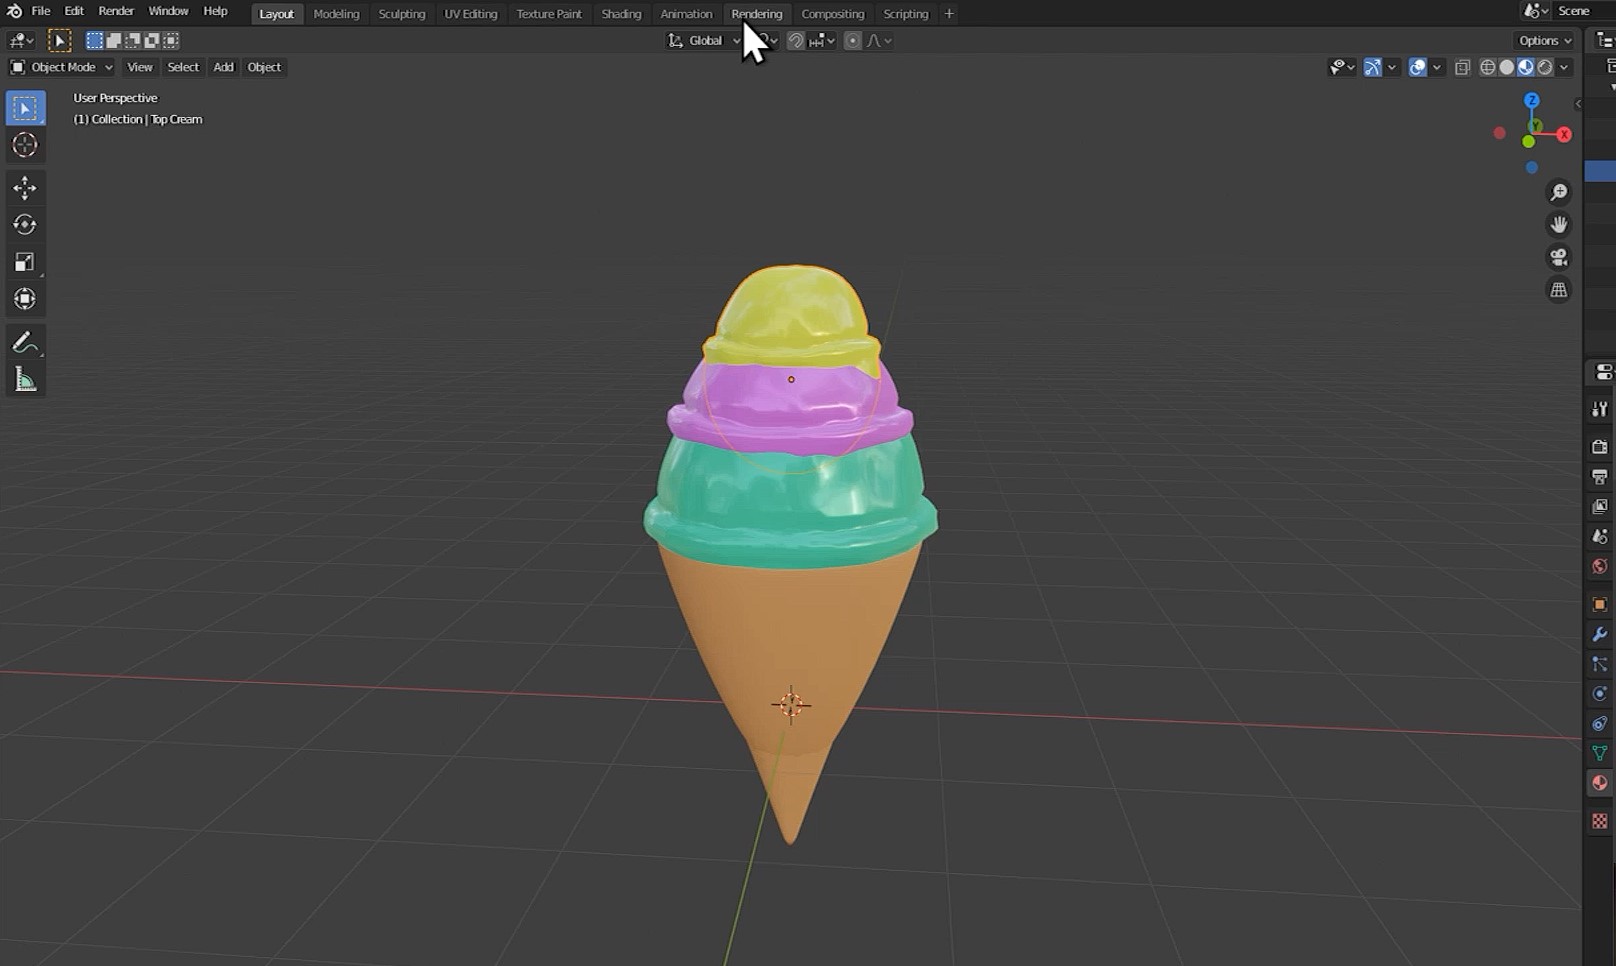
Step 2 - Camera
Return to the layout tab.
Press Shift+A to open the add menu. Click camera.
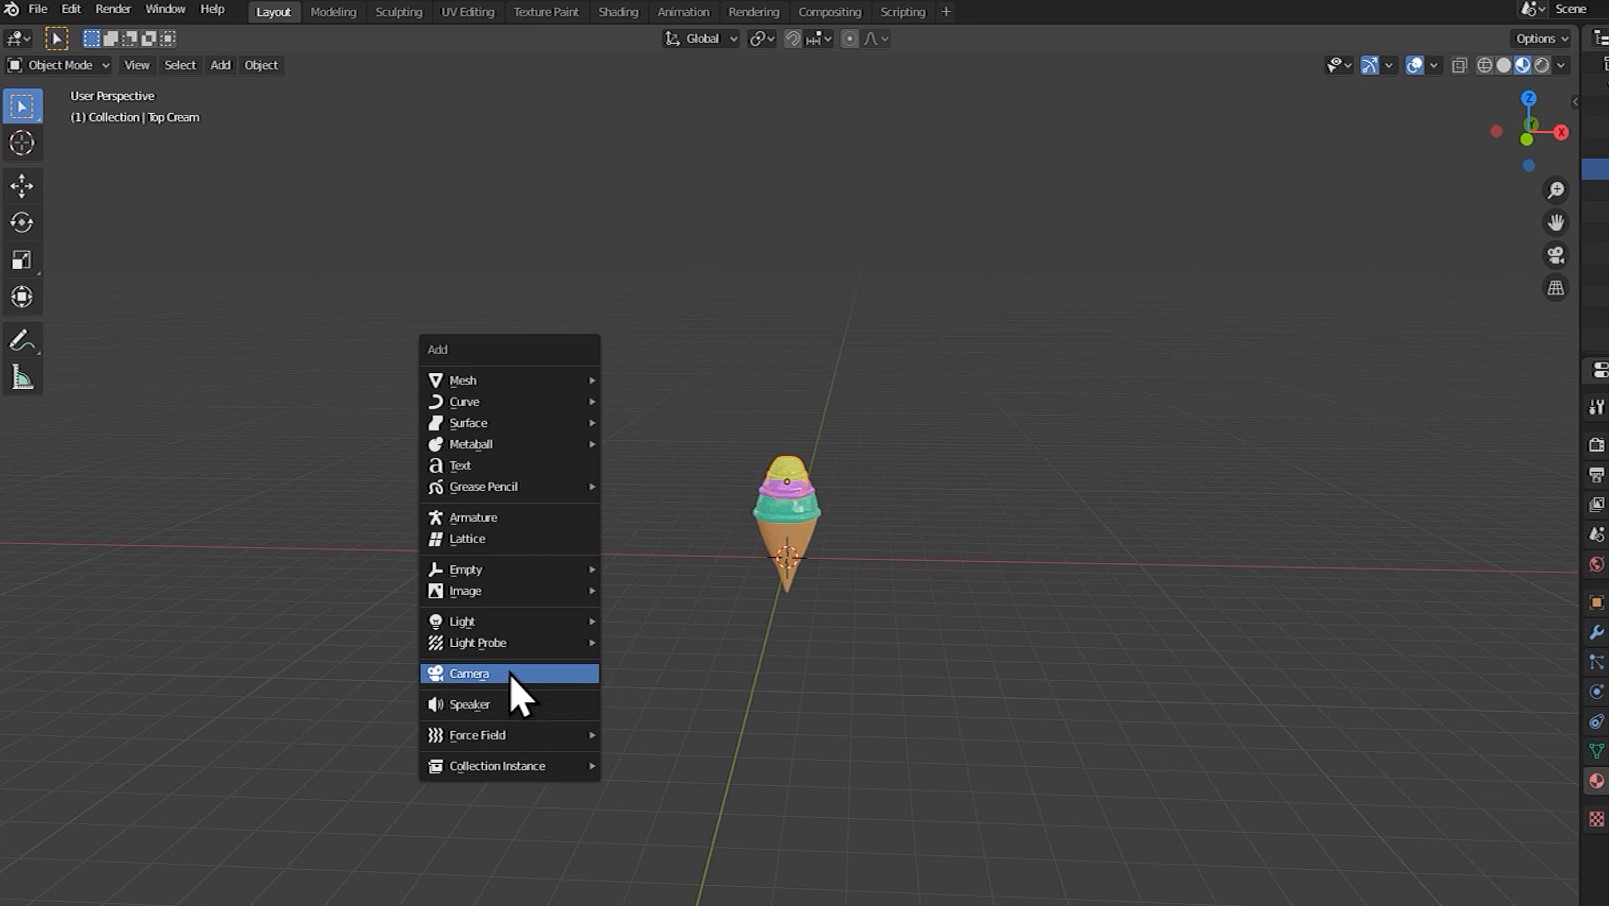
Adjust these settings in the bottom-left until the camera is roughly looking at the ice-cream.

Press numpad 0 to move to the camera's point of view.
Open the view menu on the top-right of the viewport. Click the box beside lock camera to view.
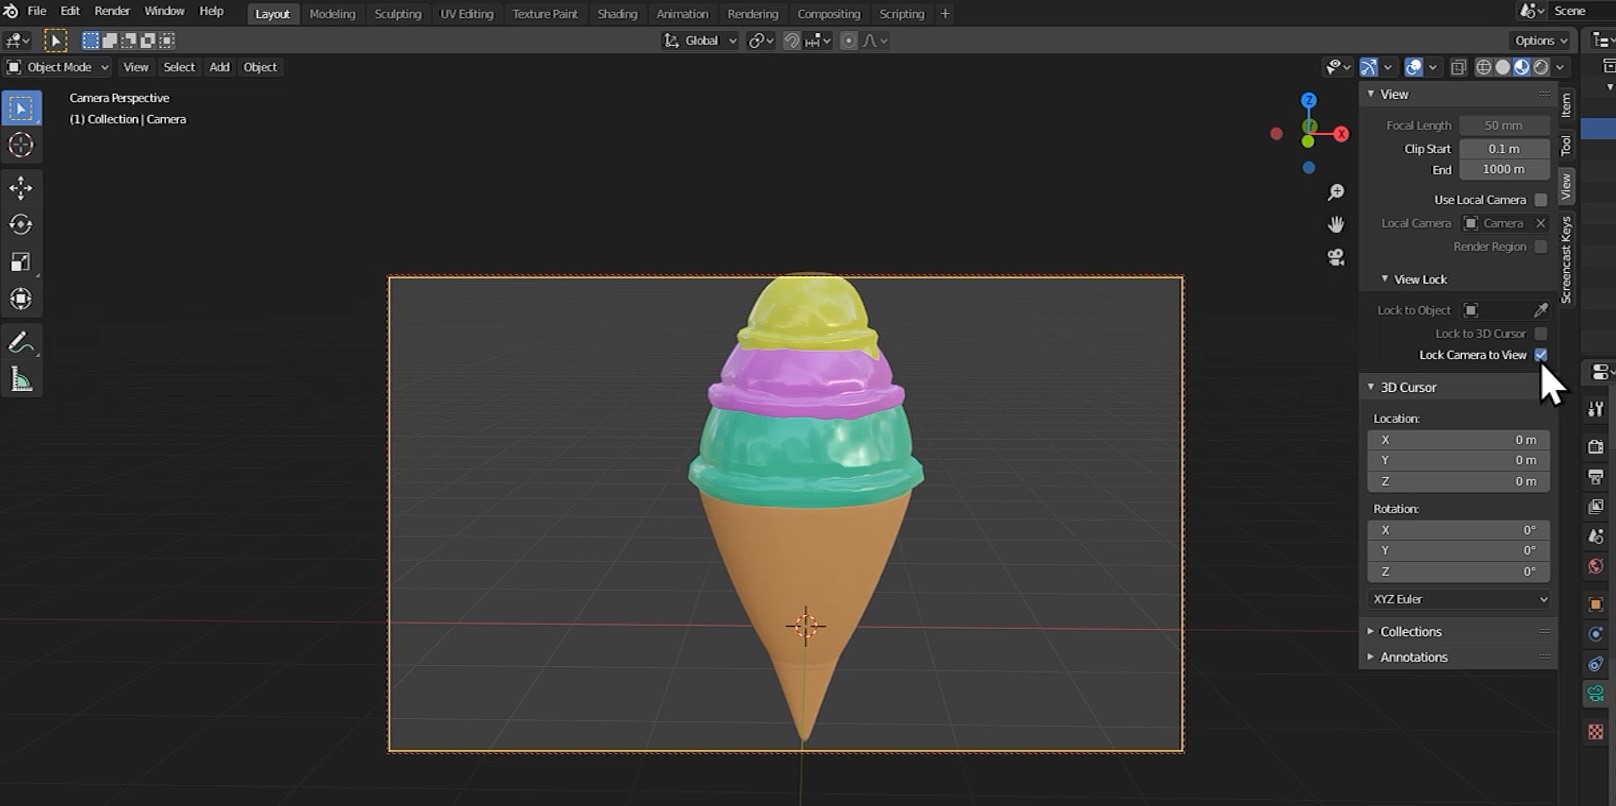
Orbit the camera's view using MMB.
Pan the camera's view using MMB..
(MMB = Scroll-wheel)
Focus the camera onto your ice-cream.
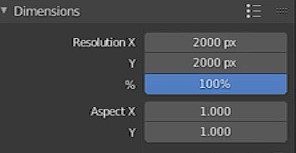
Go to the output properties tab on the right-side of the window.
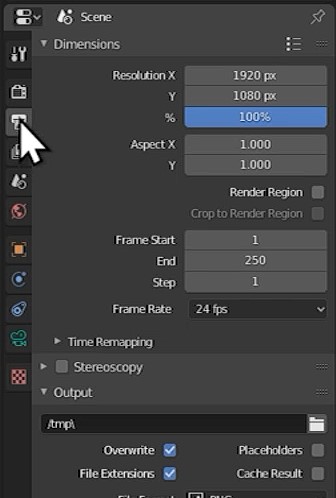
Adjust your resolution to 2000px by 2000px.
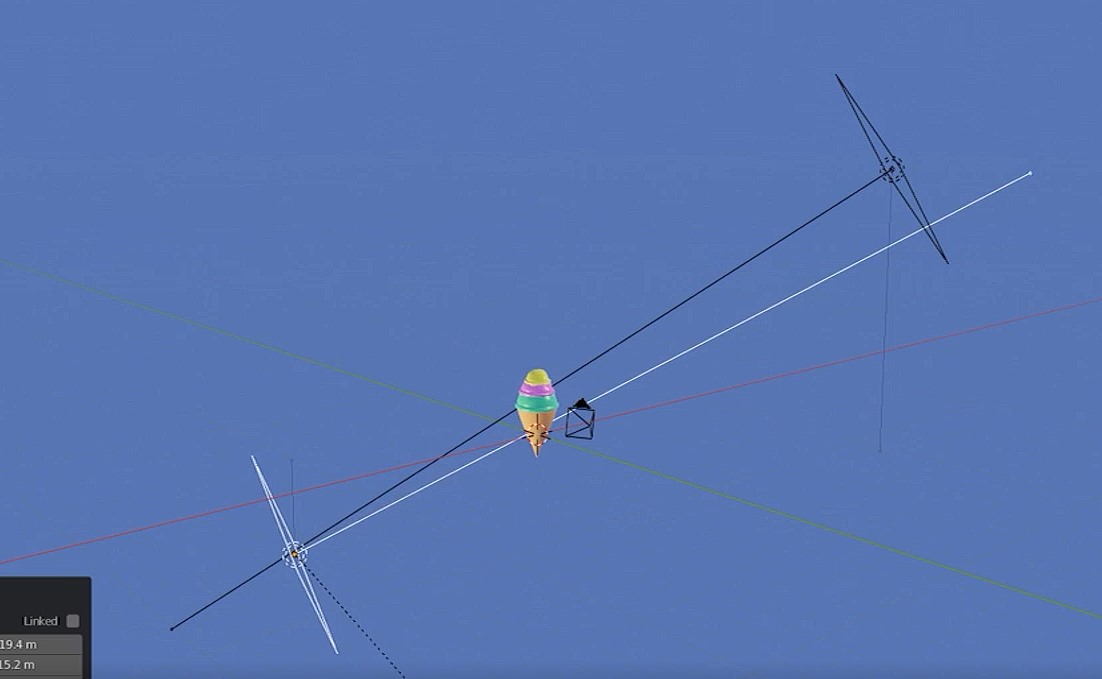
Step 3 - Light
Press Shift+A to open the add menu. Click light. and then area.
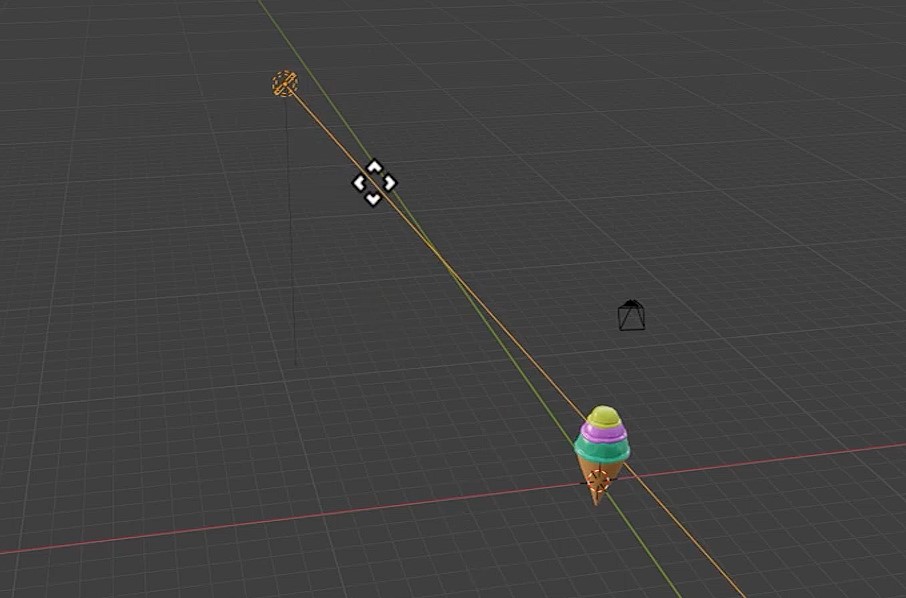
Position the light above and to the side of your ice-cream.
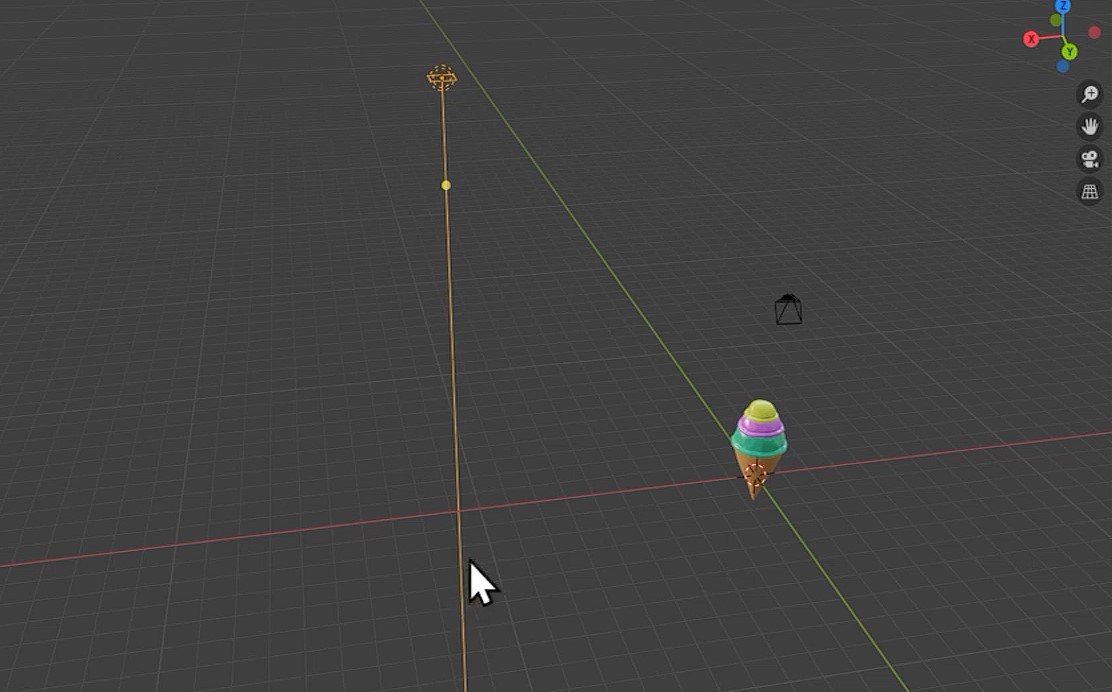
Click the yellow dot on the line coming from the light and drag it such that the line points at the ice-cream.
With the light selected, click into object data properties on the right-side of the window.
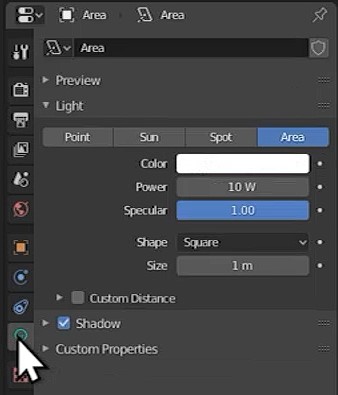
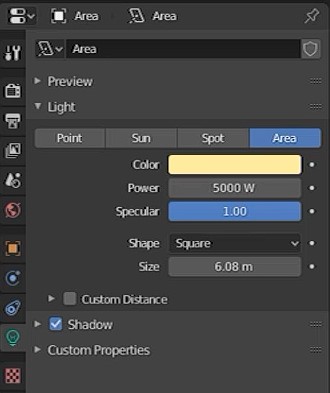
Adjust the settings of your light however you feel looks best.
Press Z and go to rendered to see what the lighting looks like.
Step 4 - Background
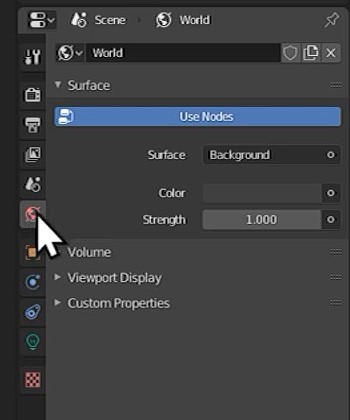
Click into world properties on the right-side of the window.
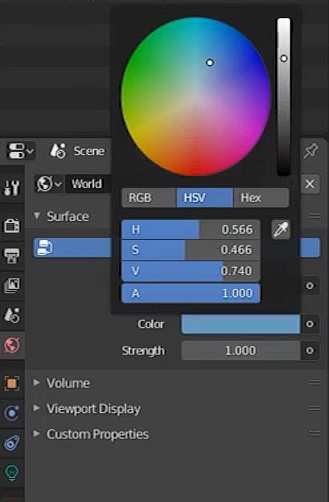
Use the colour wheel to change the background colour.
Select the light. Press Shift+D to duplicate it. Place this new light on the opposite side of the ice-cream. Press R to rotate the light until the line is pointing back at the ice-cream. Adjust the colour of the light if you want to add some extra colour.
Press F12 to render your final image!
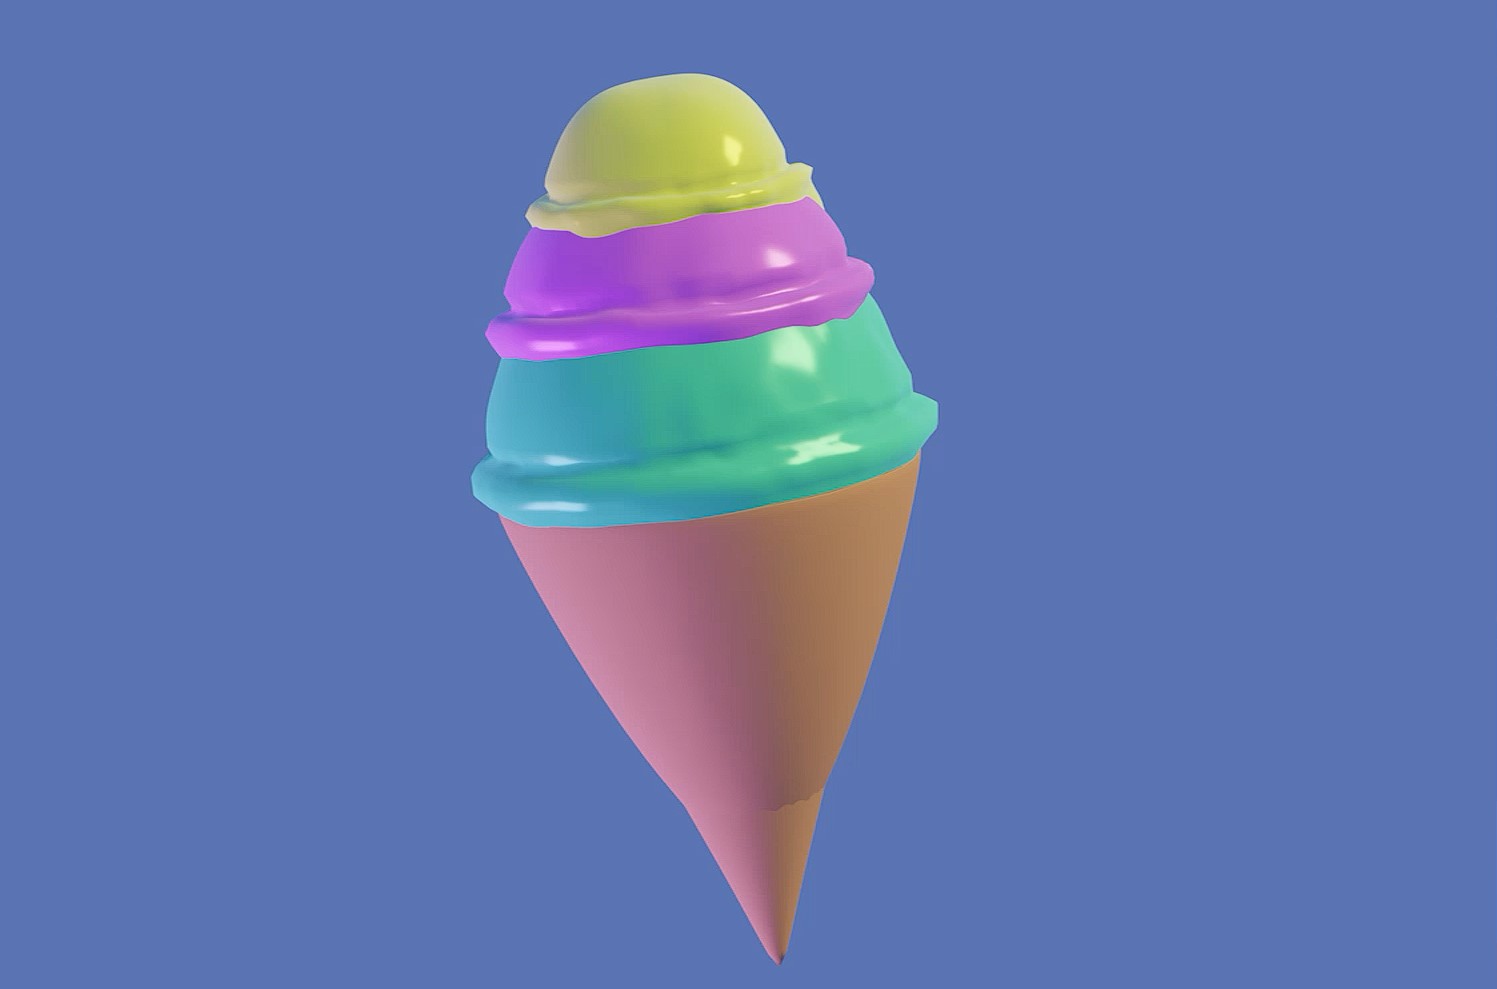
Conclusion
You should now have a fully rendered ice-cream. Thank you for reading this text guide and I hope you enjoyed!
Created by: David Corish