3D Modelling
10. Bowling Tutorial Part 2 - Animation & Physics
Introduction
This documentation is intended as a text guide to accompany the second video in the 'Bowling' set of videos. It will cover adding physics to your bowling pin before using a bowling ball to knock a set over.
Step 1 - Adding rigid body modifier to bowling pin
Select your bowling pin.
Go to the right-side of the window and select the physics properties tab.
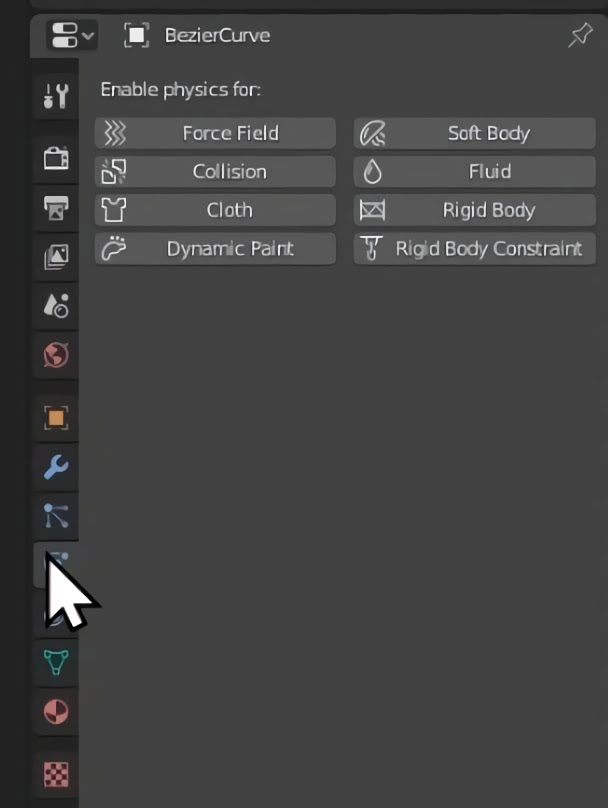
Click rigid body. This makes your bowling pin a part of the physics simulation!

Leave the settings as they are for now.
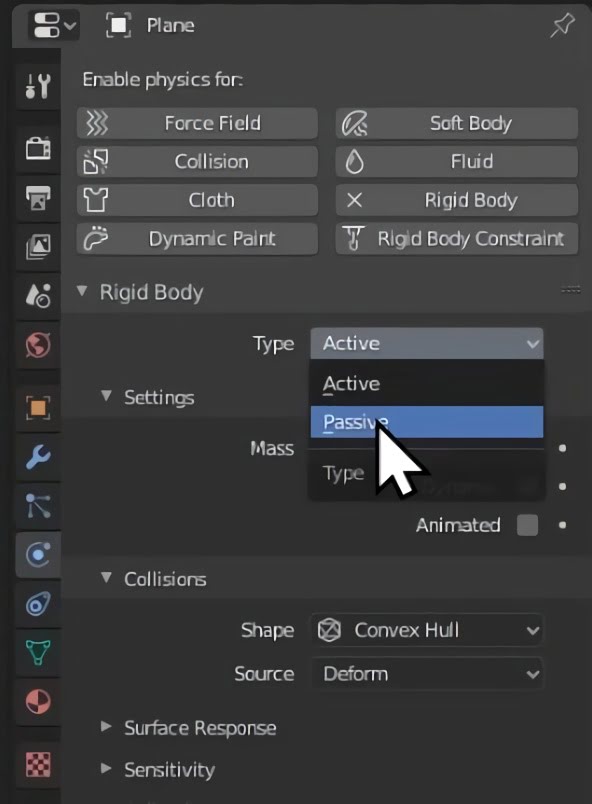
Step 2 - Adding rigid body modifier to plane
Select your plane and repeat step 1.
This time, change the rigid body type from active to passive.
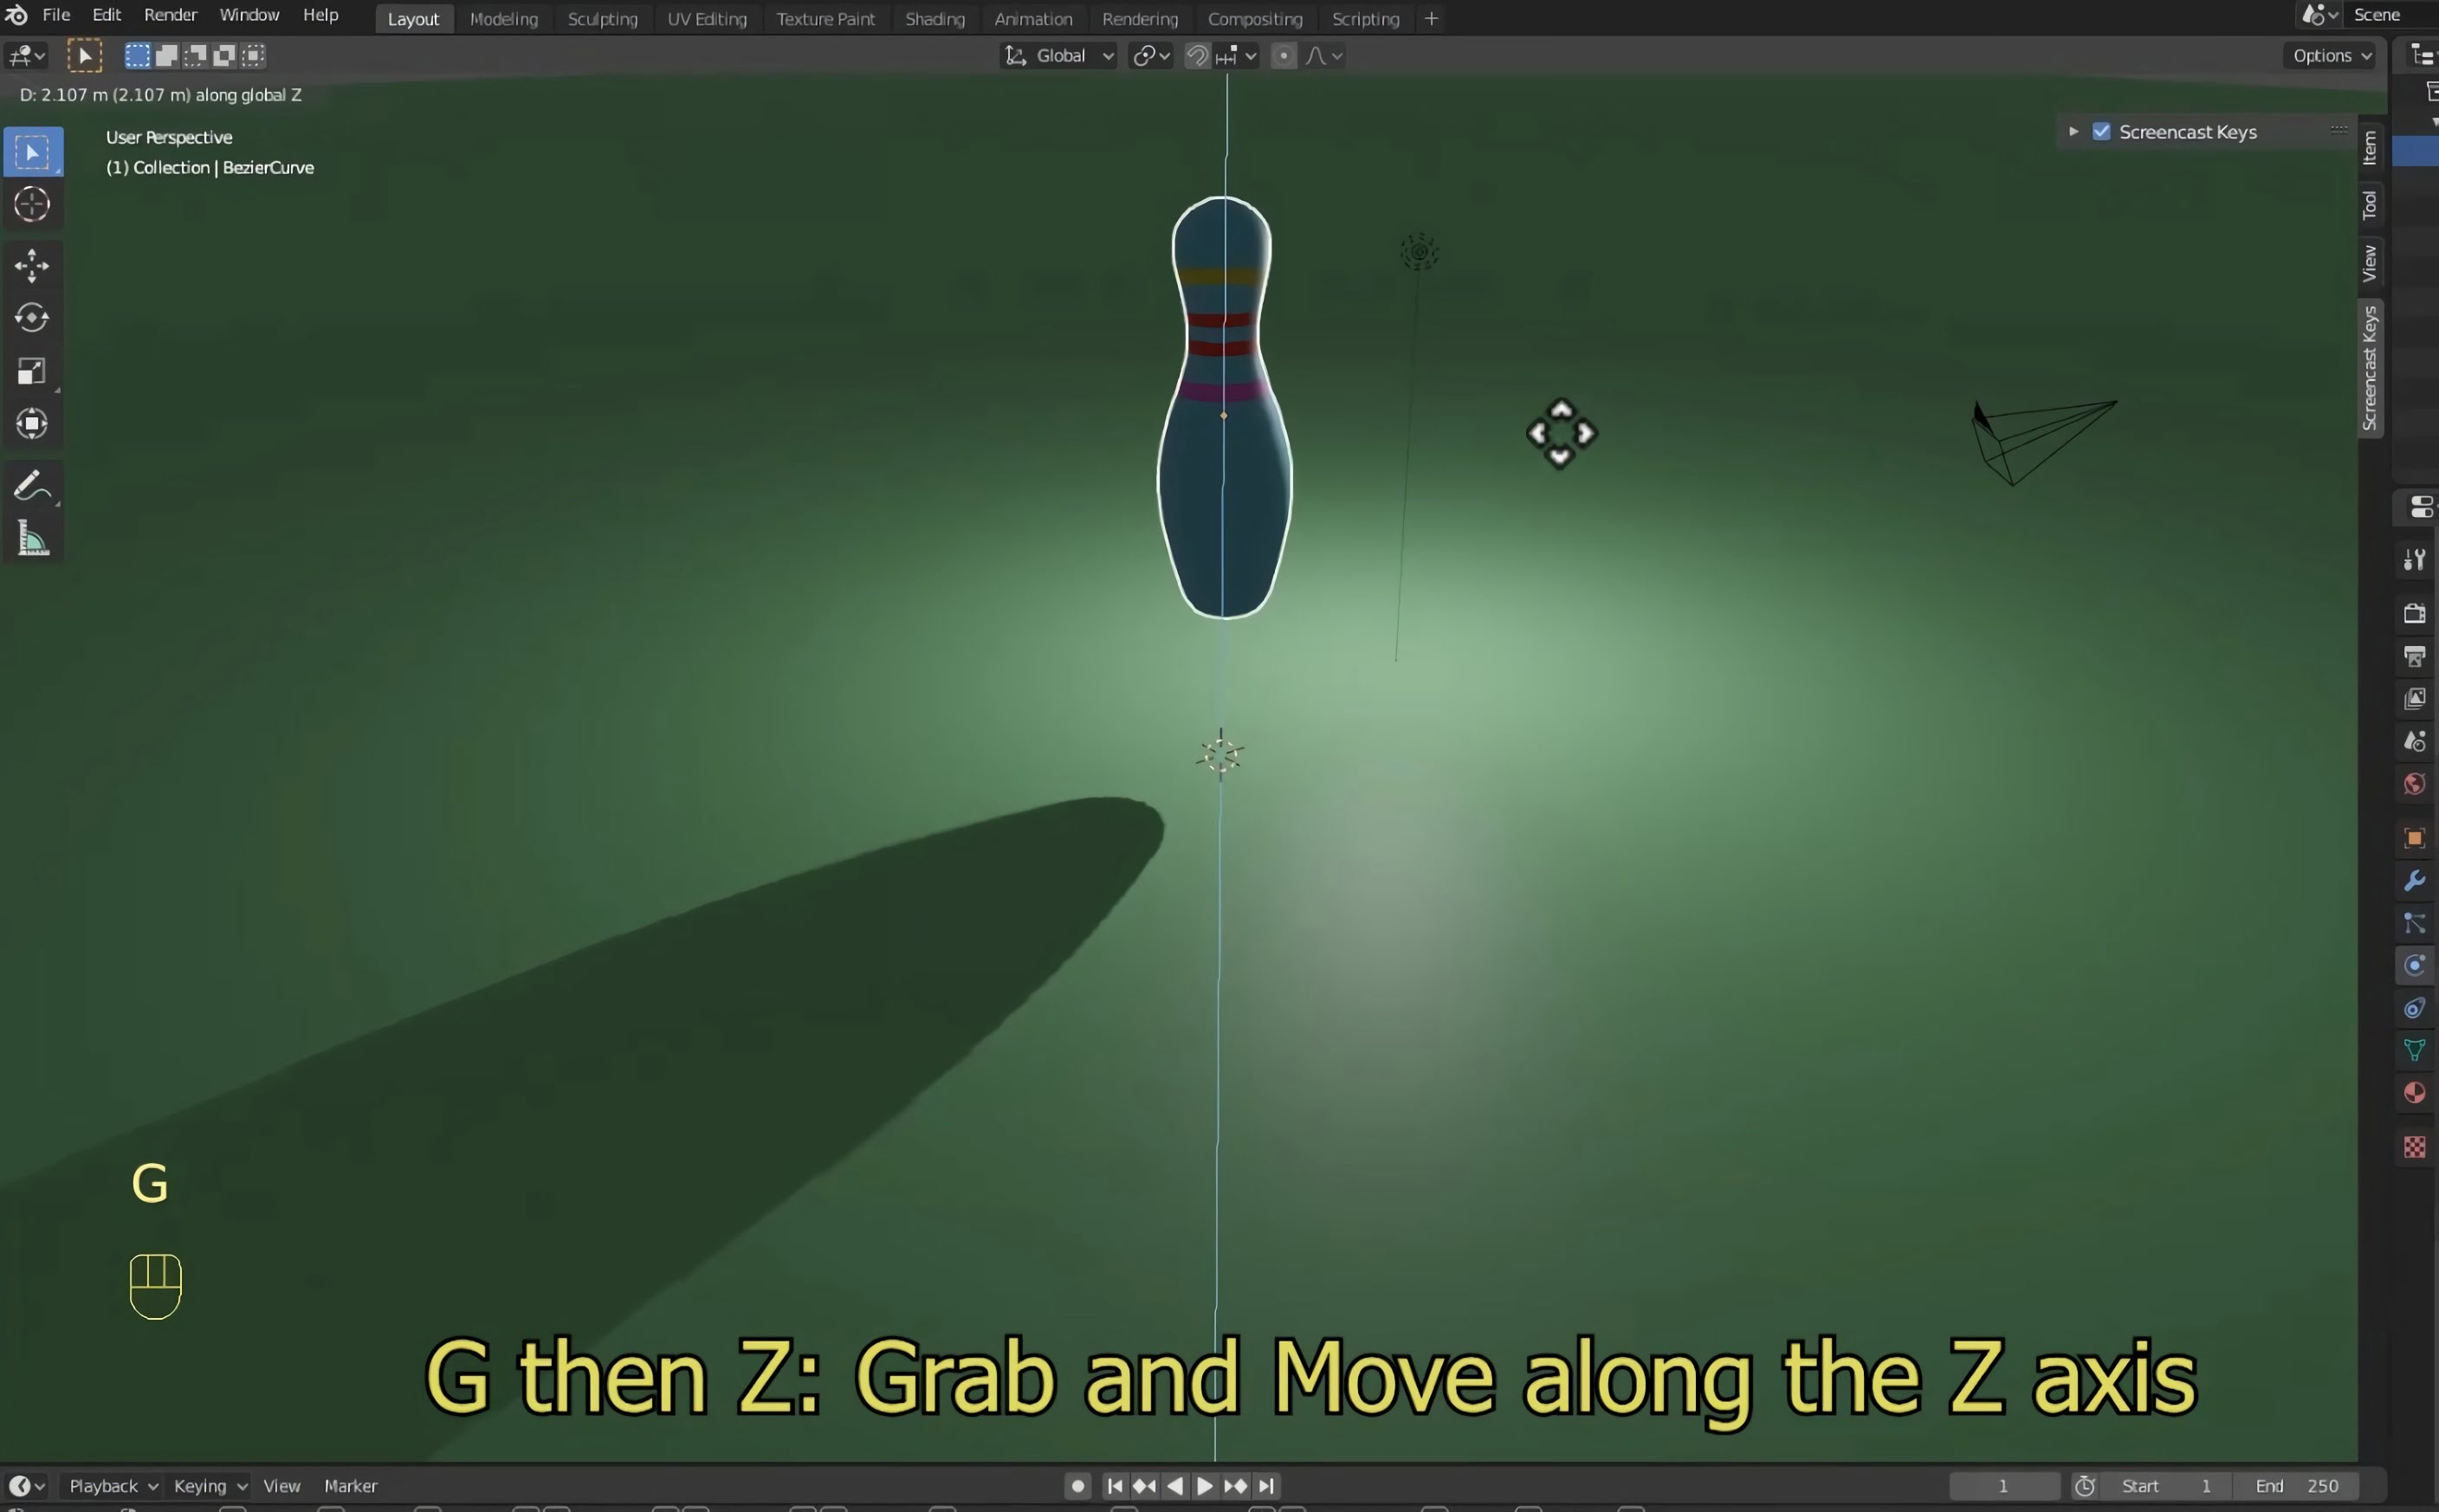
Select your bowling pin & press G then Z to raise it slightly above the plane.
Press spacebar to play the animation and see your bowling pin fall to the ground.
Step 3 - Setting origin point of bowling pin
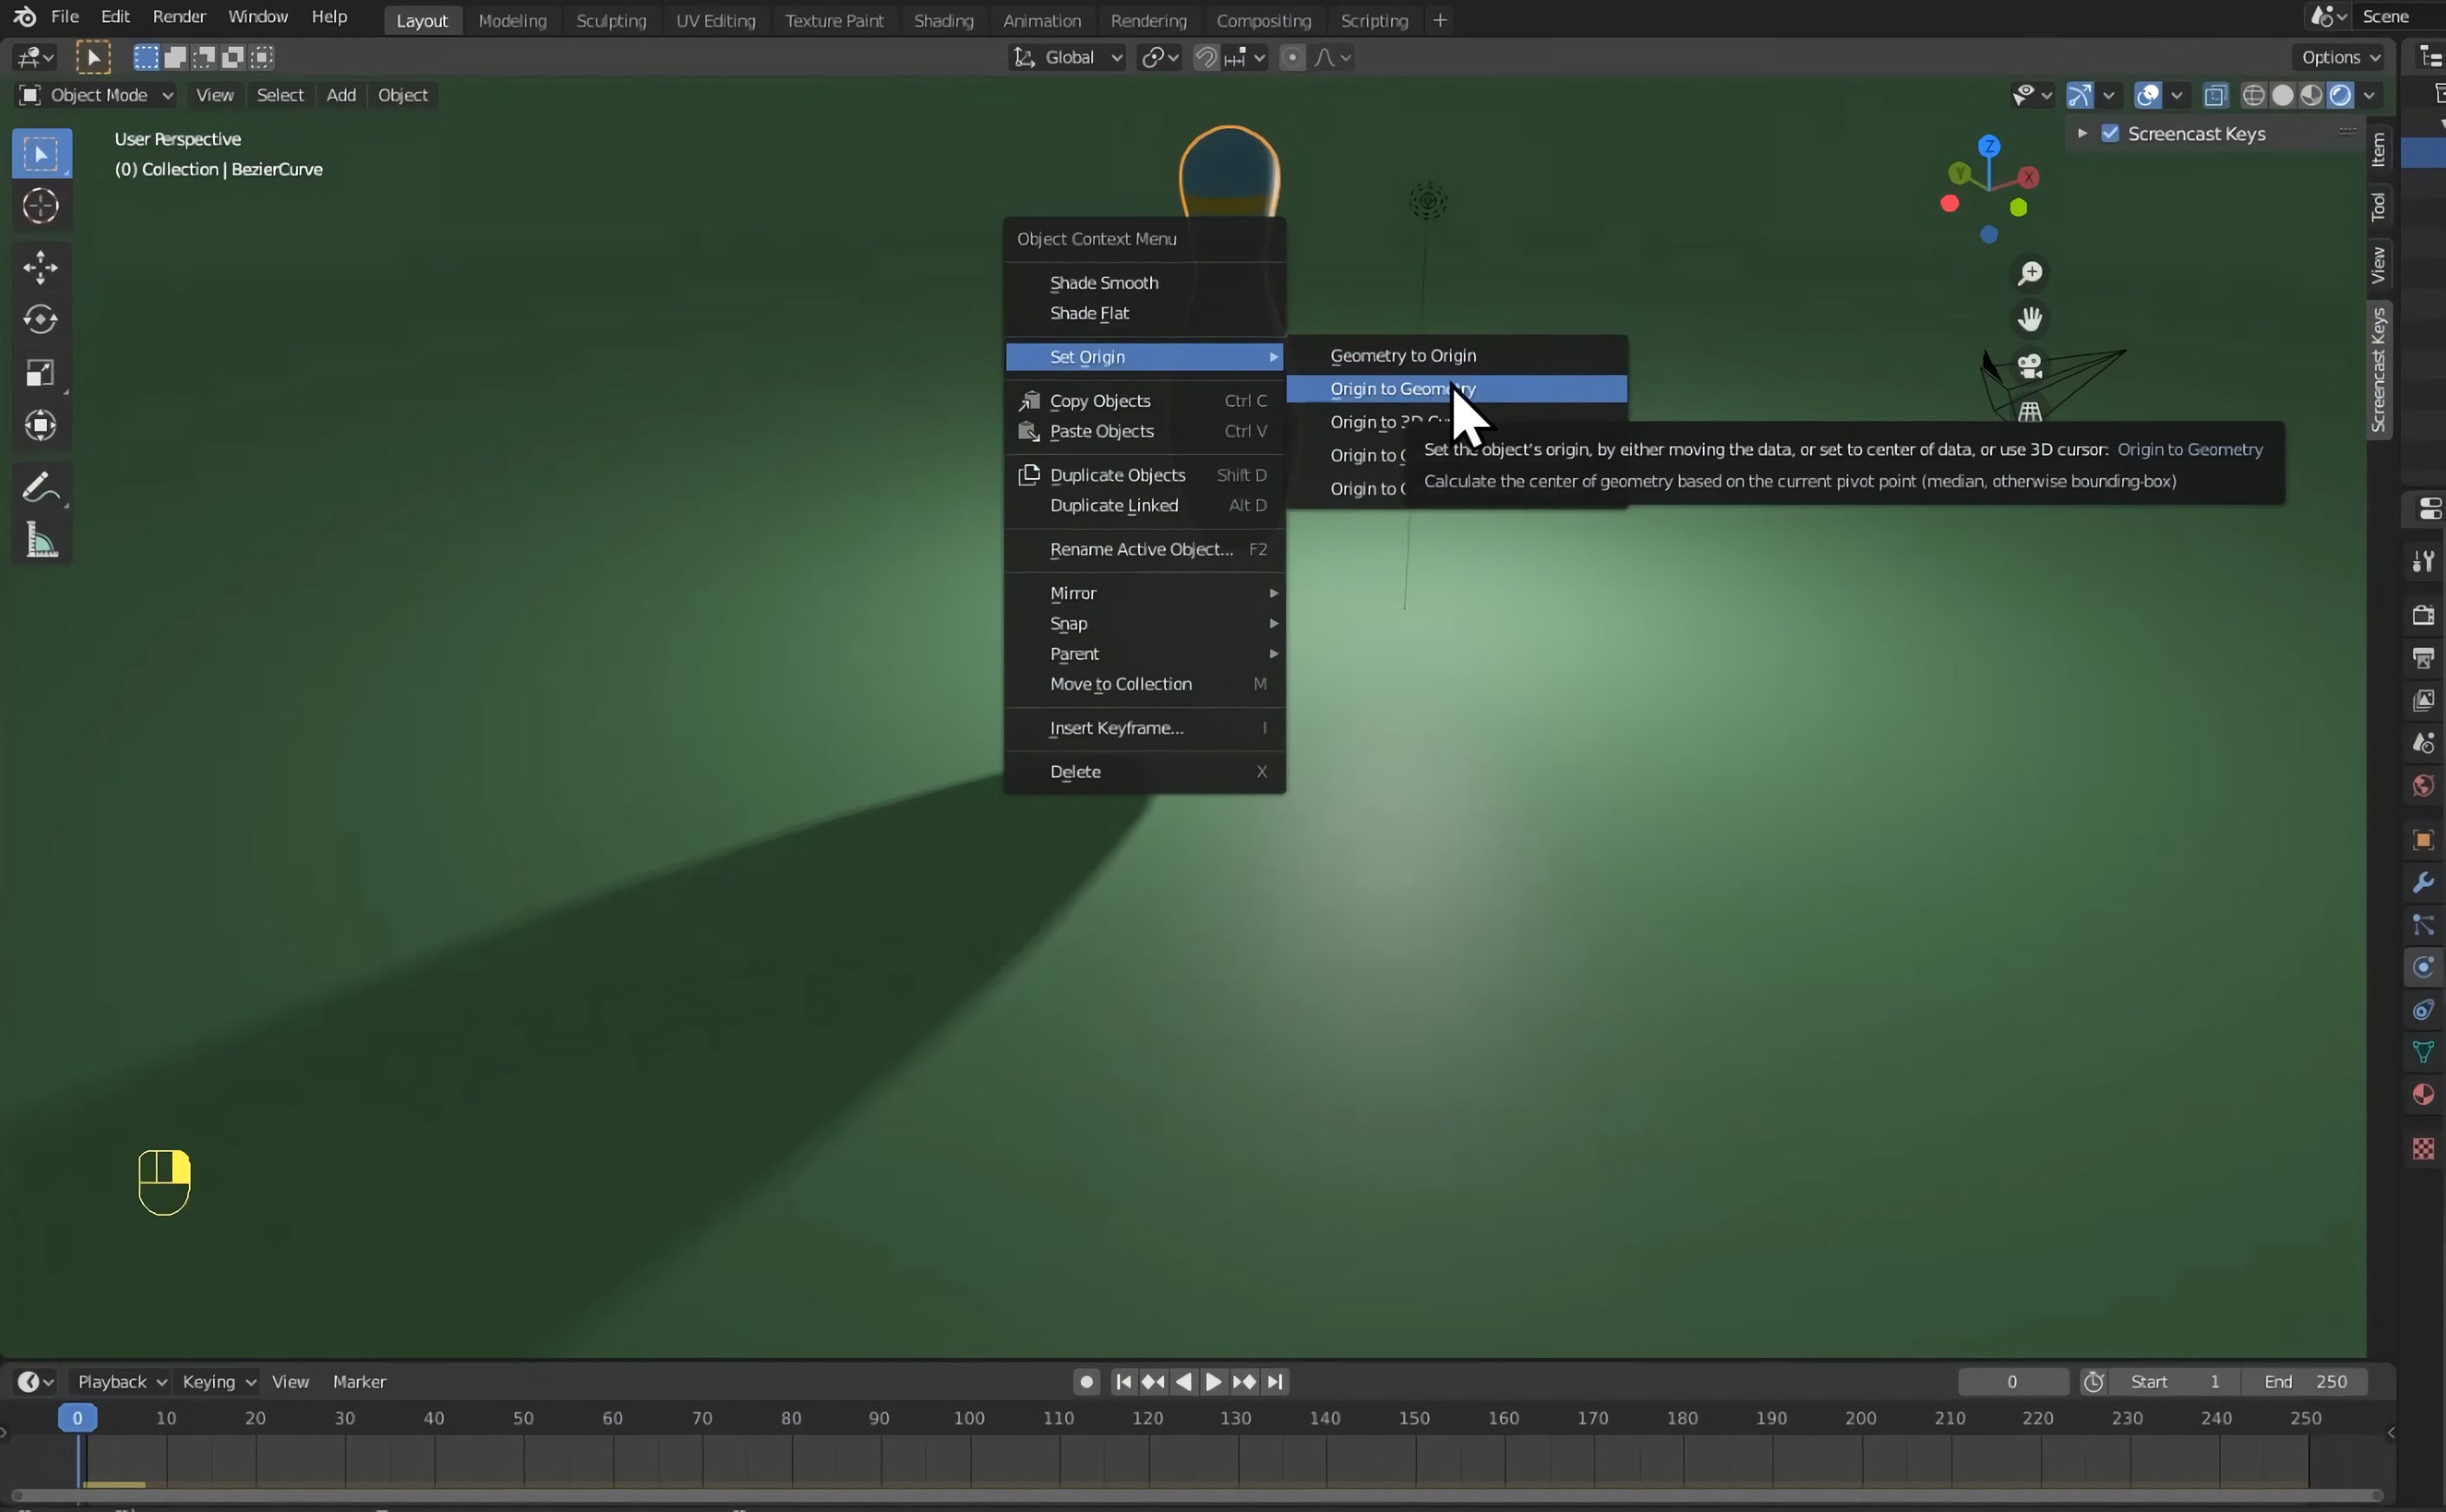
Select your bowling pin and right-click to open the object context menu.
Go to set origin and then click origin to geometry.
This changes your bowling pin's centre of gravity. The fall will now look more natural.
Step 4 - Duplicating bowling pin
Select your bowling pin and press Shift+D to duplicate.
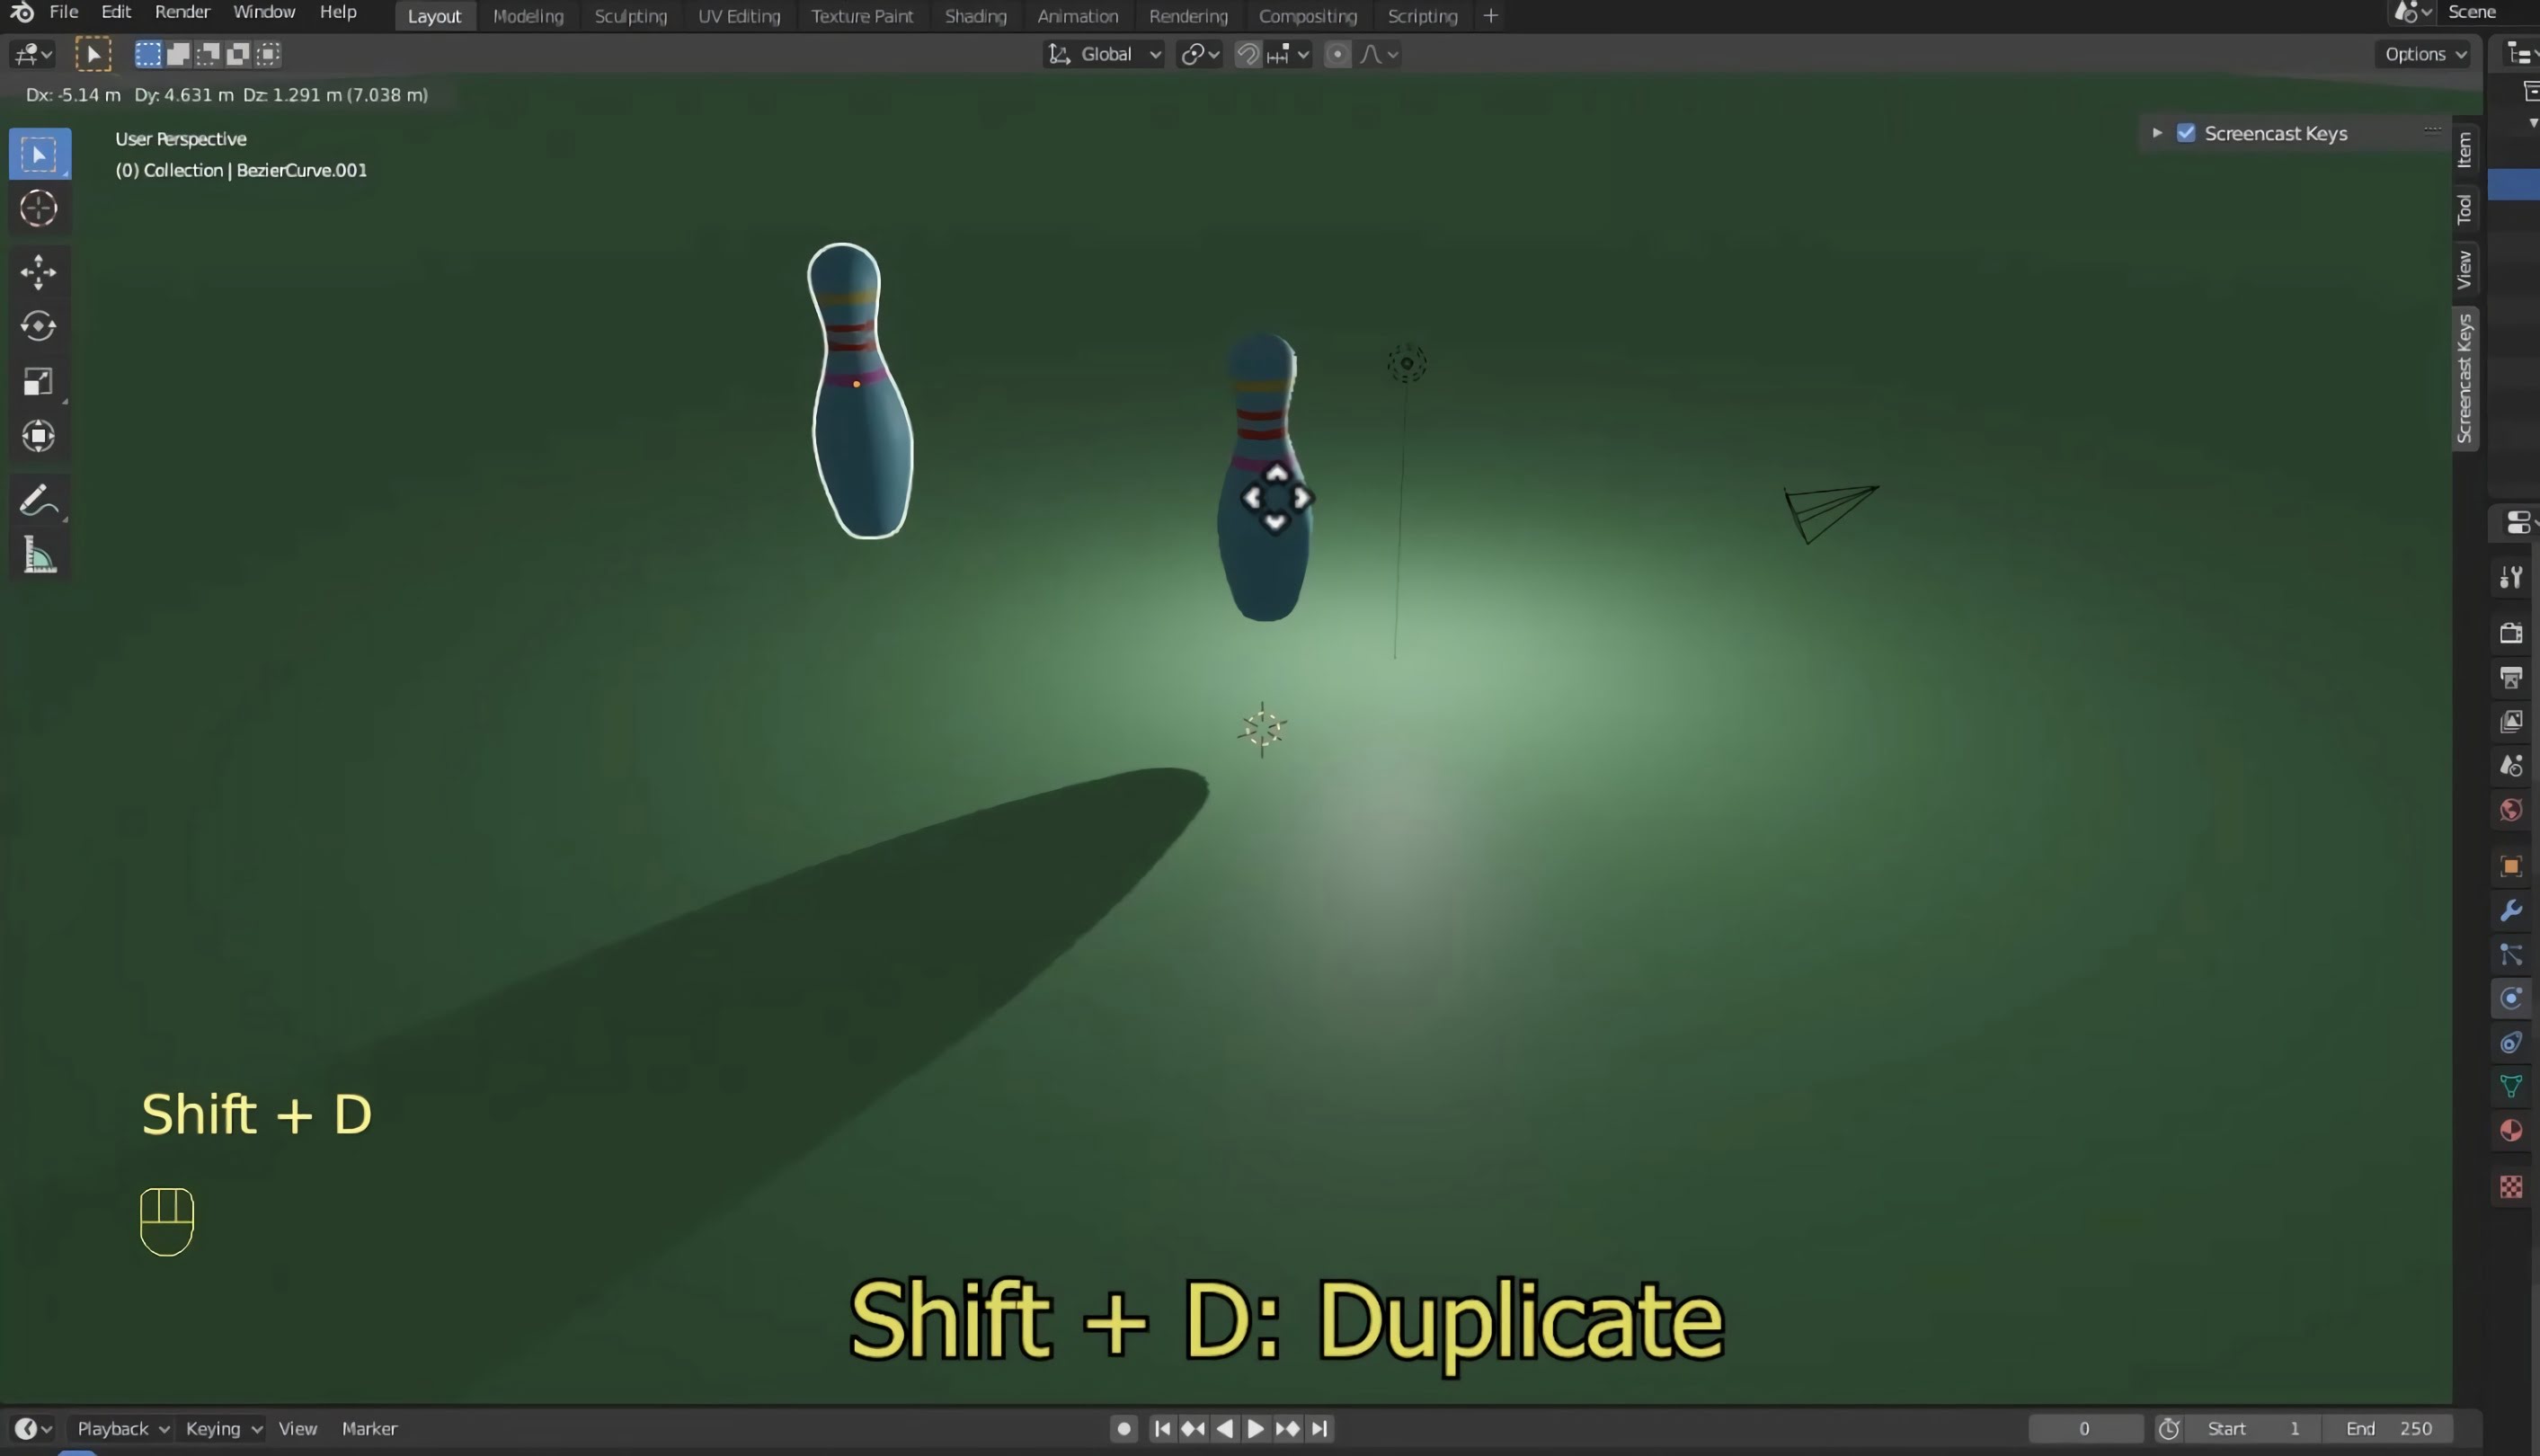
Using the duplication tool, create a set of bowling pins and place them onto your plane. This is the set that we're going to knock over with the bowling ball.
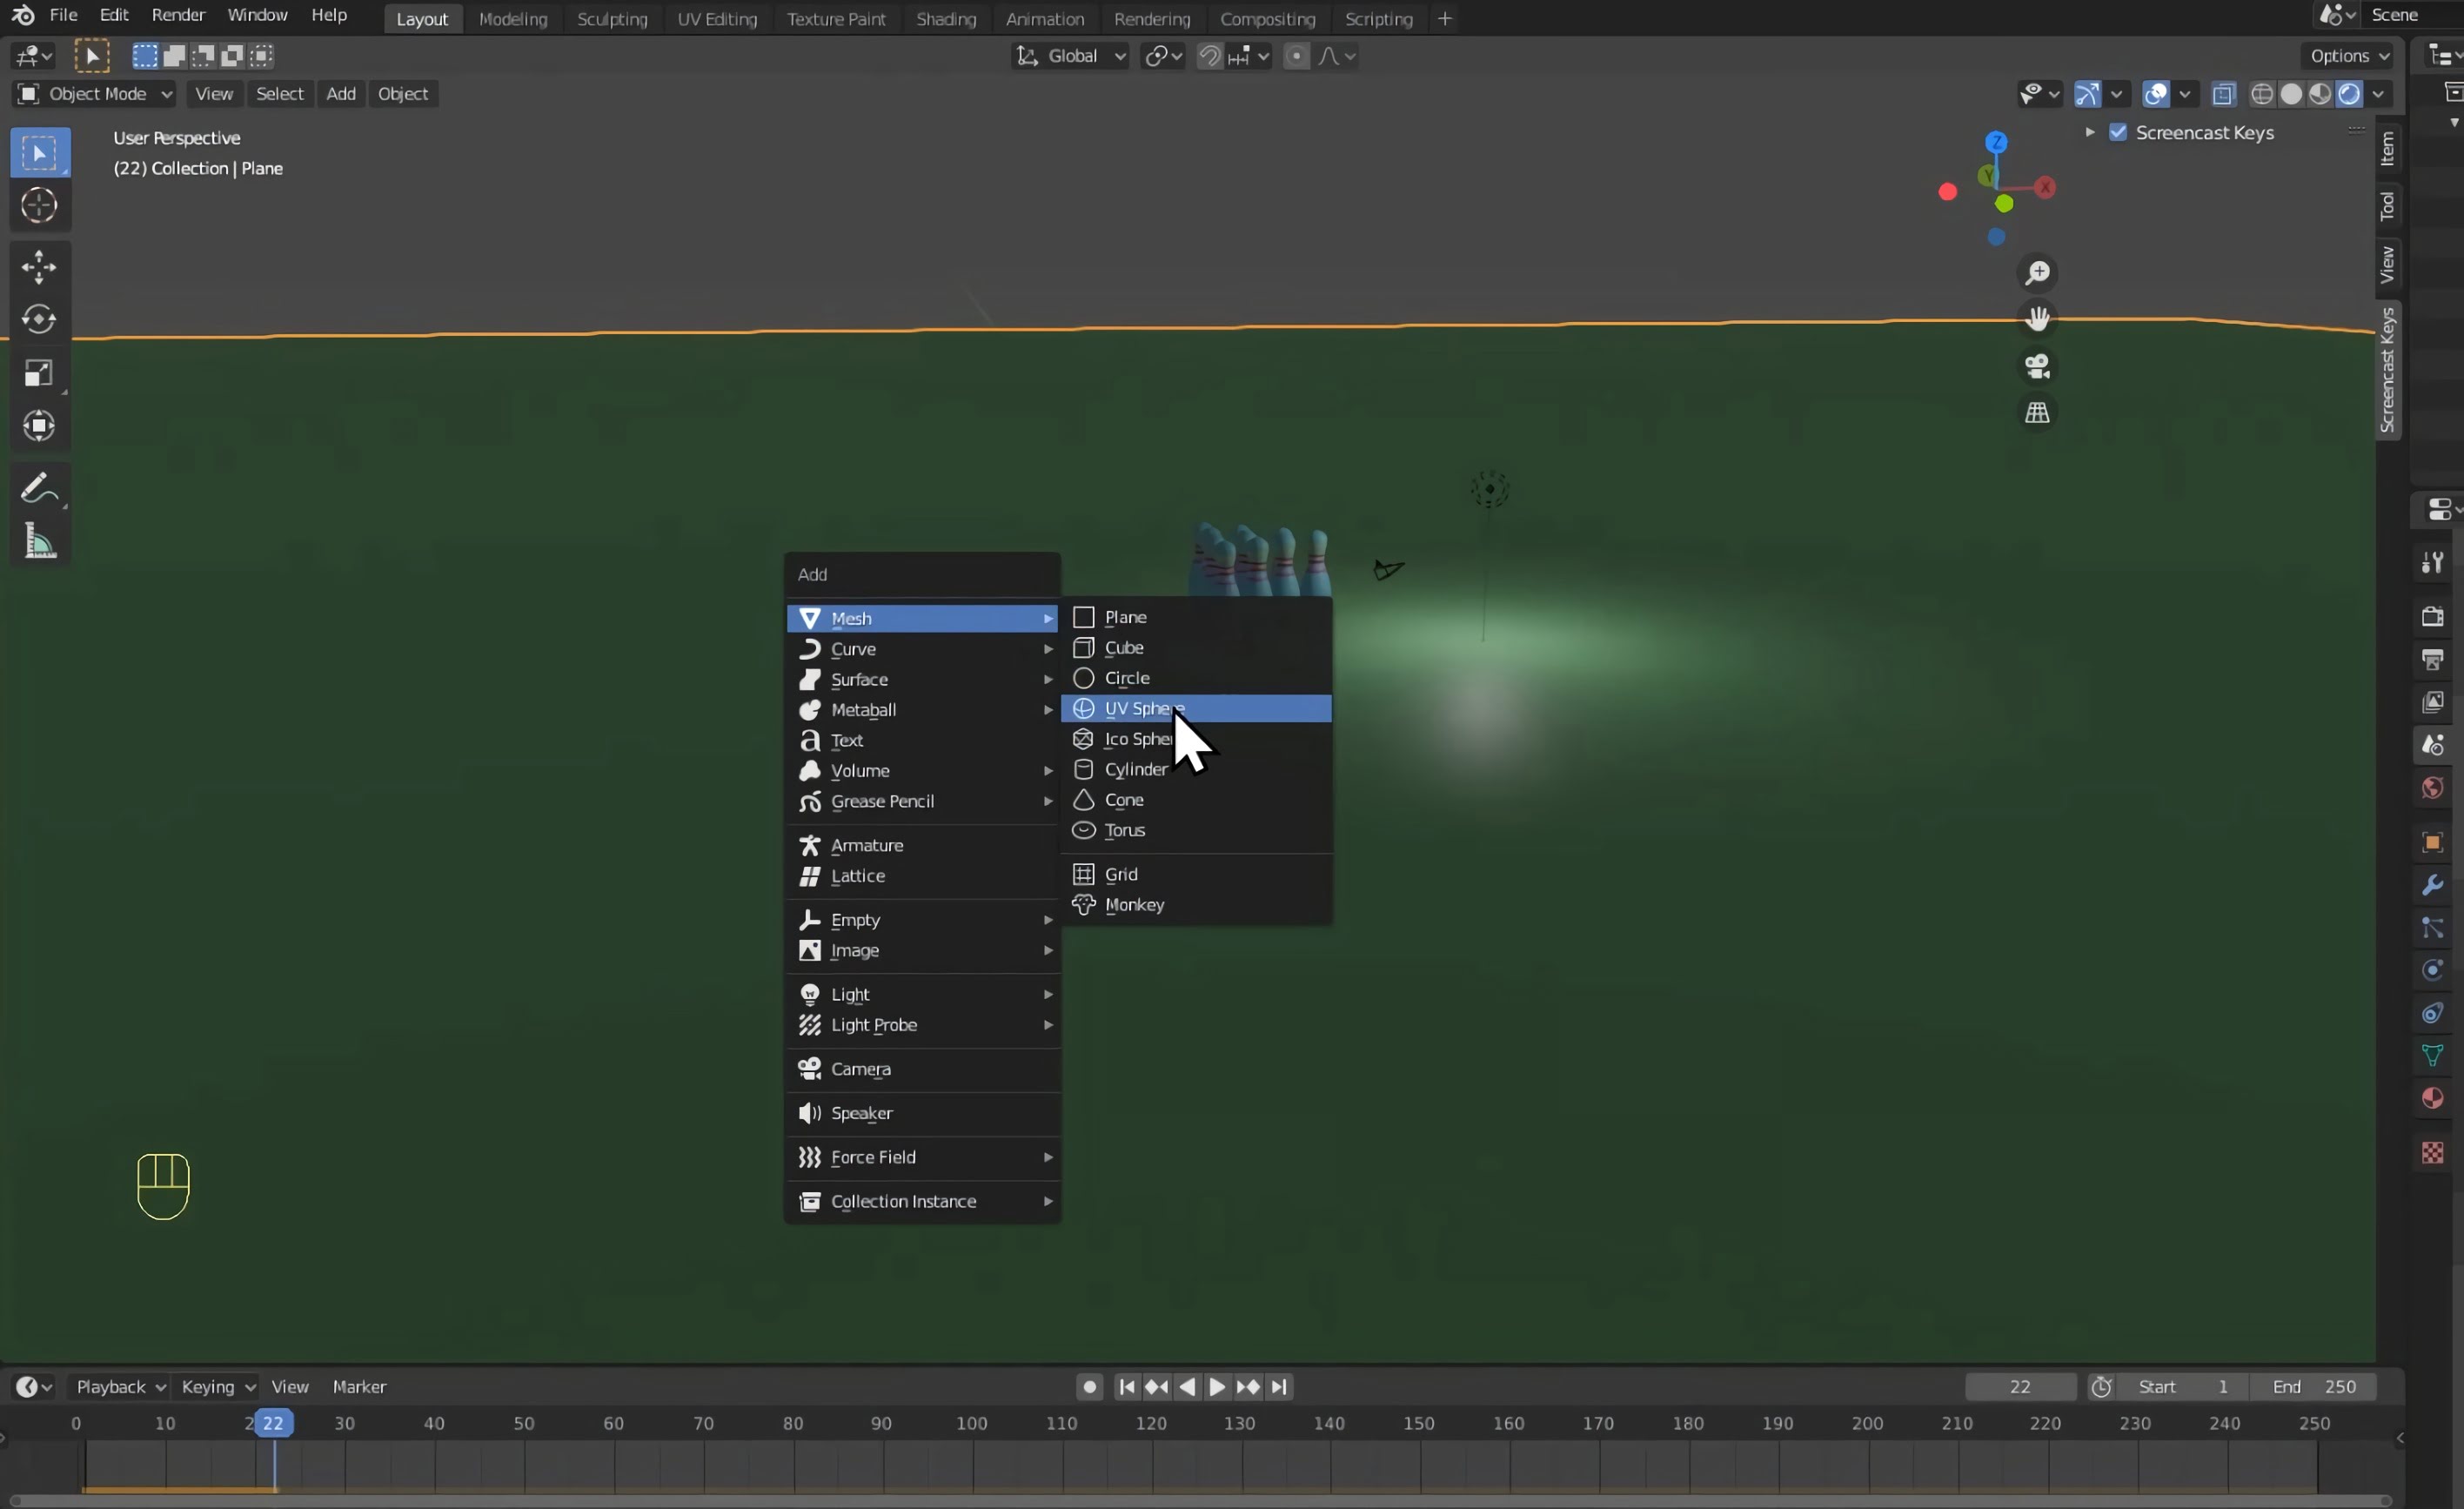
Step 5 - Adding bowling ball
Press Shift+A to open the add menu.
Go to mesh and then select UV sphere.
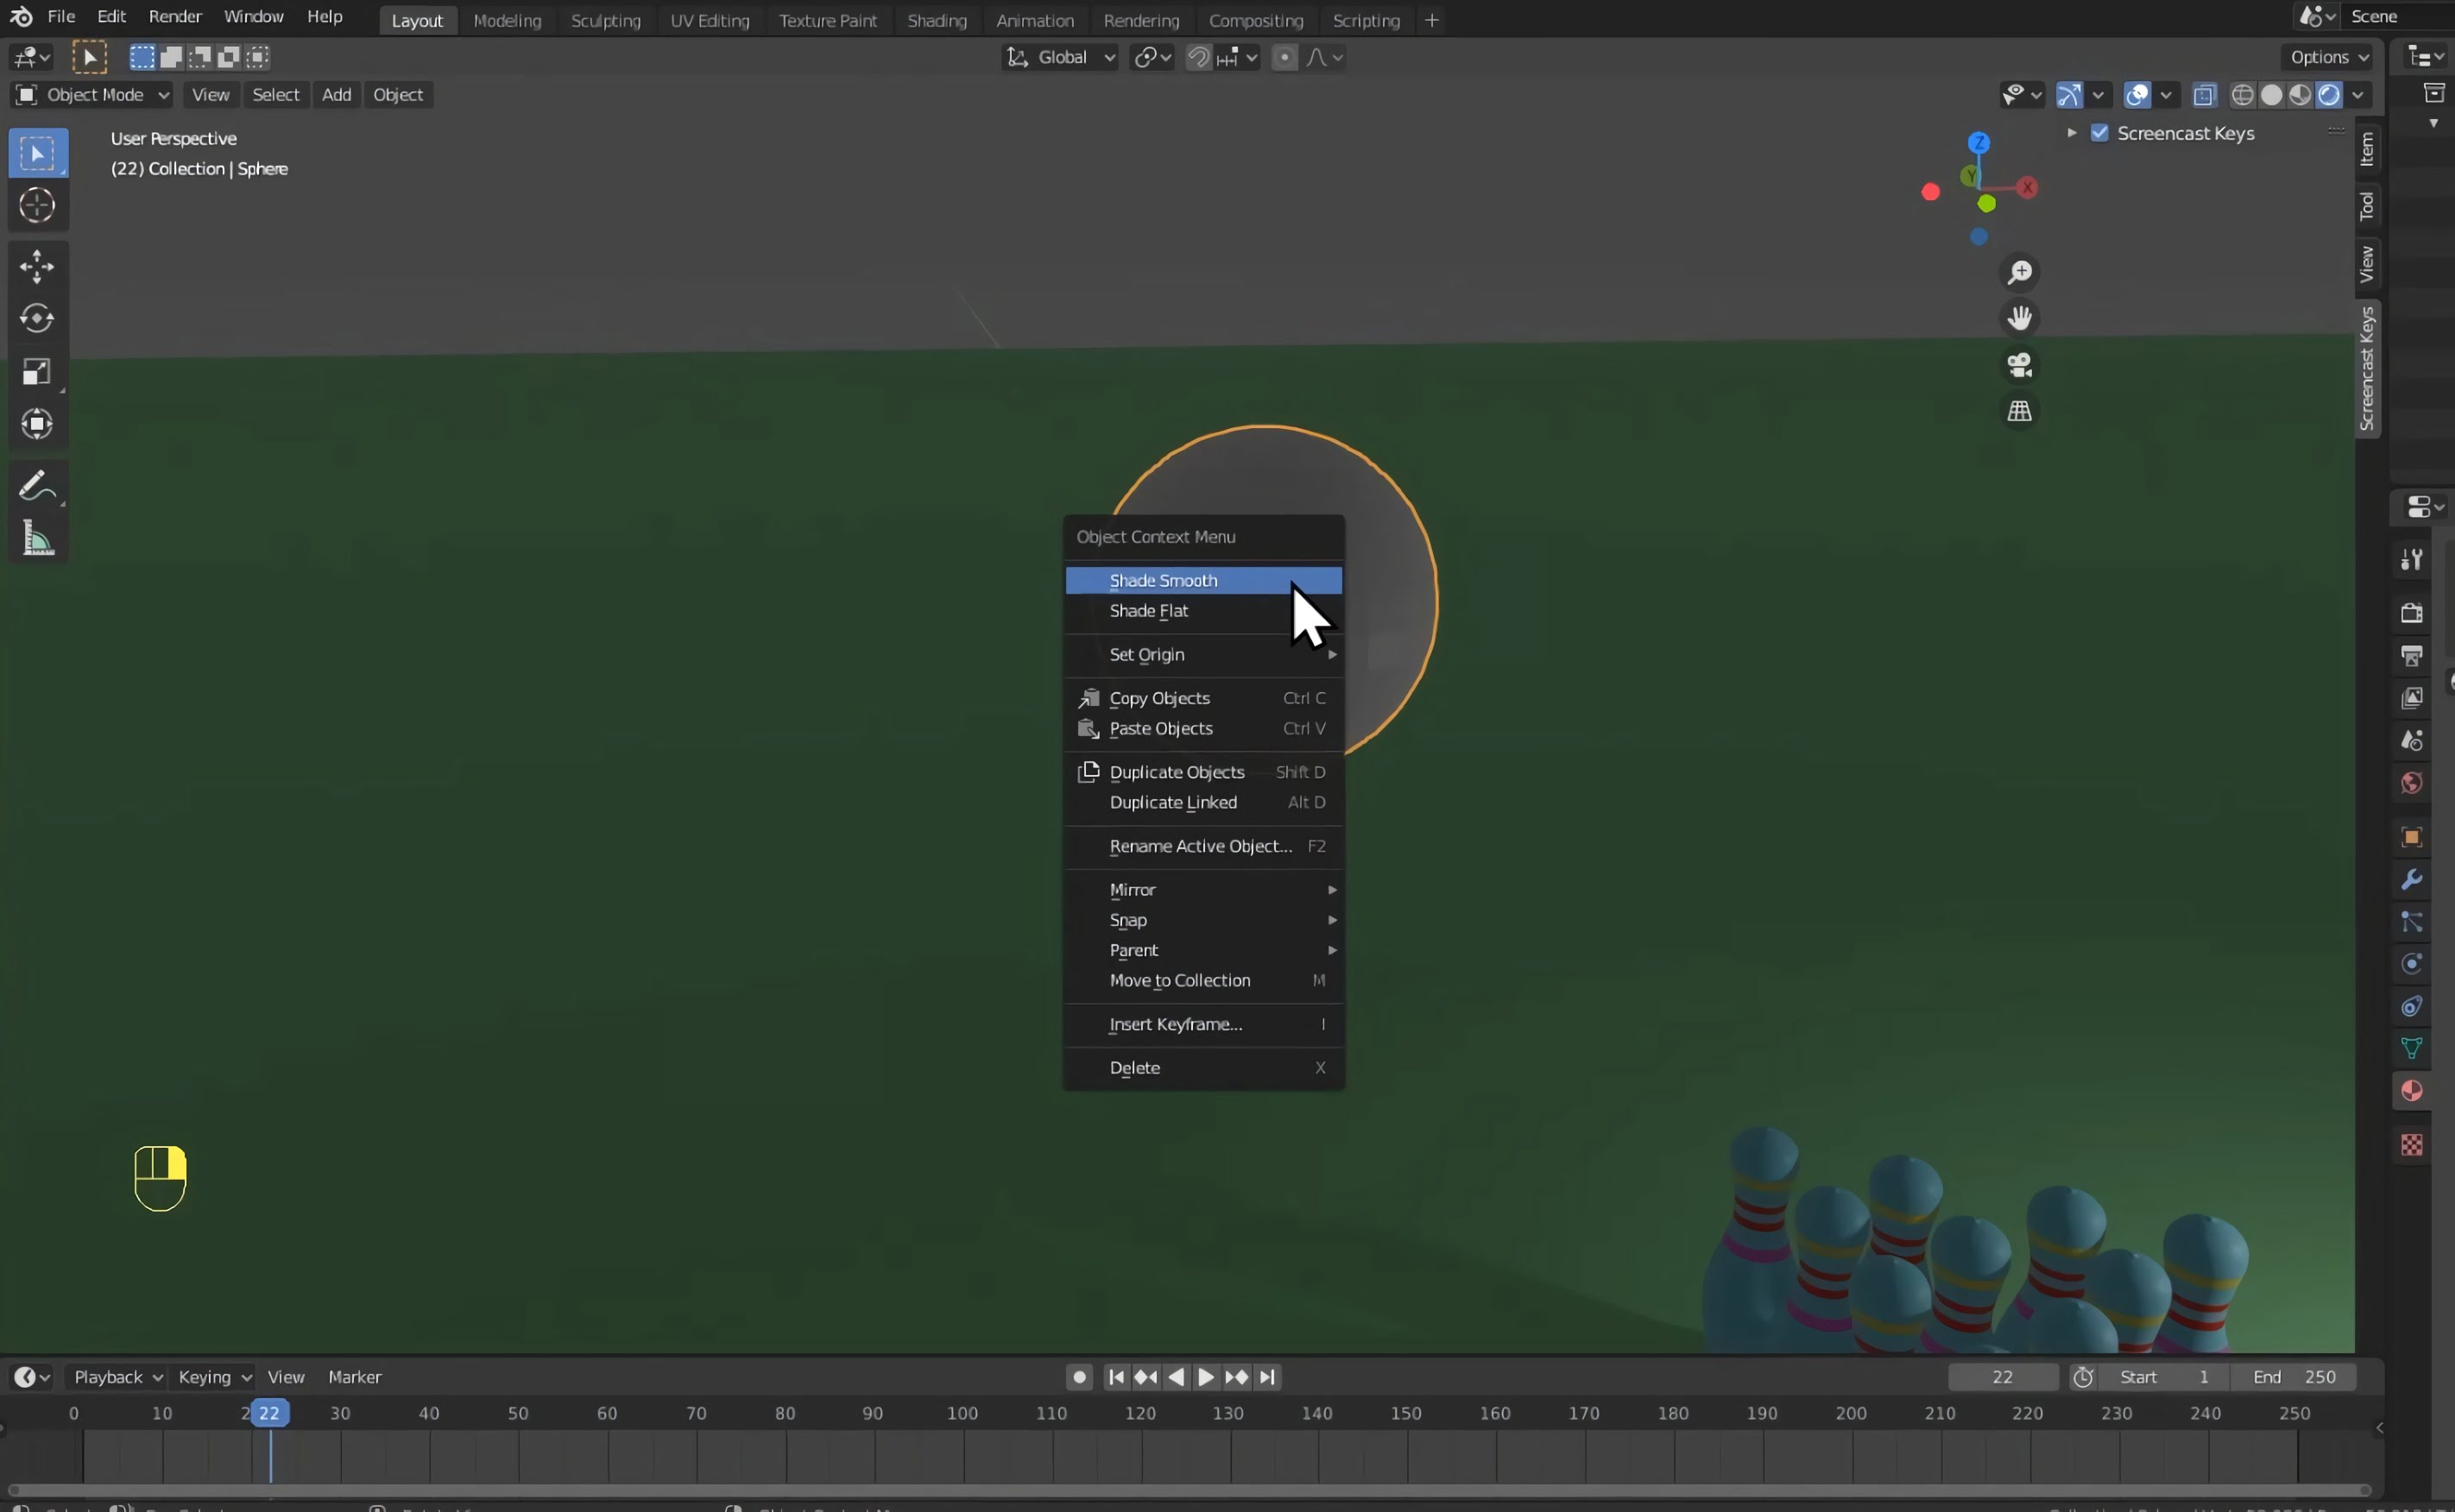
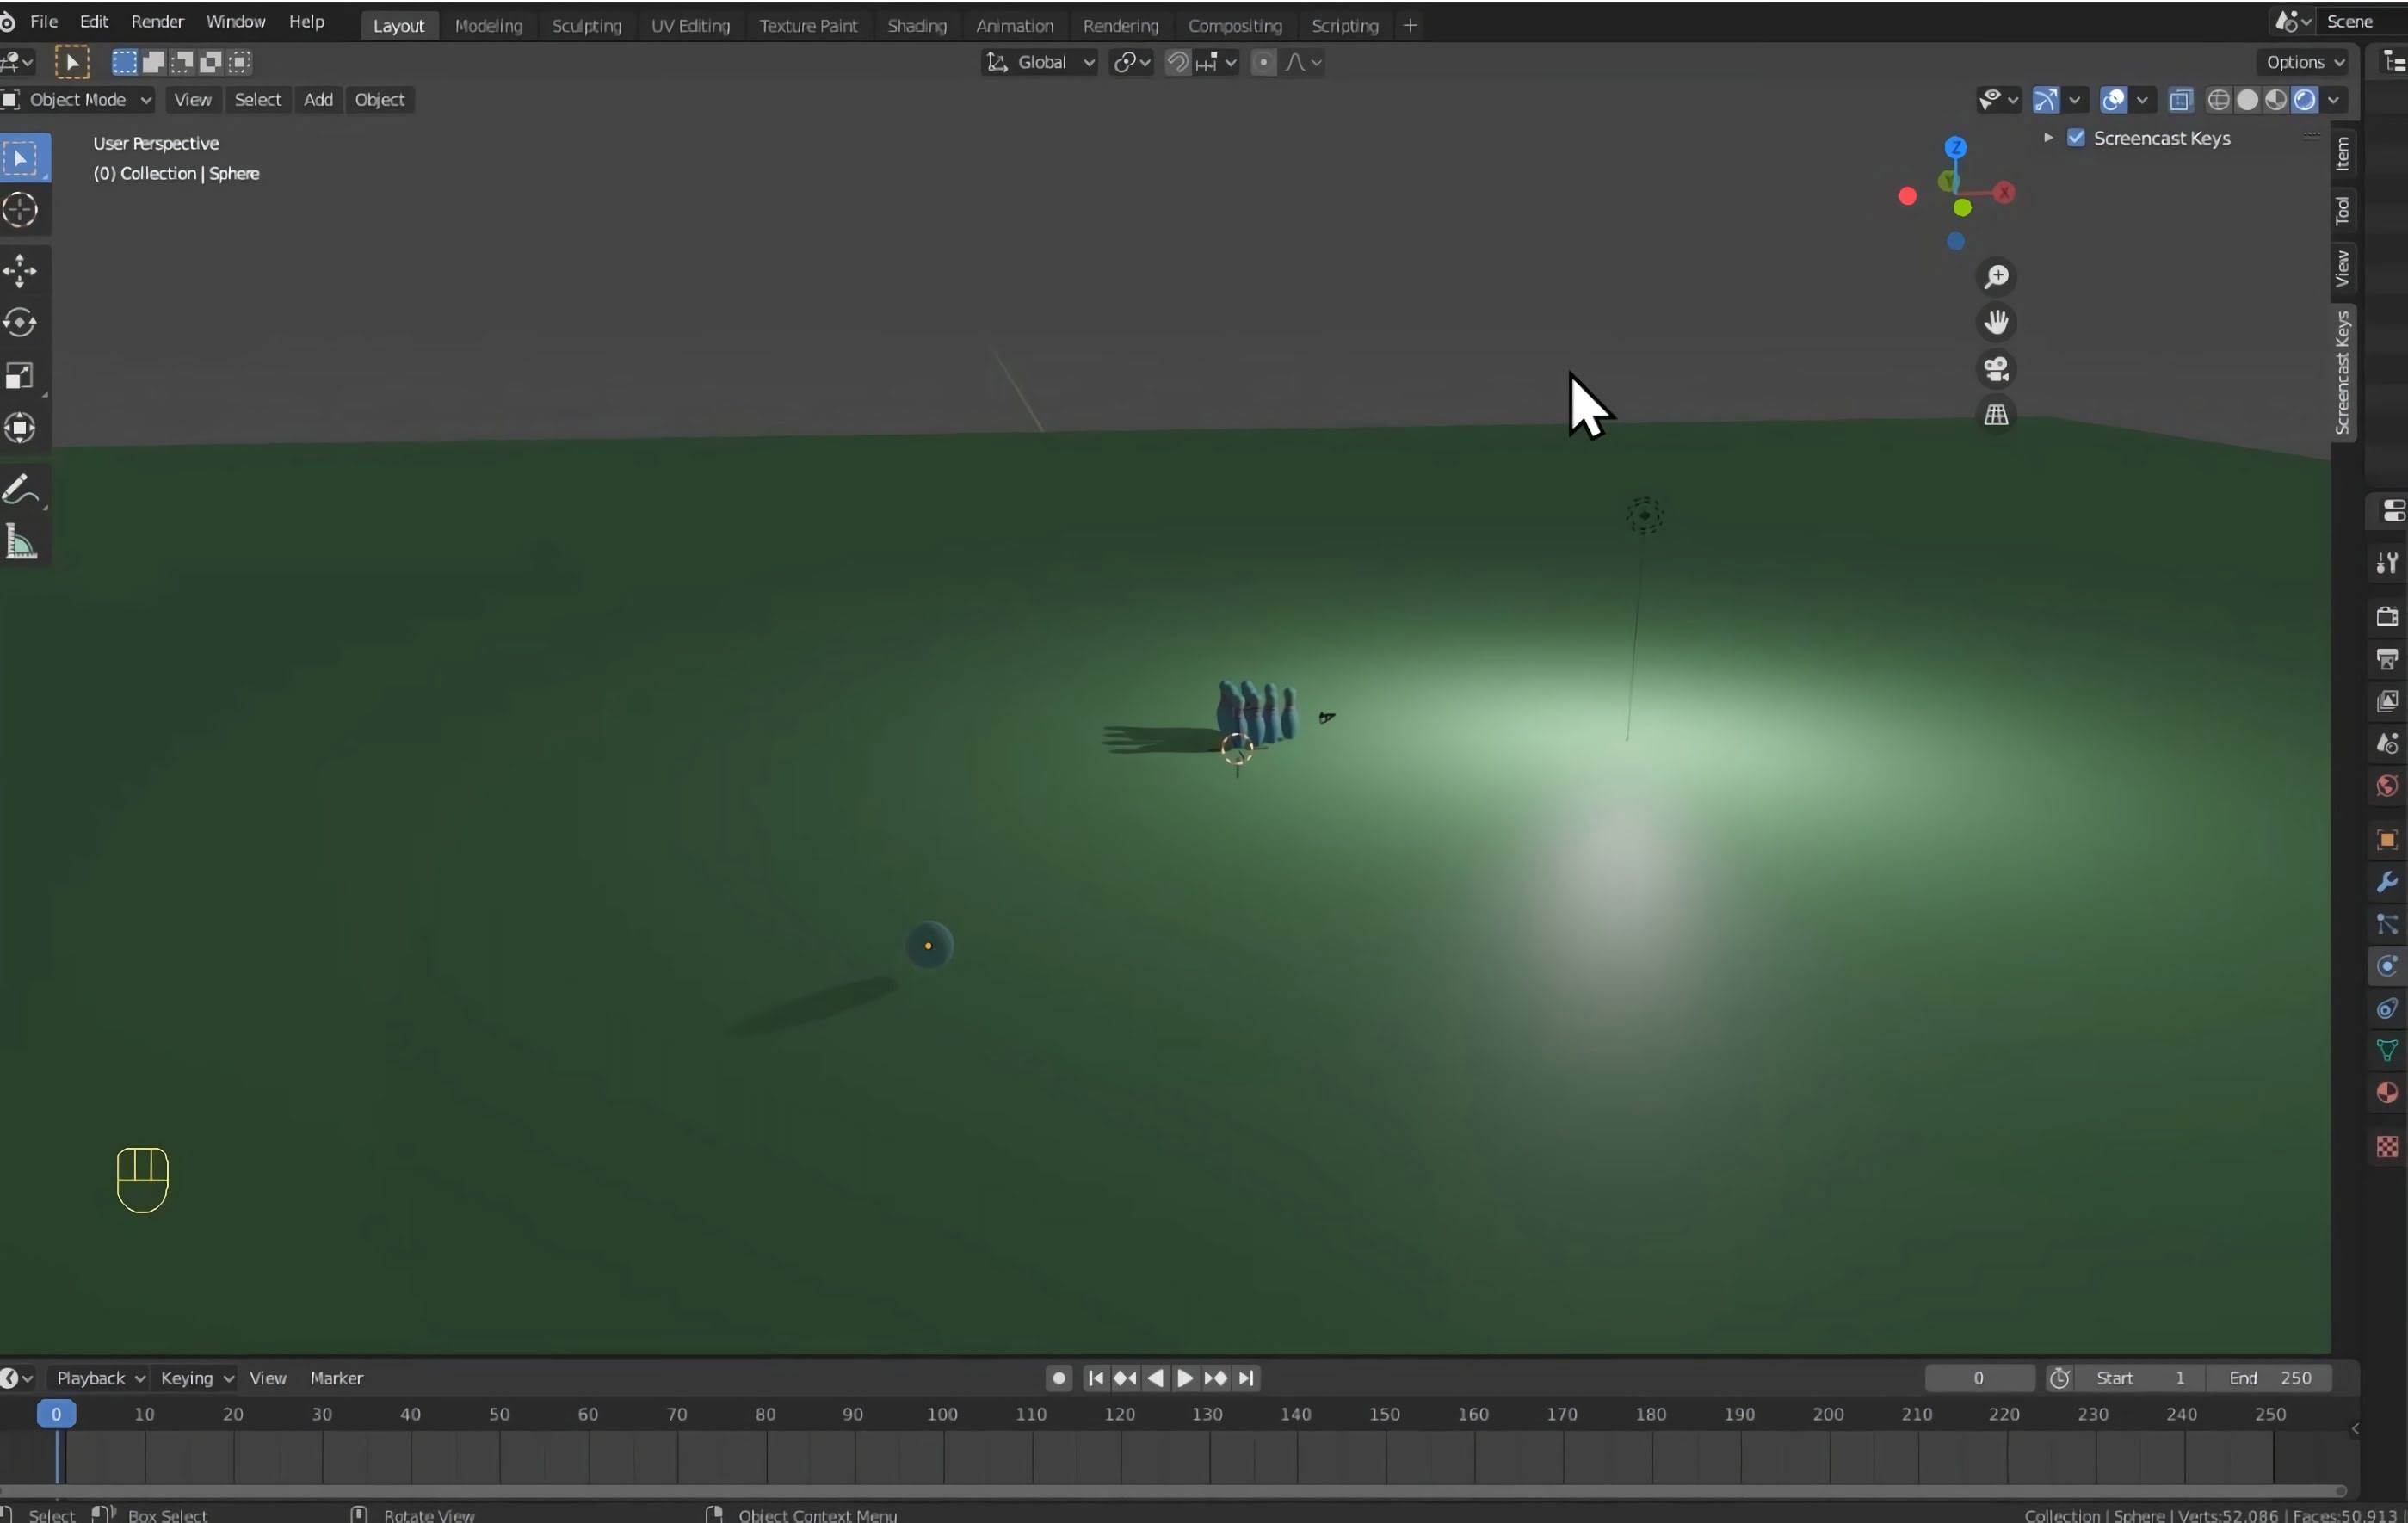
You may notice that the bowling ball has a blocky look. To fix this, right click the bowling ball and select shade smooth.
Add a colour. The method is the same as that used to colour the bowling pin! To add shininess, change the roughness slider on the material to around 0.05.
Move your bowling ball to approximately where you want to start it rolling from. This should be a little bit of distance from your bowling pins.
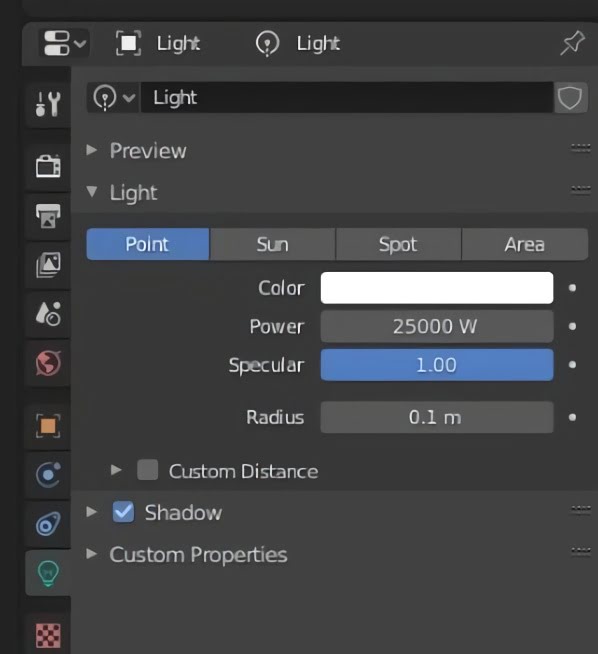
To adjust the brightness of the scene, select the light and go to the light properties tab. From here, increase the power as necessary.
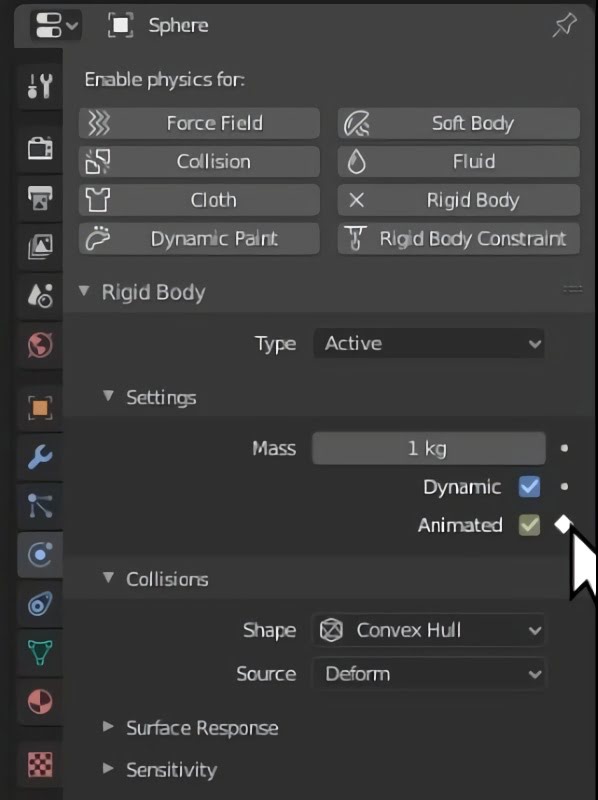
Step 6 - Adding physics to/animating bowling ball
Select your bowling ball and add a rigid body modifier. This time, make sure that the animated box is ticked.

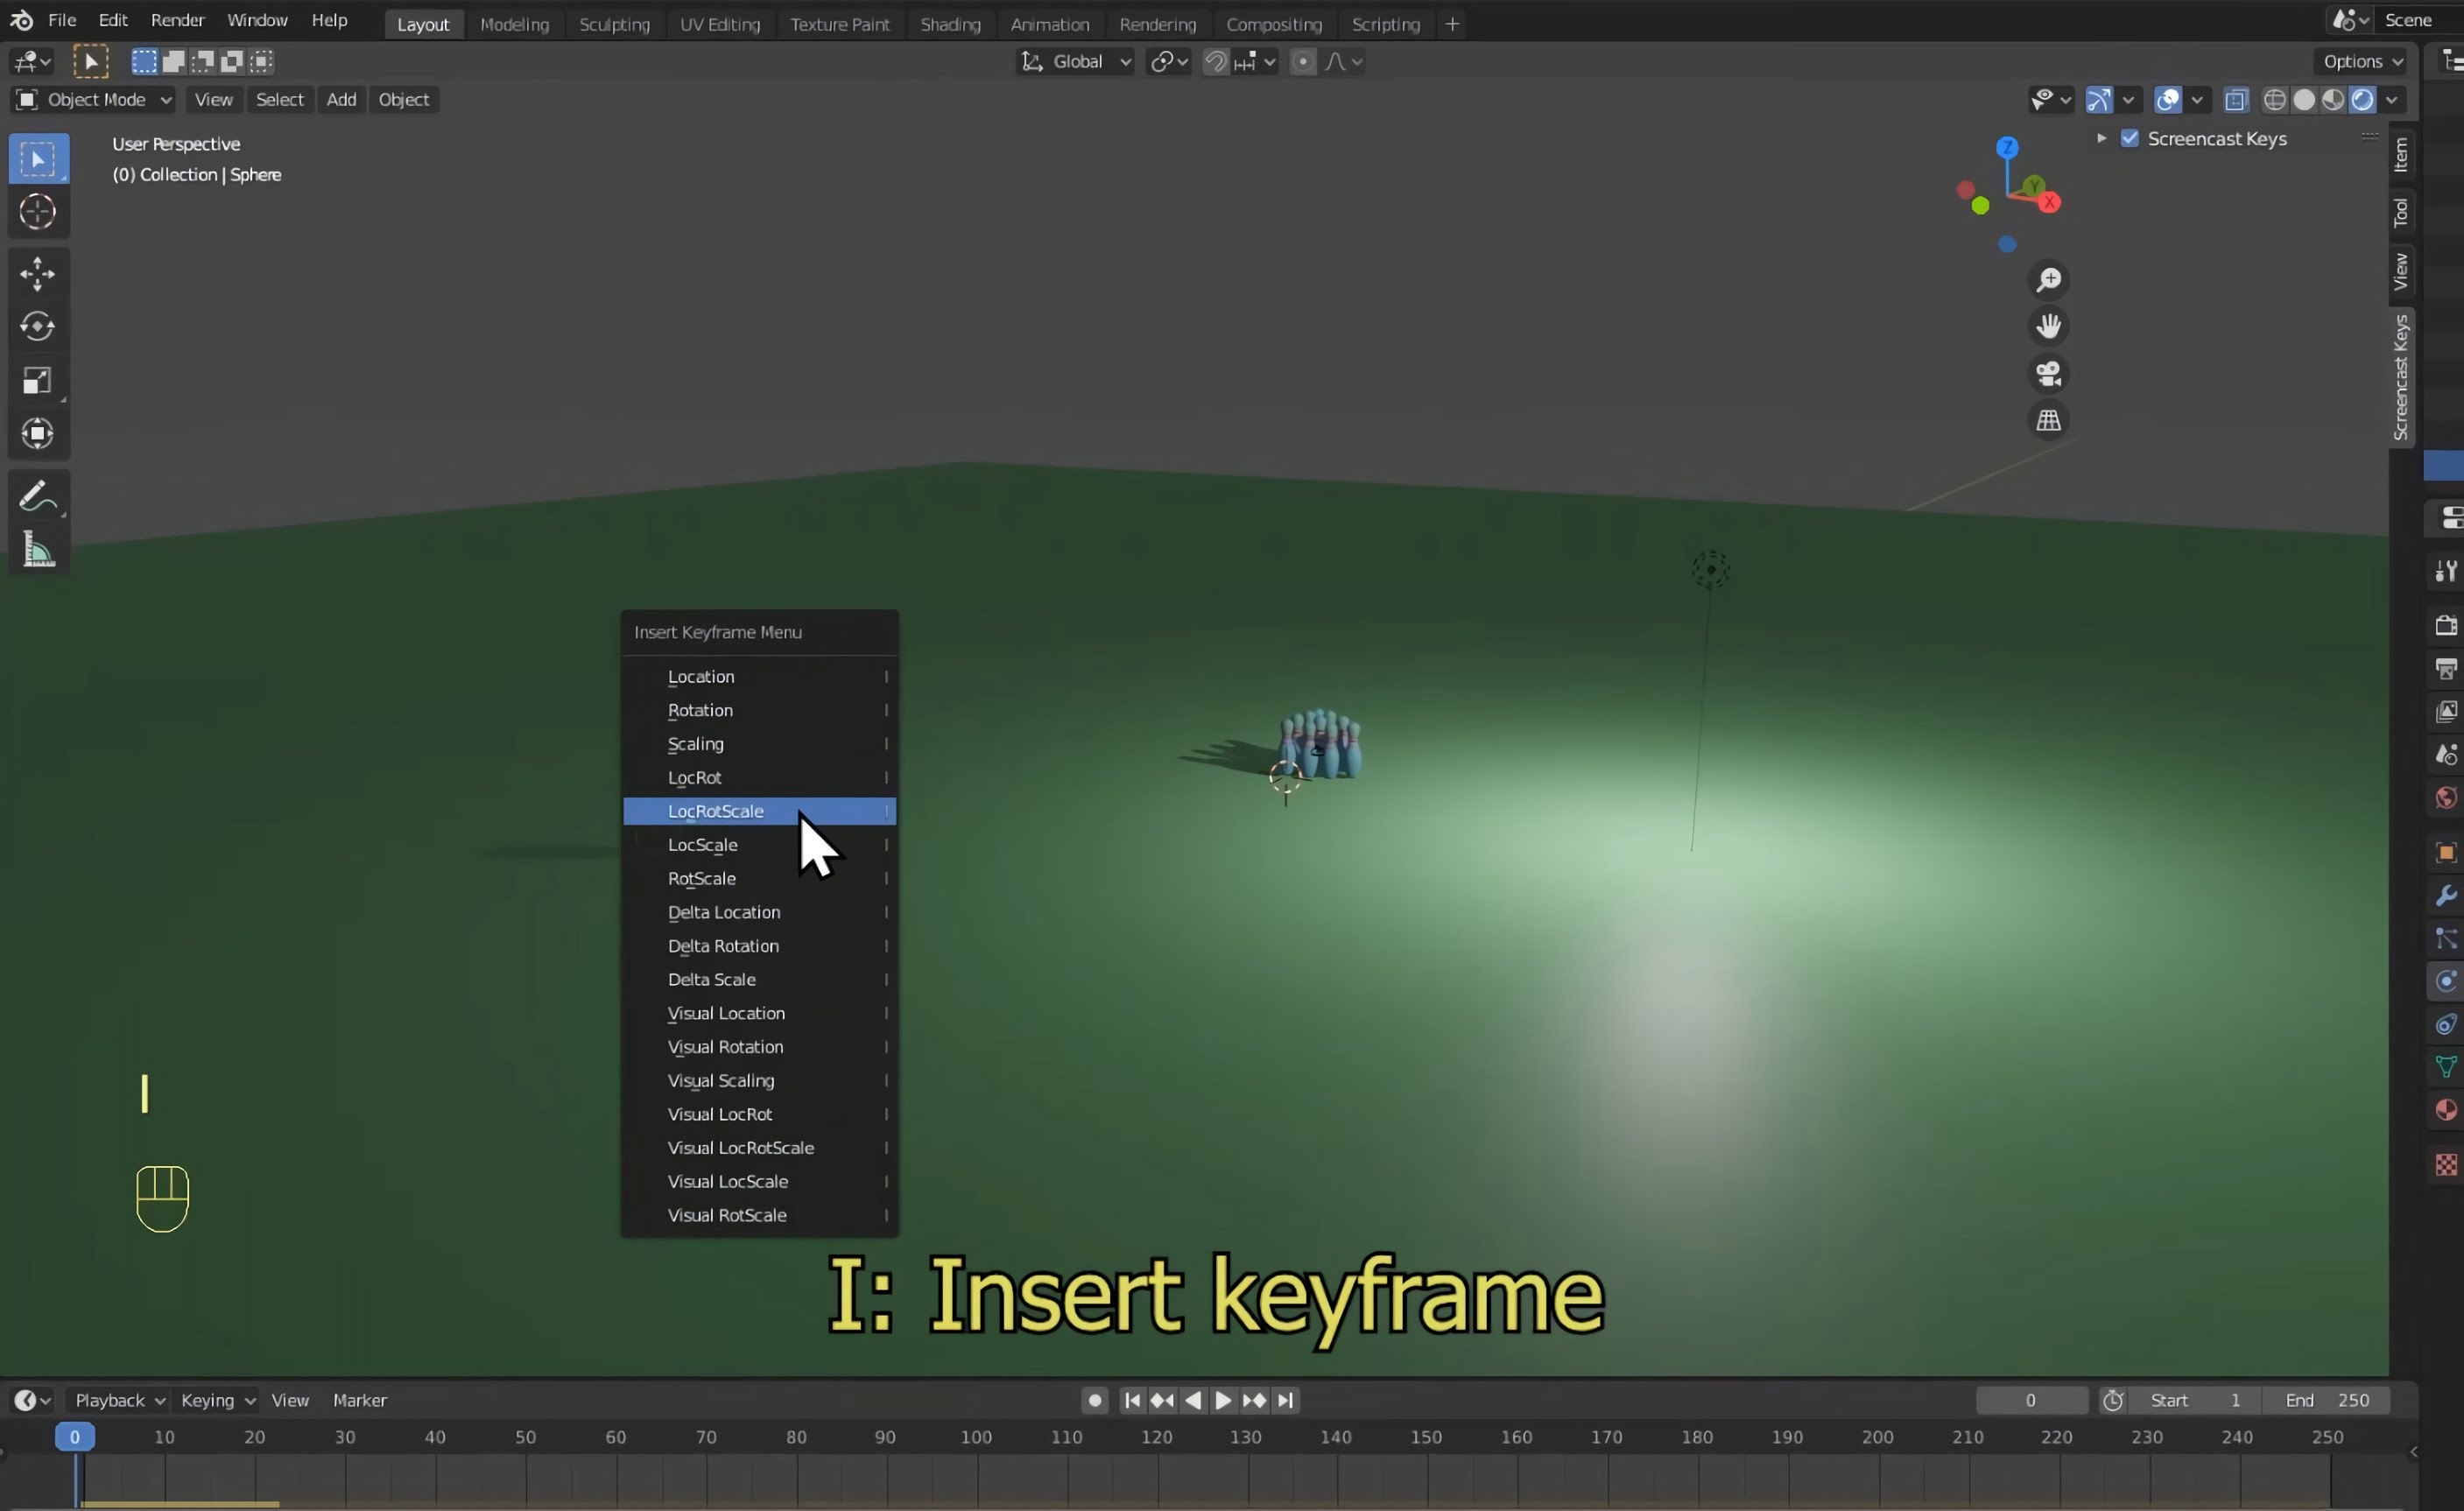
At the bottom of the screen, make sure that the blue marker on your timeline is at 0.
Select the bowling ball and press I to open the insert keyframe menu.
Select LocRotScale.
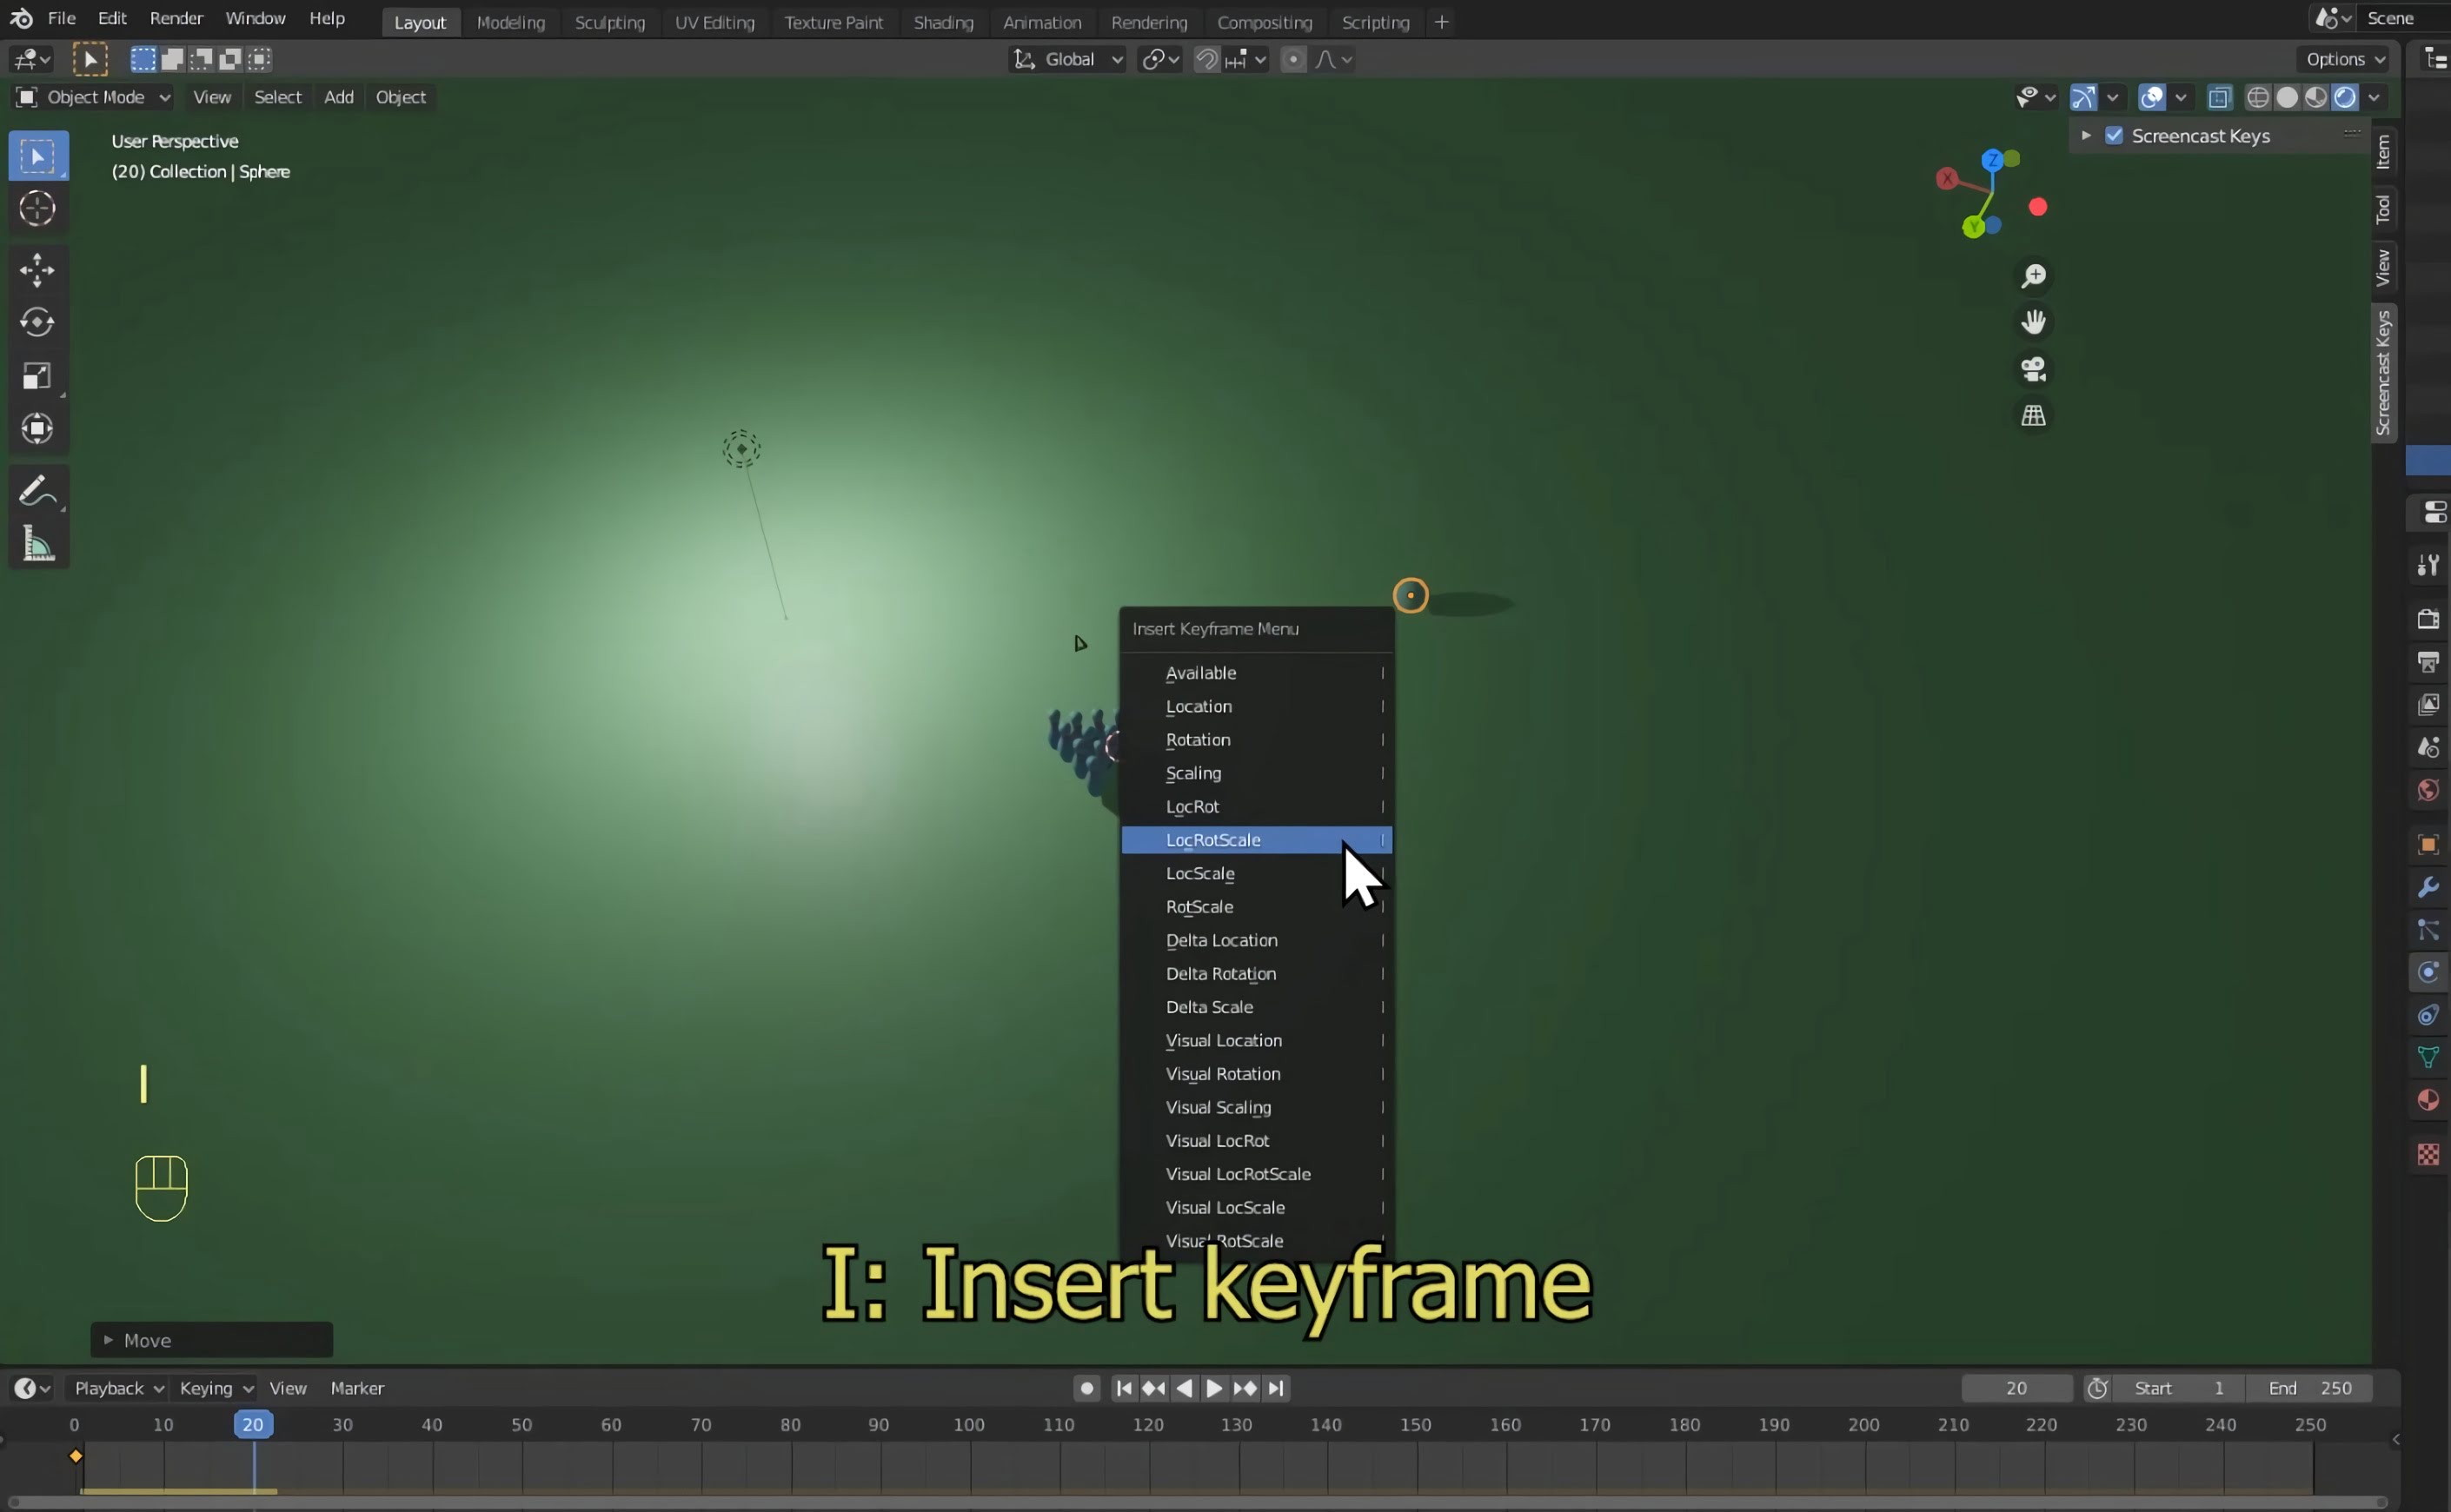
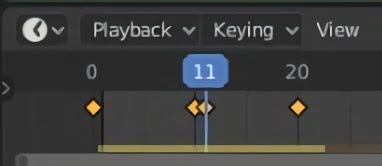
On the timeline, move your blue marker forward to frame 20 as seen in the below image.
Give your bowling ball some forward momentum by moving it closer to the bowling pins. Think of it as giving the bowling ball a push.
Again, press I and then select LocRotScale.
Move the blue marker to frame 10.
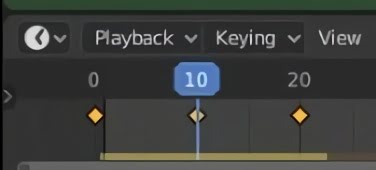
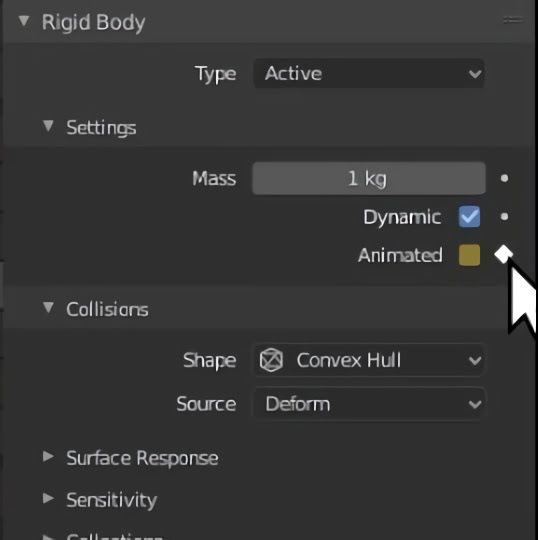
Go to the physics properties tab and click the button beside animated. This adds another keyframe. This ensures that, up until this point, the bowling ball is controlled by your animation.
Move the blue marker to frame 11.
Uncheck the animated box in the physics properties tab. Click the button again to insert another keyframe. From this point forwards, your bowling ball will be controlled by the physics simulation.
Press spacebar to see your bowling ball knock over the bowling pins!
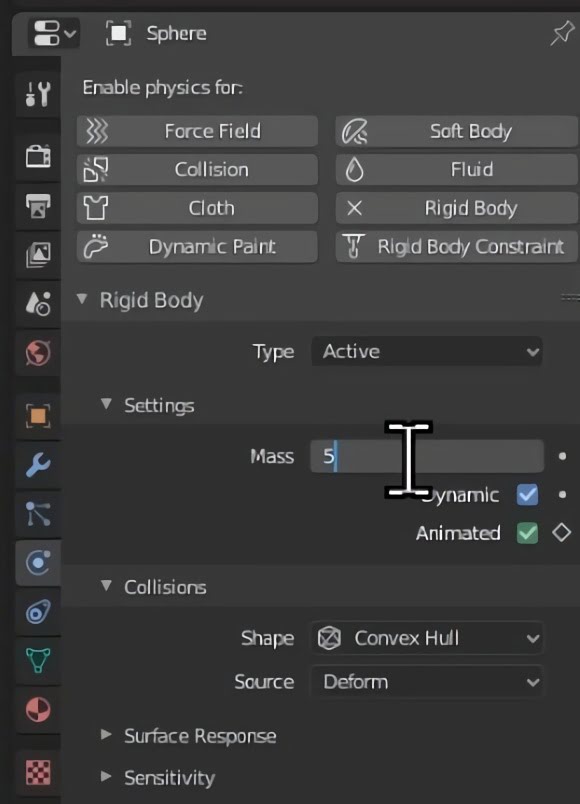
To add weight to the bowling ball, go to the physics properties tab and increase the mass.
Conclusion
You have now successfully created a bowling simulation!
In the next part of this series, we're going to make our final render! It will look very fancy so make sure to check it out.
Created by: David Corish