3D Modelling
06. Ice Cream Tutorial Part 1 - Modelling
Introduction
This documentation is intended as a text guide to accompany the first video in the "Ice Cream Tutorial" series.
If you are continuing on from the "Getting Started" series, go to File drop-down in the top left corner of Blender's interface. Select New and General. Then Delete the default cube, camera, and light.
Step 1 - Add a Cone Object
First, lets make the cone that we will put our ice cream into.
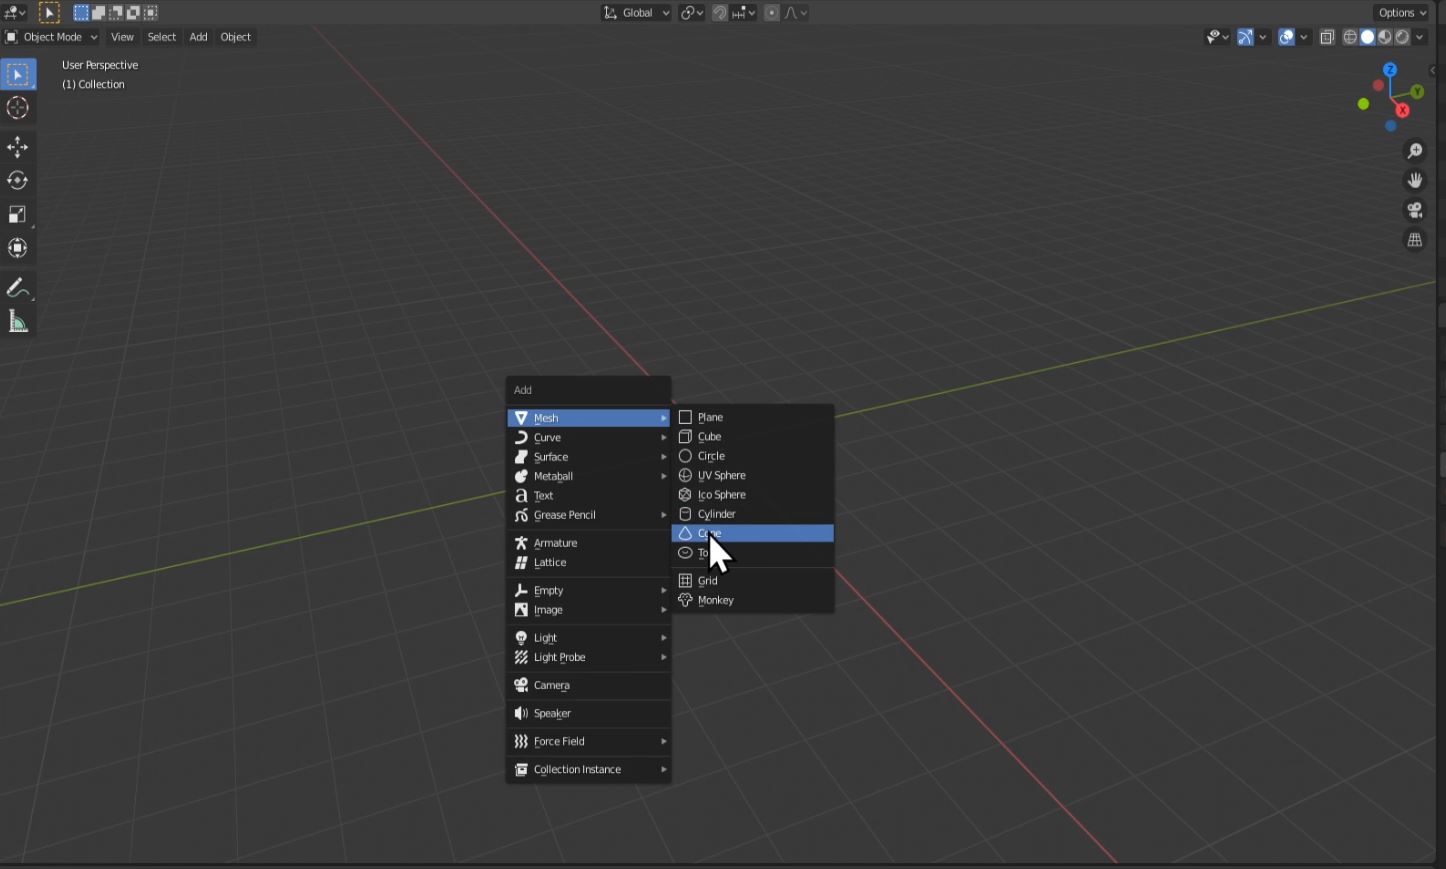
Press Shift+A to bring up the add menu. Select "Mesh" and "Cone".
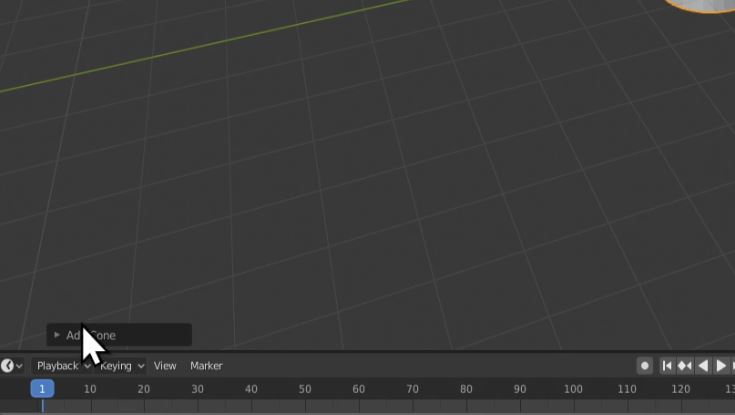
In the lower left hand corner your will see a black box that says "Add Cone". Click on that to open it.
NOTE: If you click anywhere else, after adding Your cone, that box will dissapear, just delete your object and re-add it to get it back.
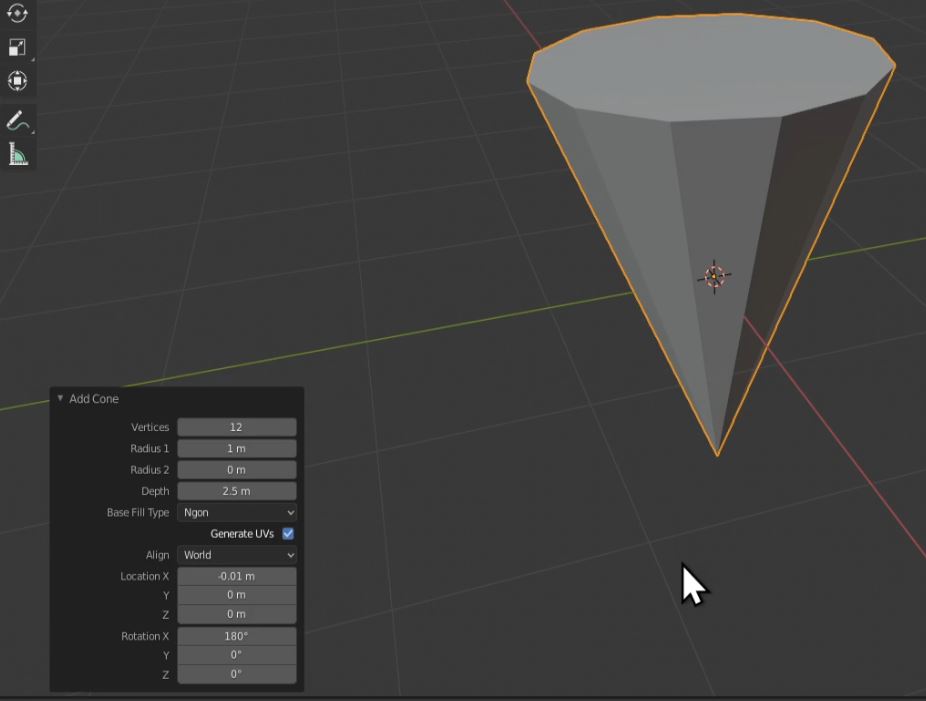
Set Cone Values to:
Vertices: 12
Radius 1: 1m
Radius 2: 0m
Depth: 2.5m
Rotation X: 180
NOTE: Vertices should always be set to the lowest amount needed to get the general shape you want.
Step 2 - Hollow Out The Cone
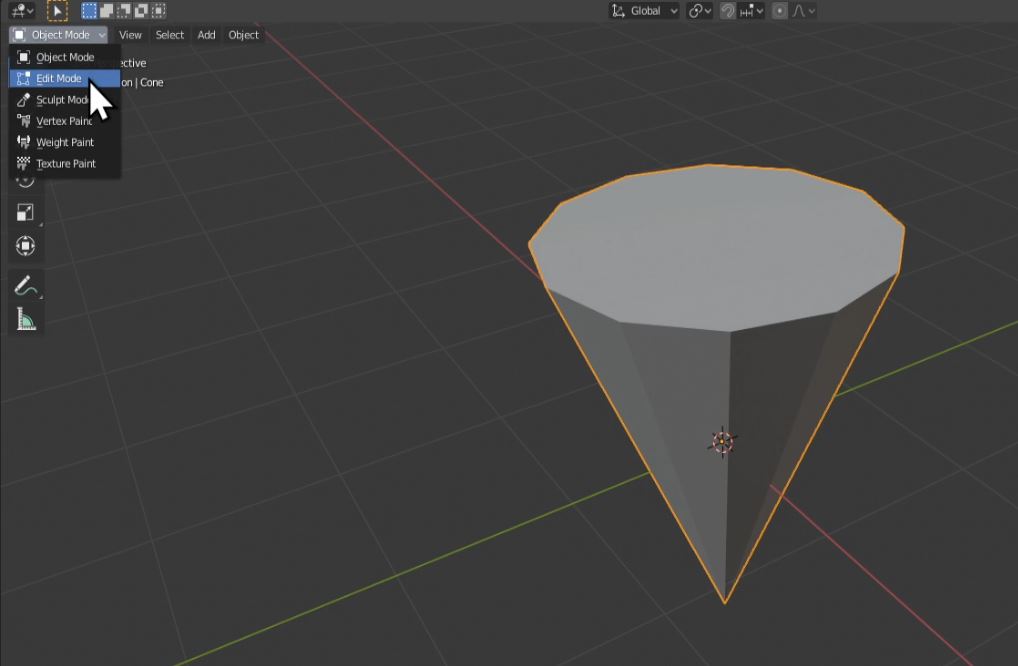
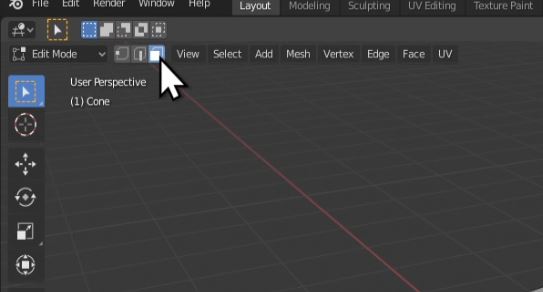
In the upper-left hand corner, where it says "Object Mode", click the drop-down menu and select "Edit Mode"
NOTE: The Hotkey to go between "Object Mode" and "Edit Mode" is TAB
Next to the drop-down list, you will see 3 buttons. "Vertice Select","Edge Select", and "Face Select". Click on "Face Select".
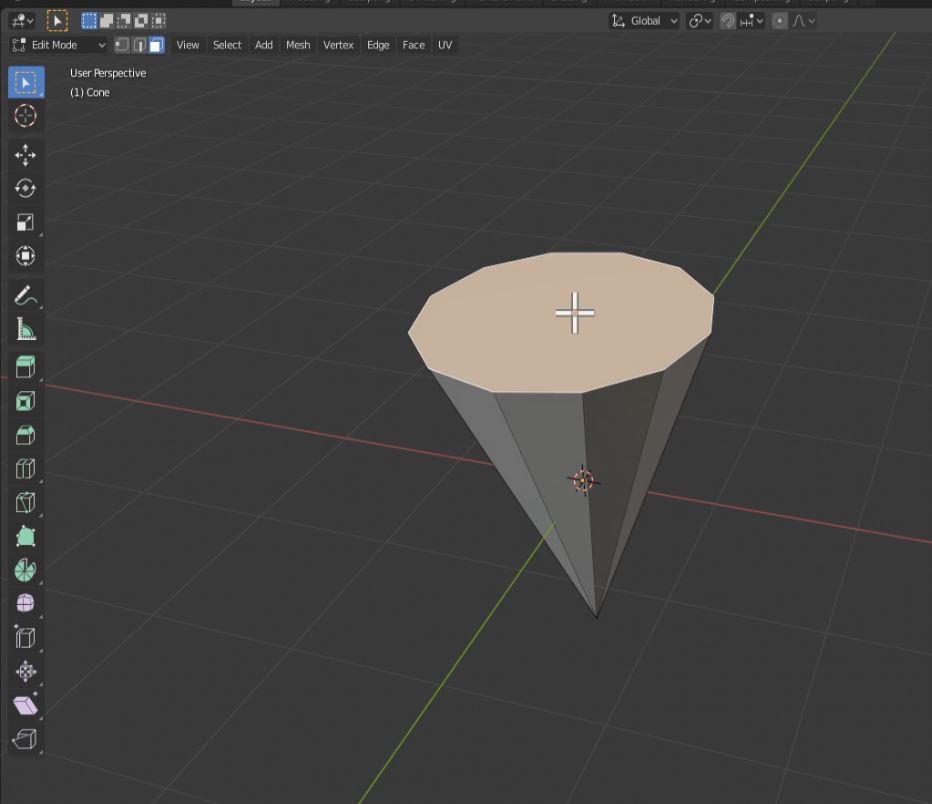
Left-Click on the top flat portion of your cone to select it.
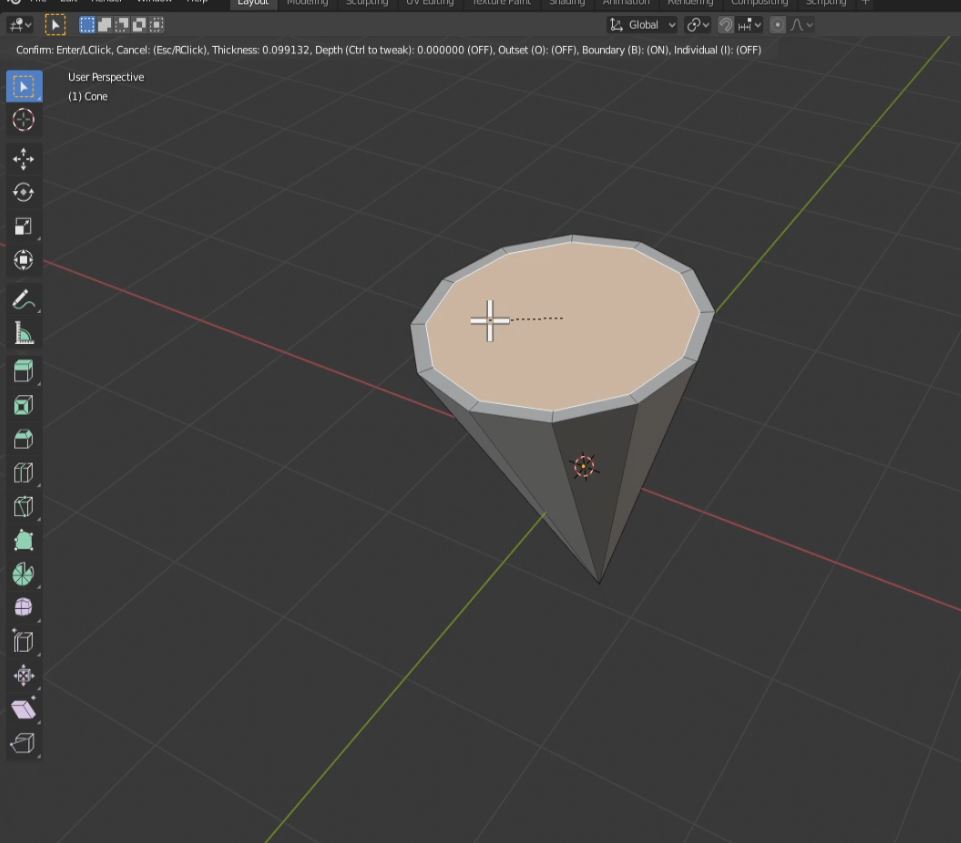
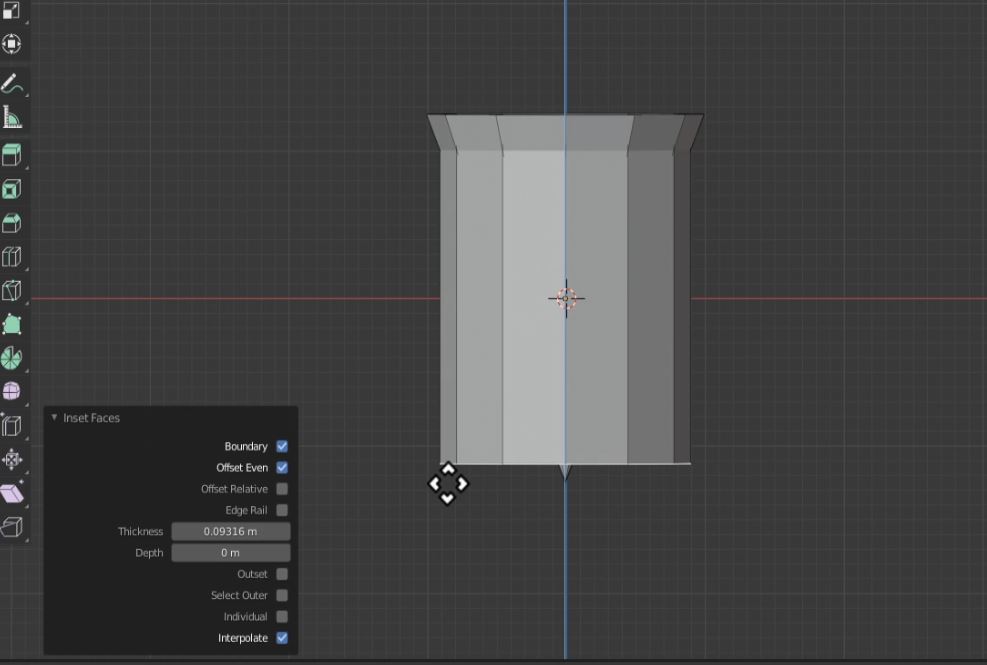
Then press "I" to create an inset in your cone and move your mouse to adjust; Left-Click to set
How thick you make this is how thick your cone will be.
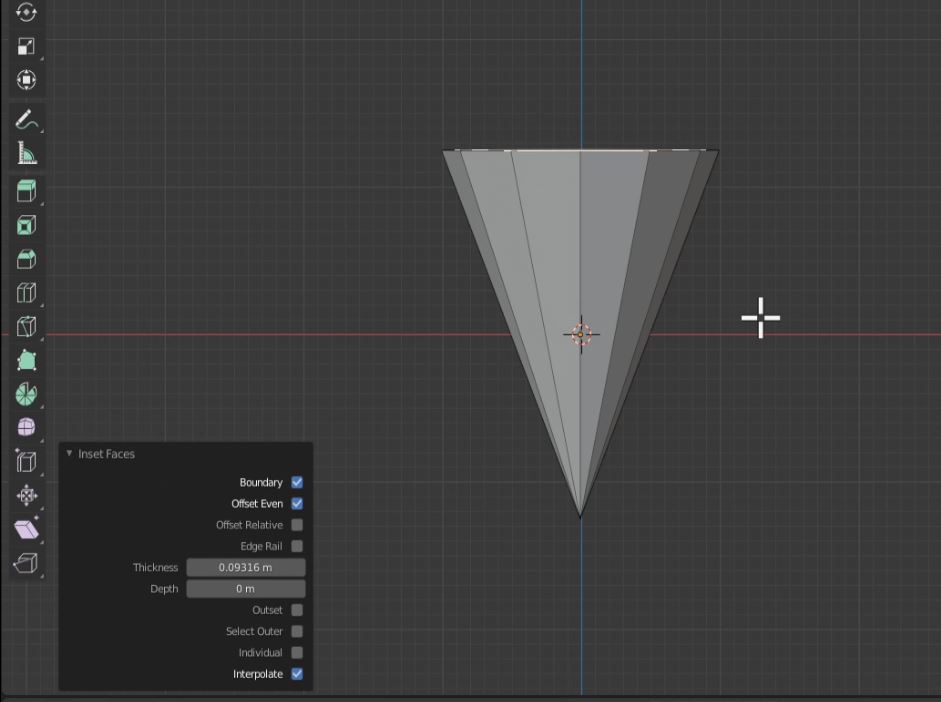
Press "Numpad 1" to see the side-view of the cone.
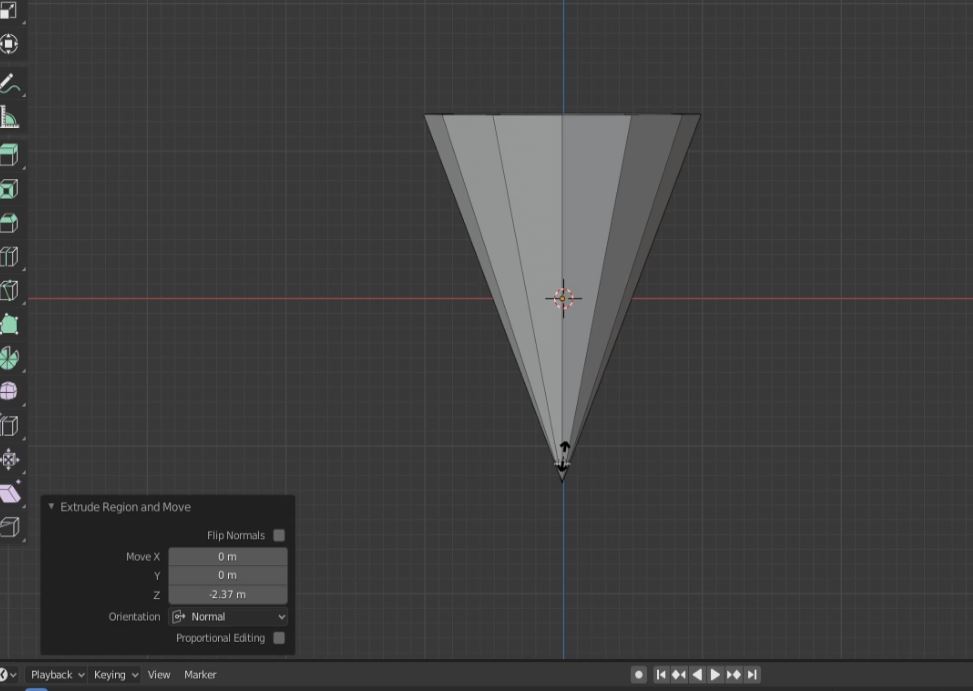
Press "E" (E for Extrude) to extrude the top face of your cone and pull it down to near the bottom of your cone. Left-click to set
Press "S" to scale the bottom inward towards the center of the cone until it dissapears inside the cone. Left-click to set.
Press TAB to go back to "Object Mode". Left-click on your cone and press "Numpad ." to refocus on it.
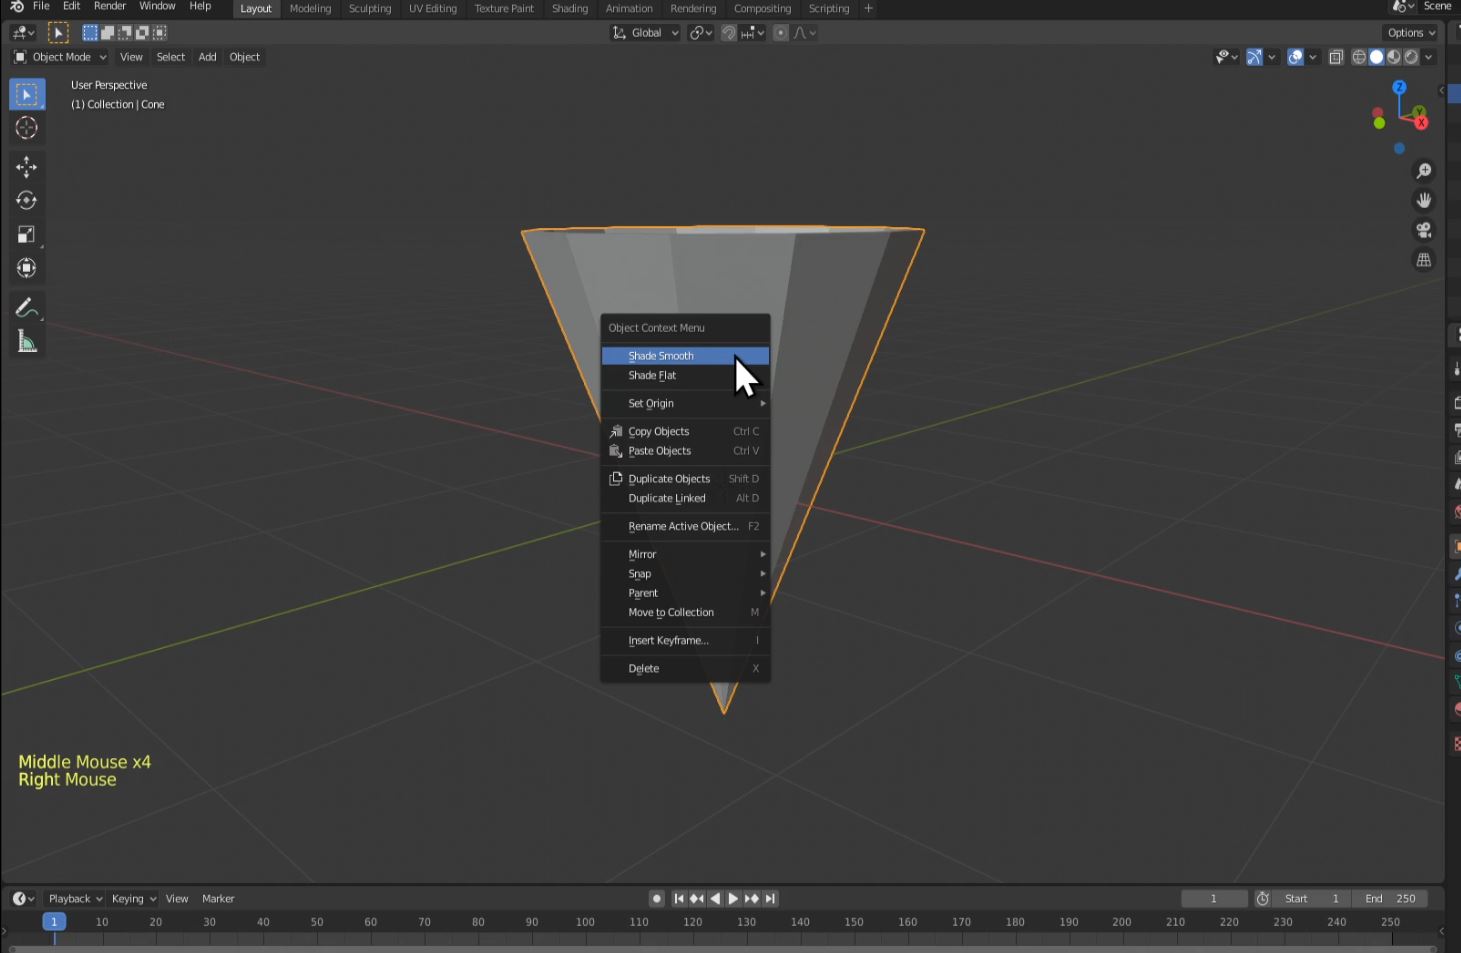
Finally, right-click on your cone and click "Shade-Smooth."
Step 3 - Add Ice Cream to Cone
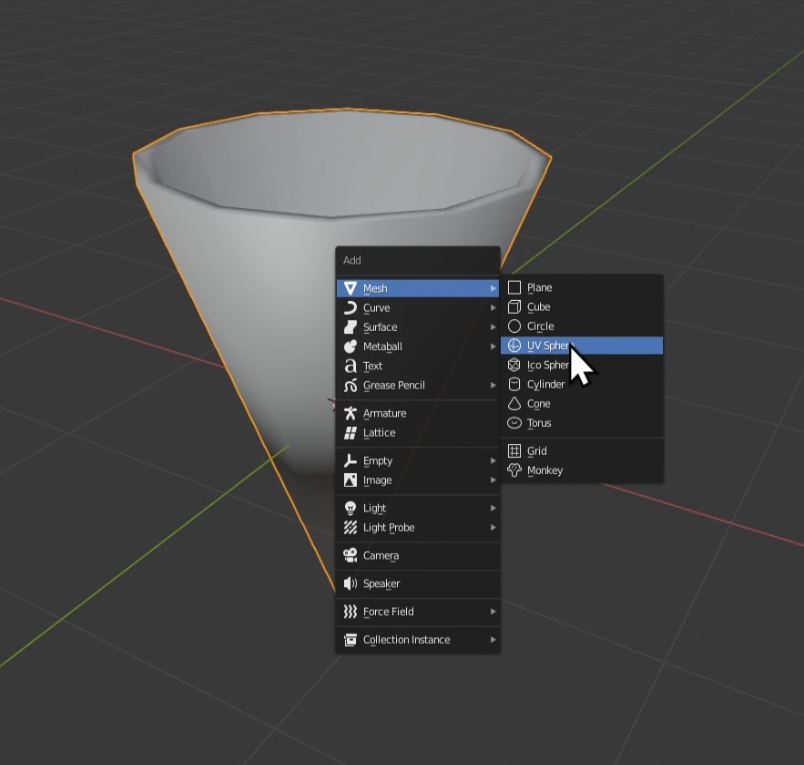
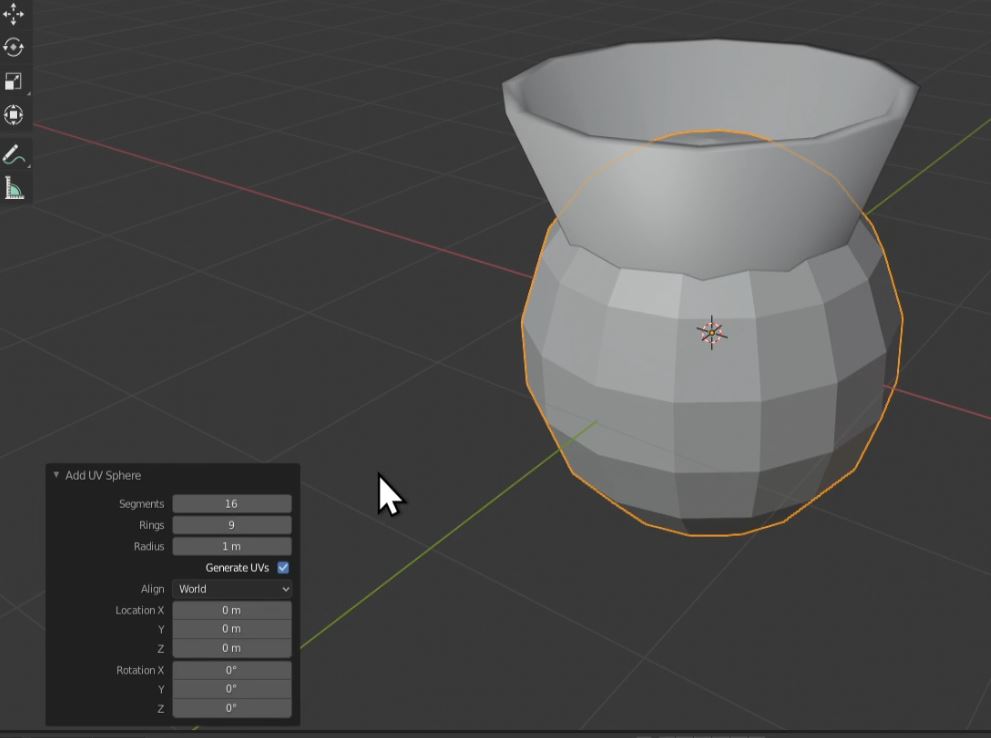
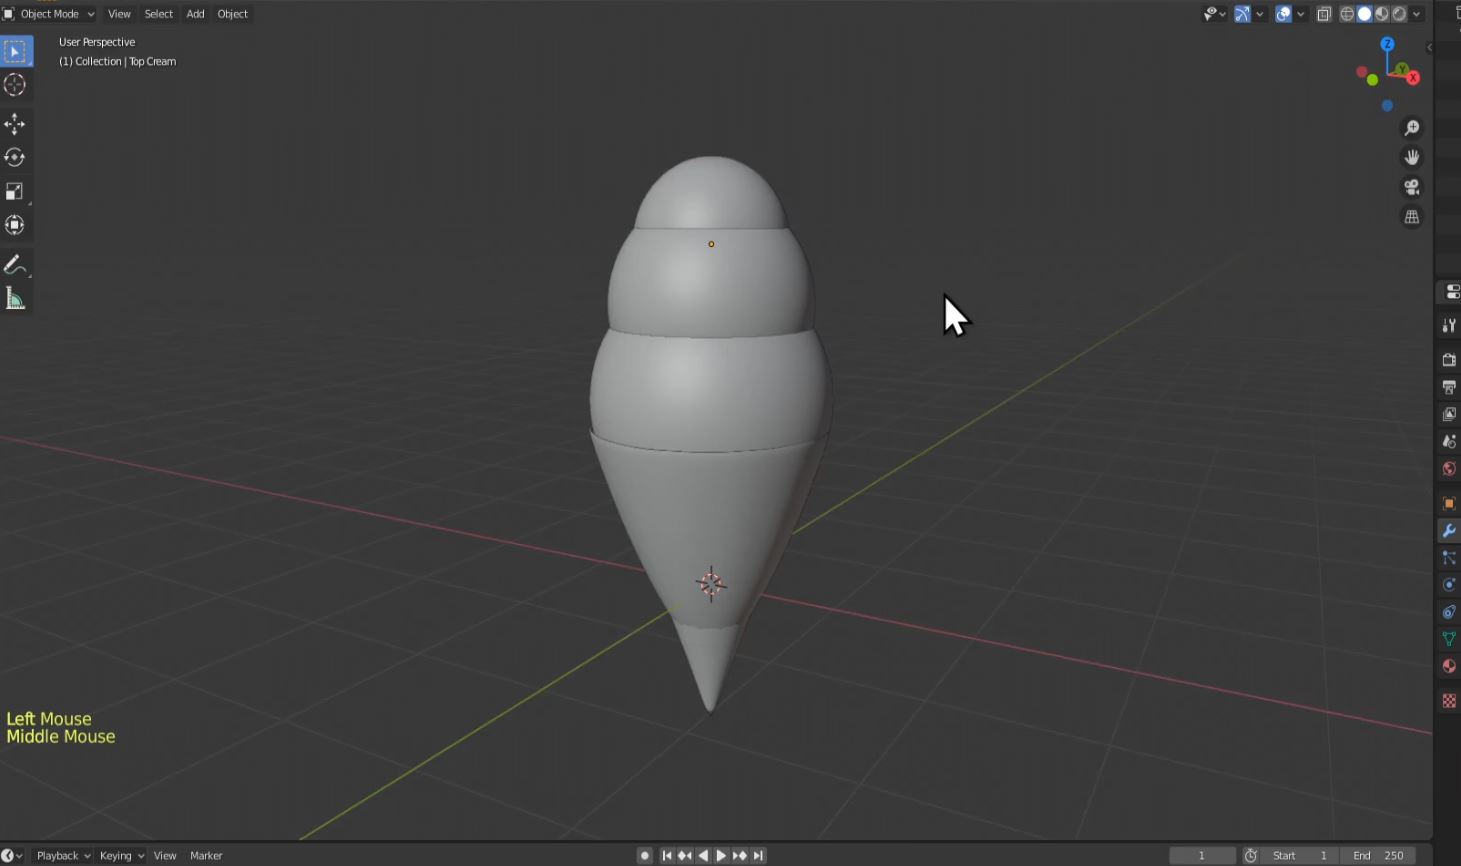
Press Shift+A and under "Mesh" select "UV Sphere".
Set UV Sphere Values to:
Segments: 16
Rings: 9
Radius: 1m
ADVICE: The squarer the faces of your sphere are, typically the better.
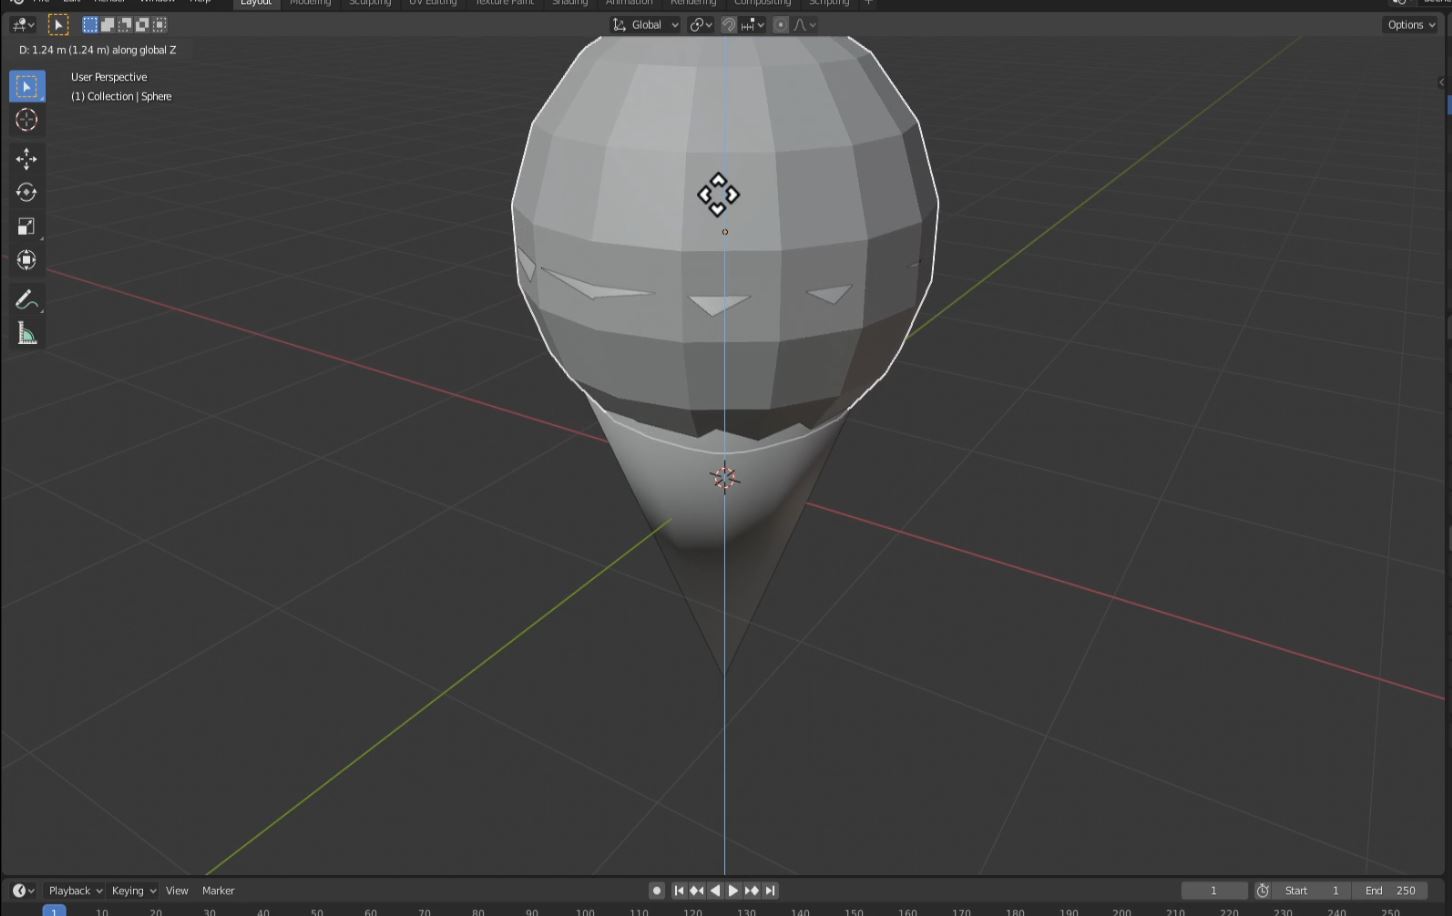
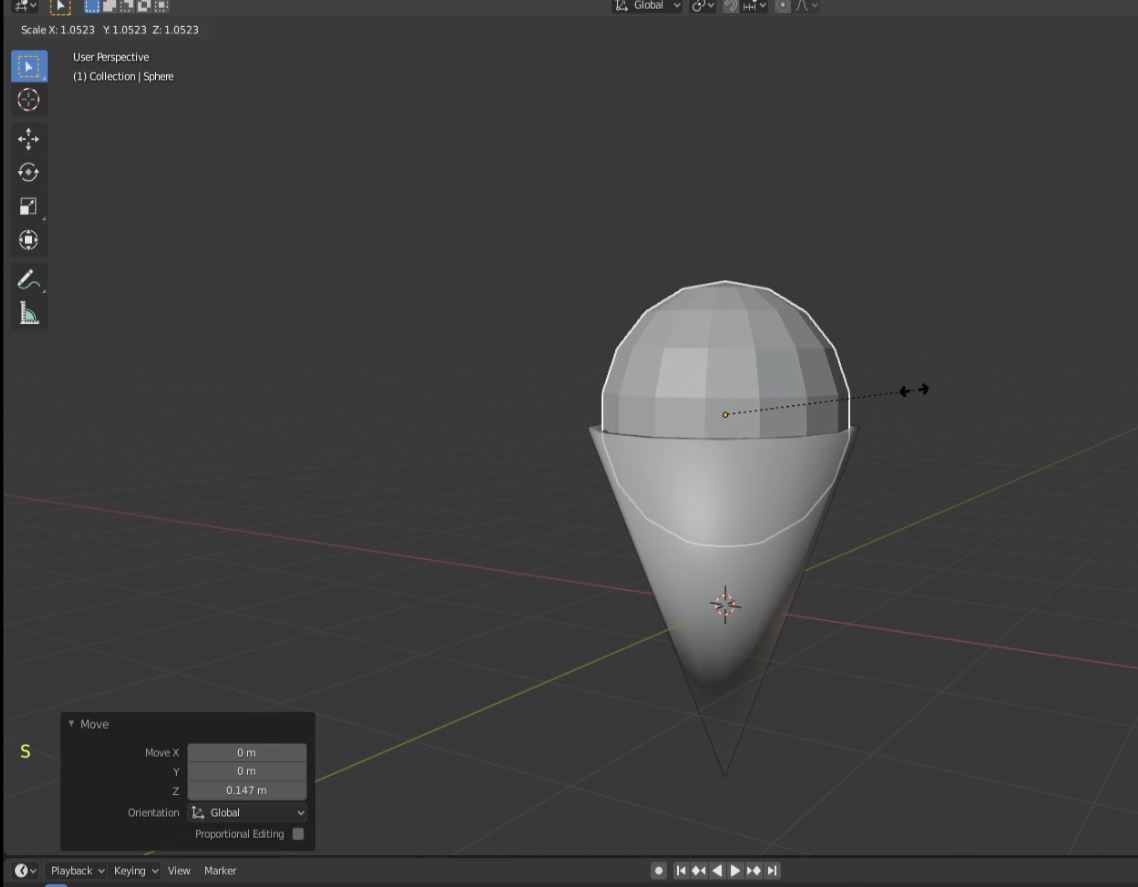
Press G, then Z to move your sphere up to the top of the cone. Left-click to set
Press S to scale the sphere so that it fits inside the cone
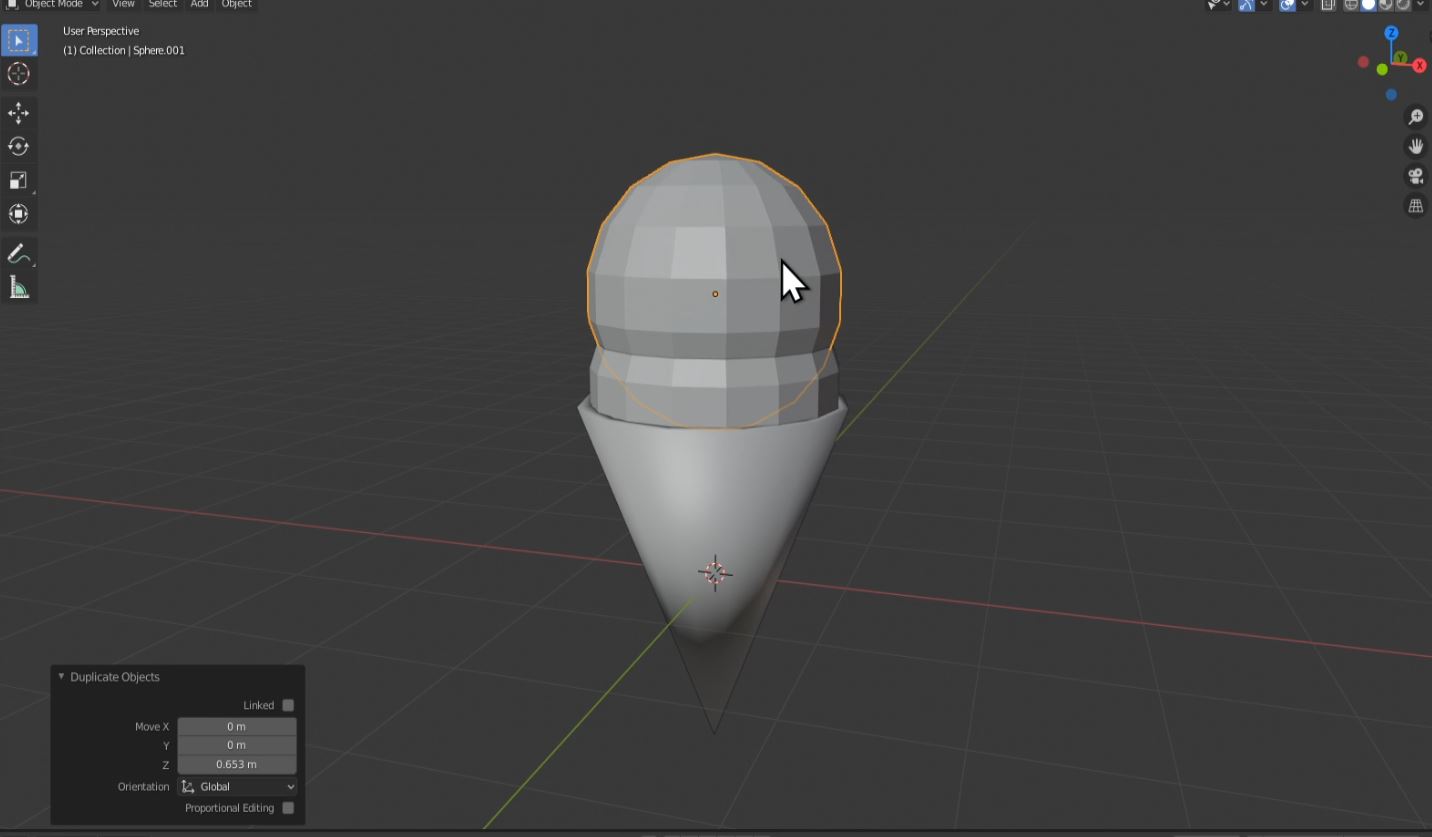
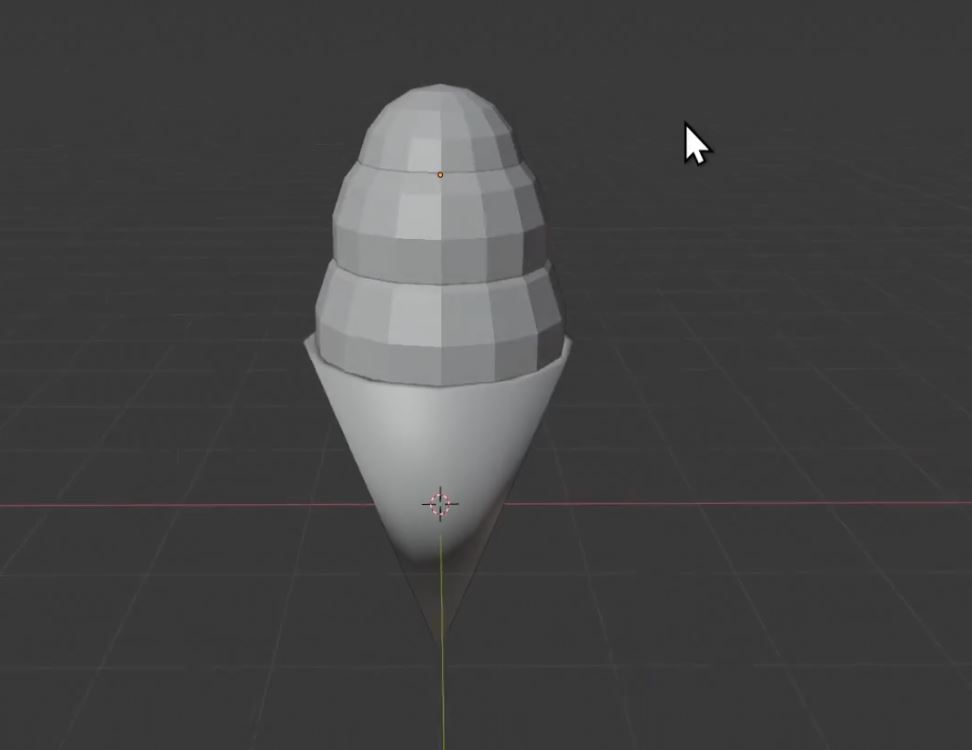
How many scoops of ice cream is up to you. This tutorial covers 3 scoops.
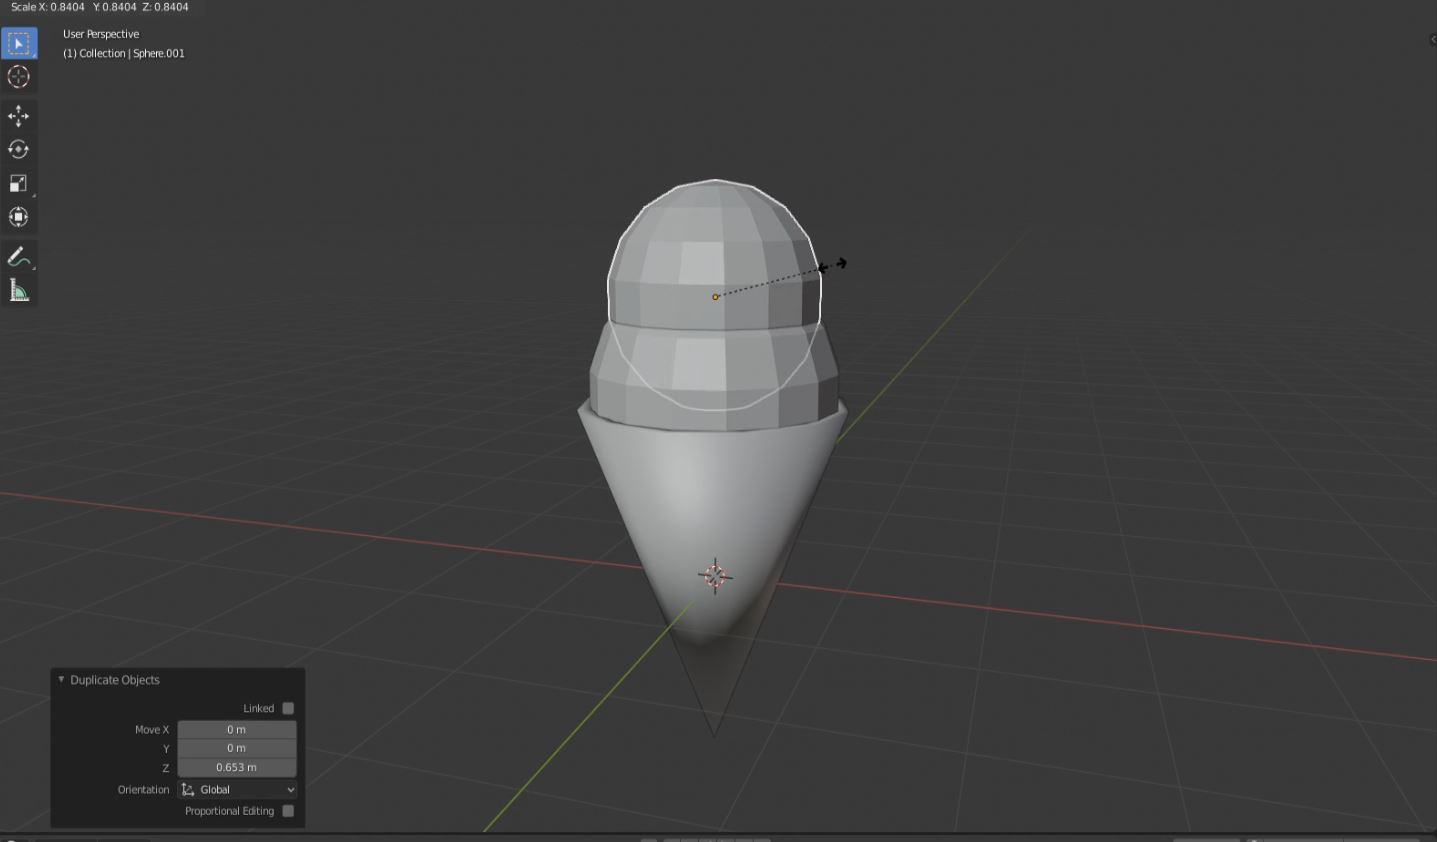
To add another scoop, with your sphere selected, press Shift+D to duplicate, then Z to move it straight up. Left-click to set
Once you have it where you like it, then press S to scale it in and make it slightly smaller.
Repeat this process for each new scoop.
Step 4 - Naming the shapes in your object
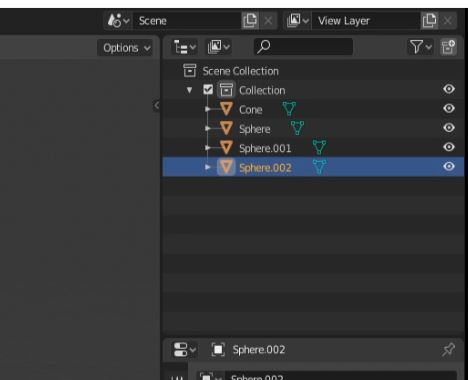
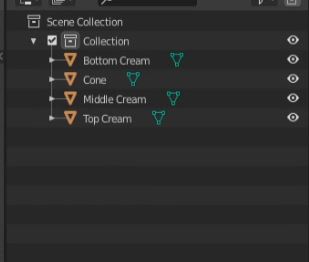
In the upper right hand corner of the interface, you will see a window with a list of the default names of all the shapes used for your ice cream cone model.
Notice how each object becomes highlighted when you click on them in the list.
It is important to rename these to objects to easily keep track of all your shapes and what they are.
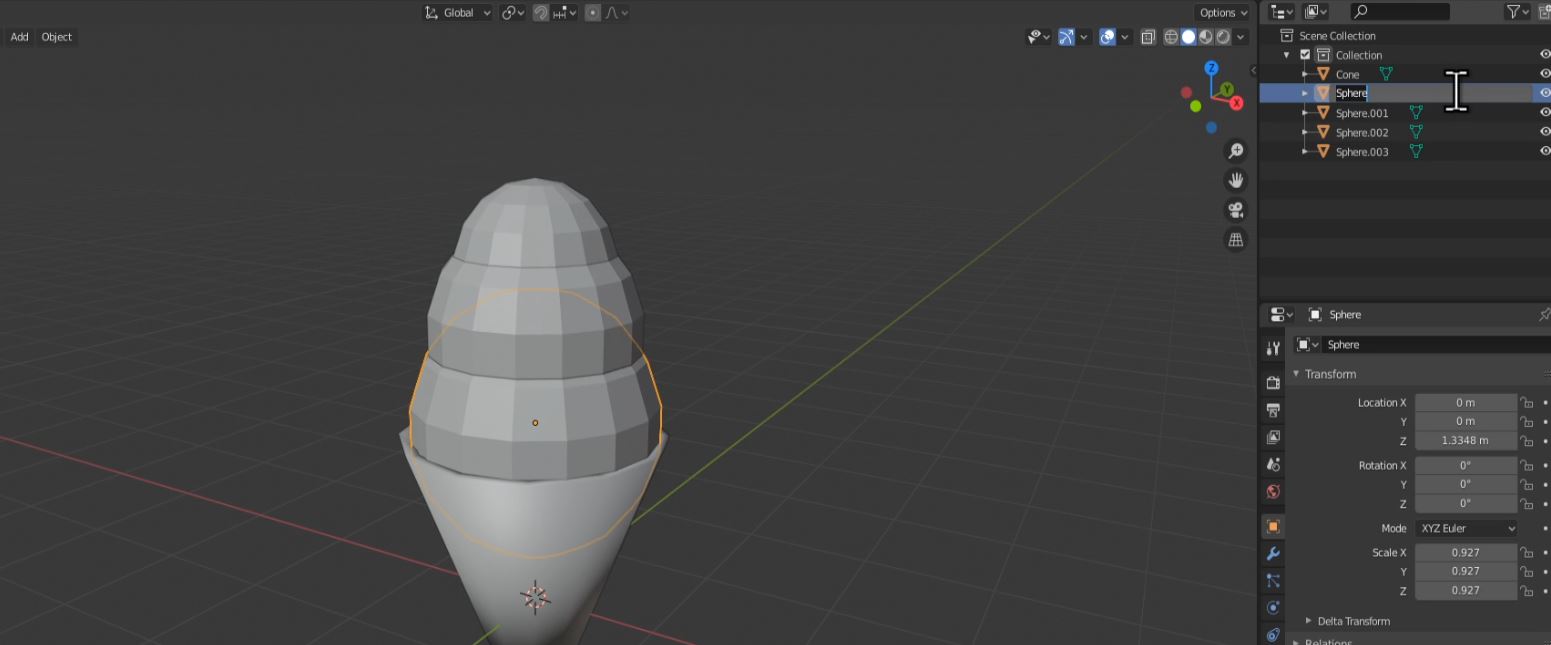
Double-click the object, from the list, that is your bottoms ice cream scoop. Most likey it will be named "Sphere."
Rename this to something unique. Let's call it "Bottom Cream".
Make unique names for all the other shapes
Step 5 - Add Subsurface Modifer to Cone and Spheres
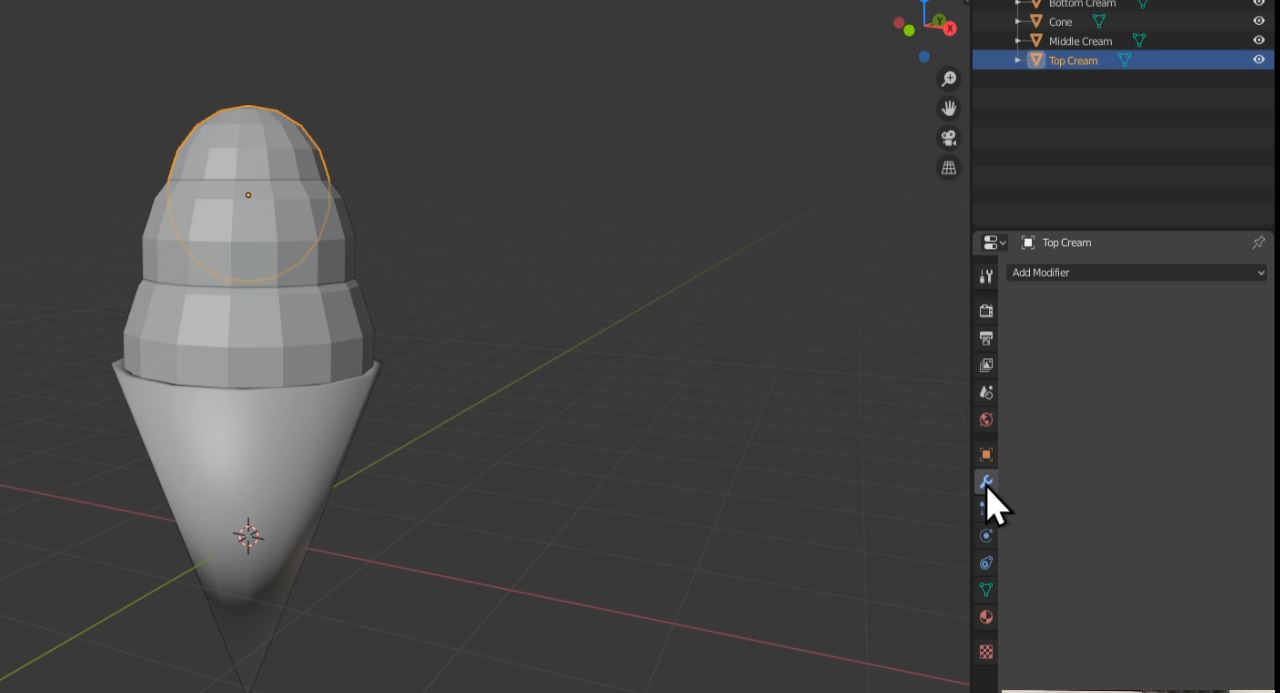
Select your top ice cream sphere.
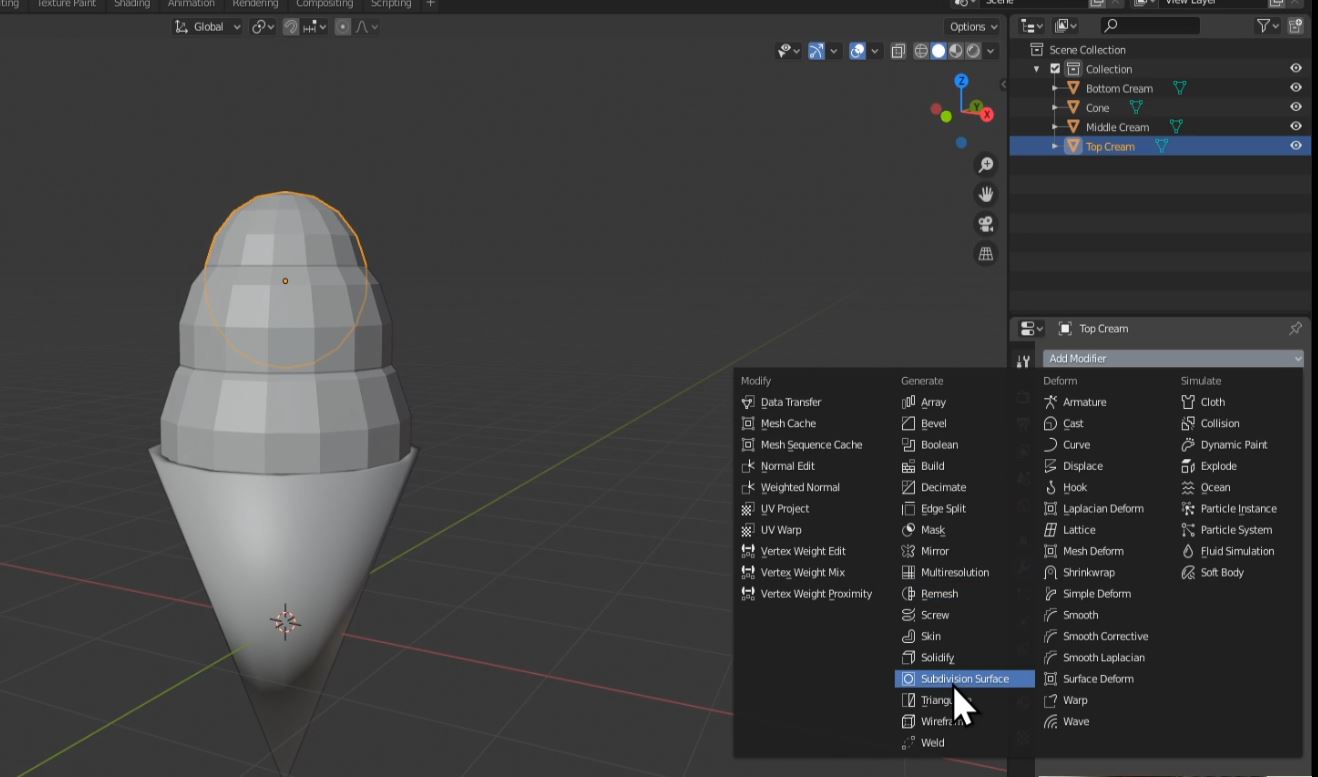
Select Modifer Properties and open the Add Modifer drop down menu.
Select "Subdivision Surface"
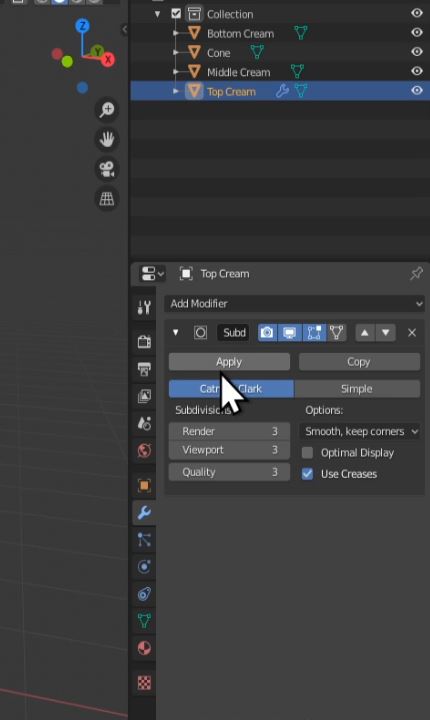
Set Render to 3 and ViewPort to 3 and click Apply
Select the rest of your shapes, one by one, and repeat Step 5 for each one.
Conclusion
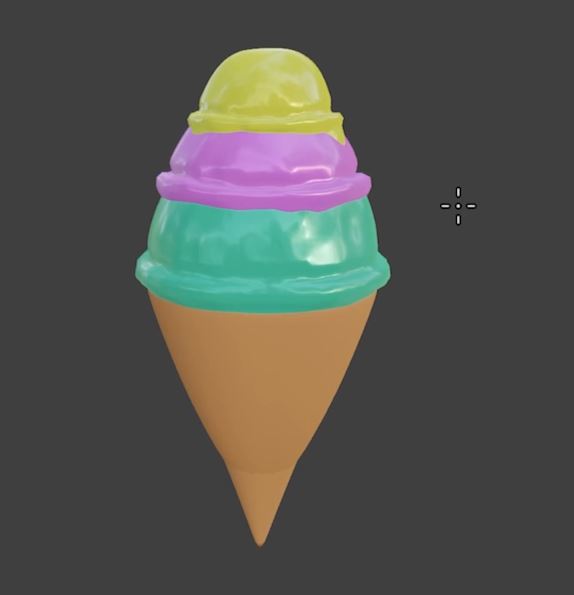
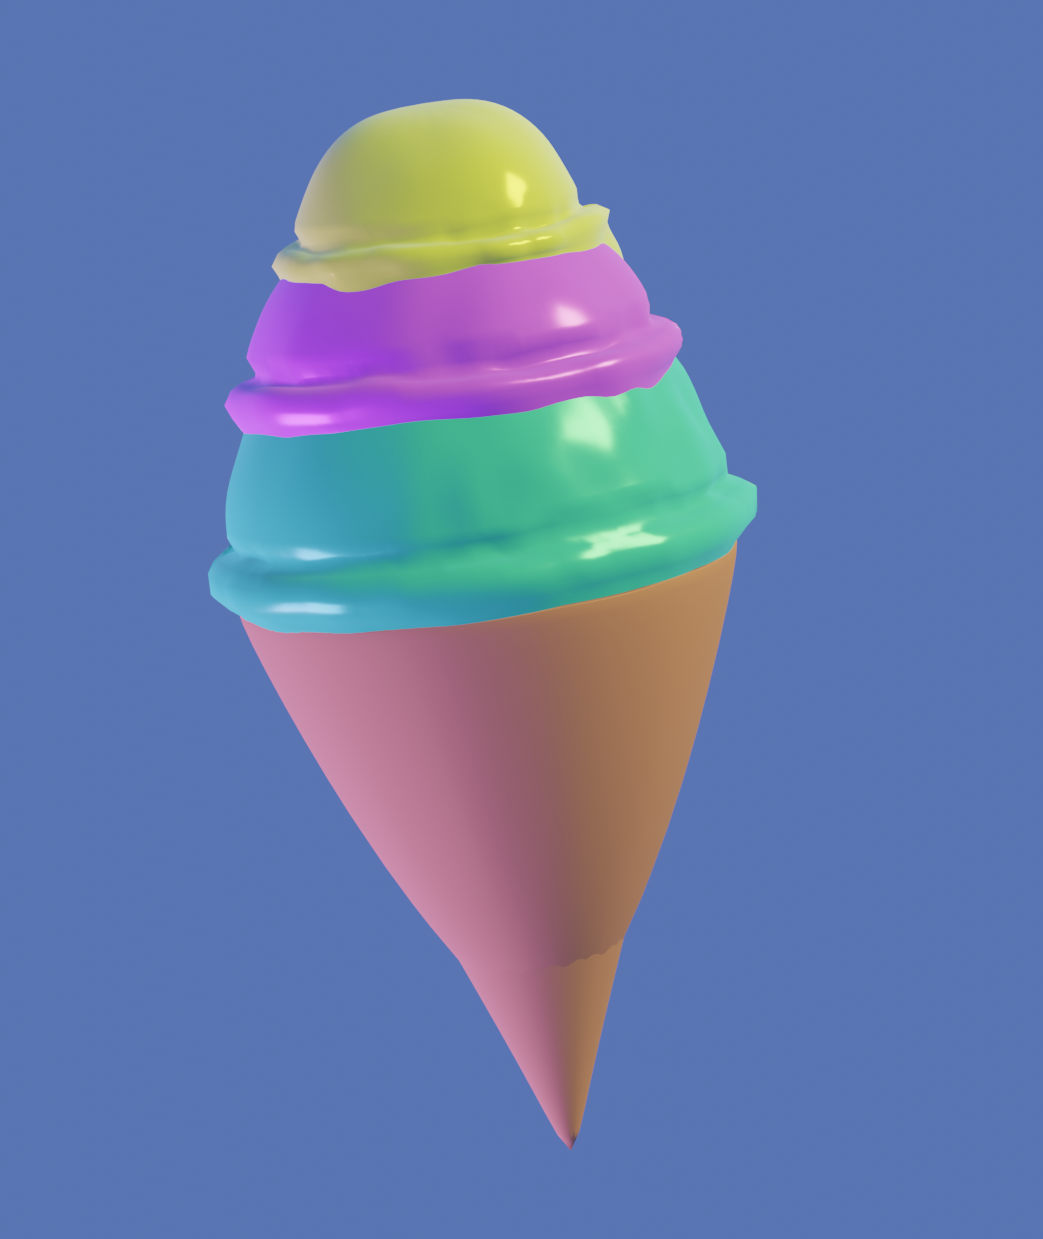
In Part 2 we will cover materials and sculpting and turn our ice cream cone into something like this:
Created by: Anthony Gallas
