3D Modelling
07. Ice Cream Tutorial Part 2 - Sculpting
Introduction
This documentation is intended as a text guide to accompany the second video in the 'Ice Cream Tutorial' series. It will cover colouring and sculpting your ice-cream cone.
Step 1 - Colouring ice cream cone
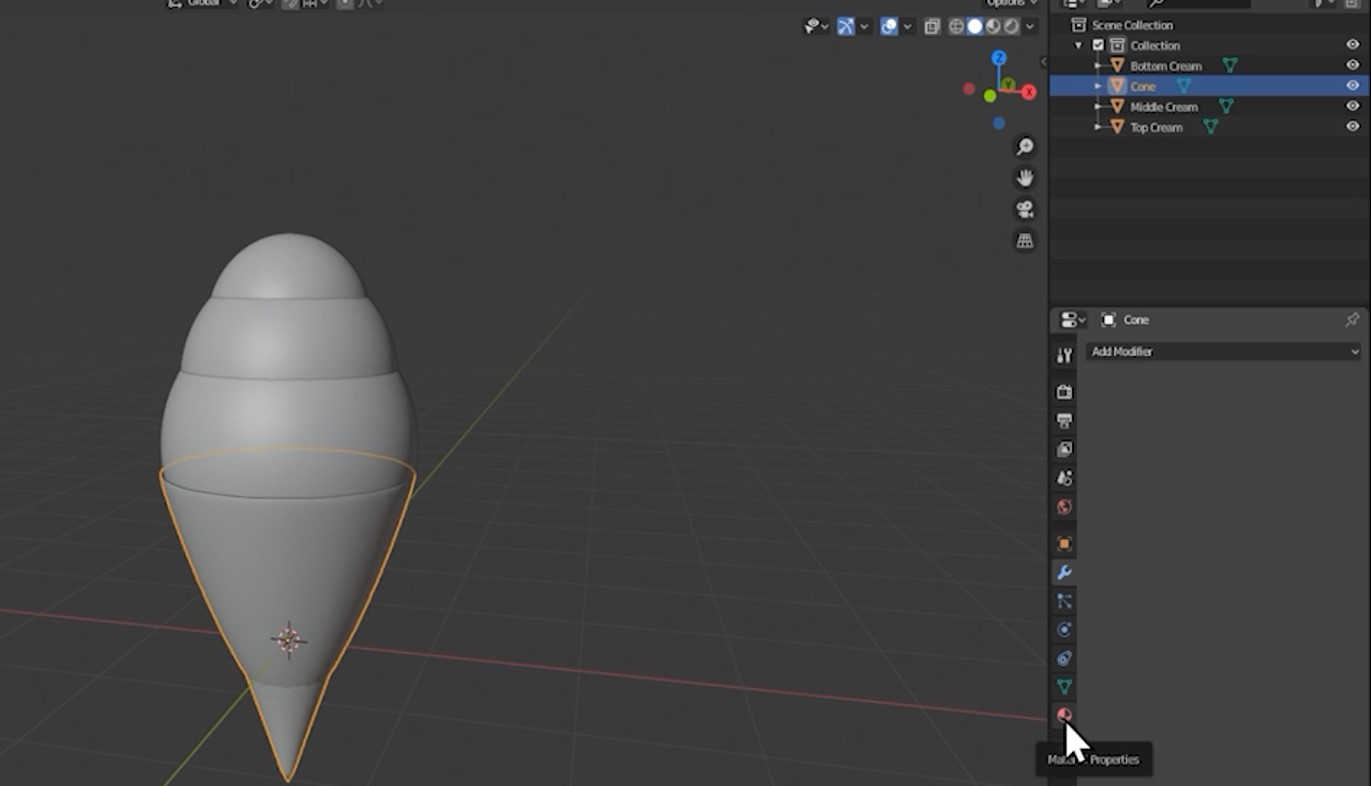
Make sure that your cone is selected.
Go to the material properties tab.
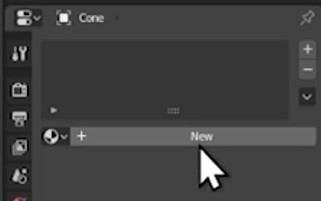
Click new.
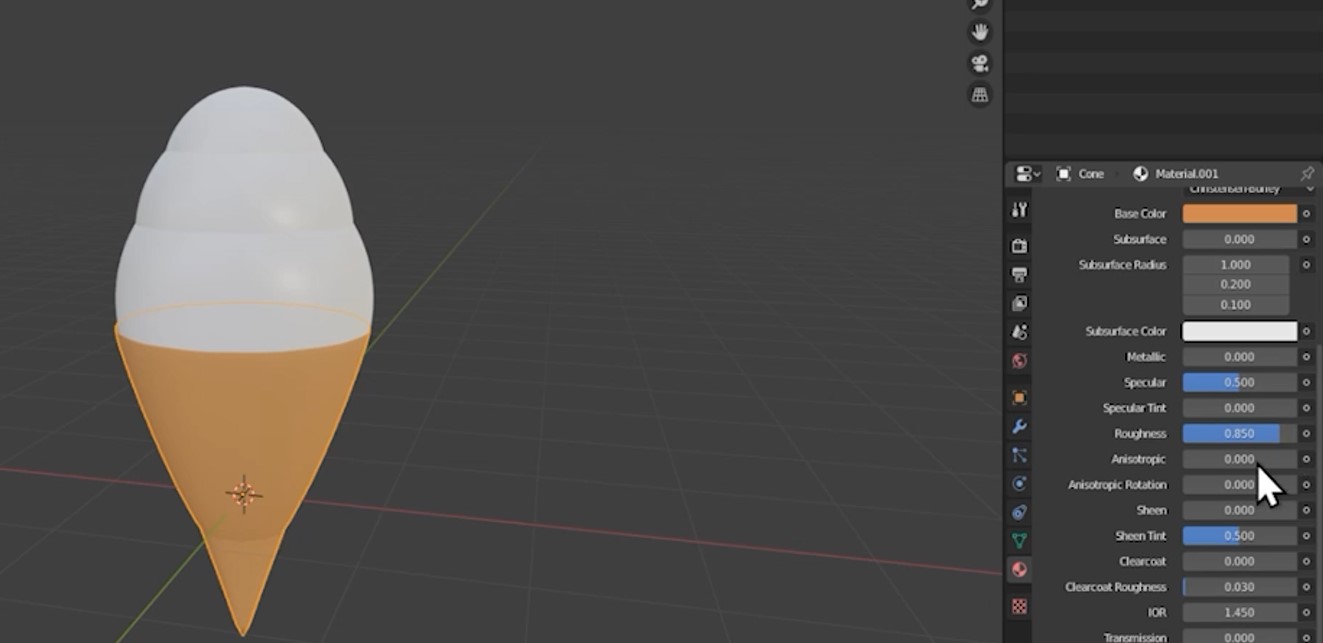
Press Z and go to the material preview menu.

Select the colour of your cone by using base colour.
Adjust the roughness to approximately 0.850.
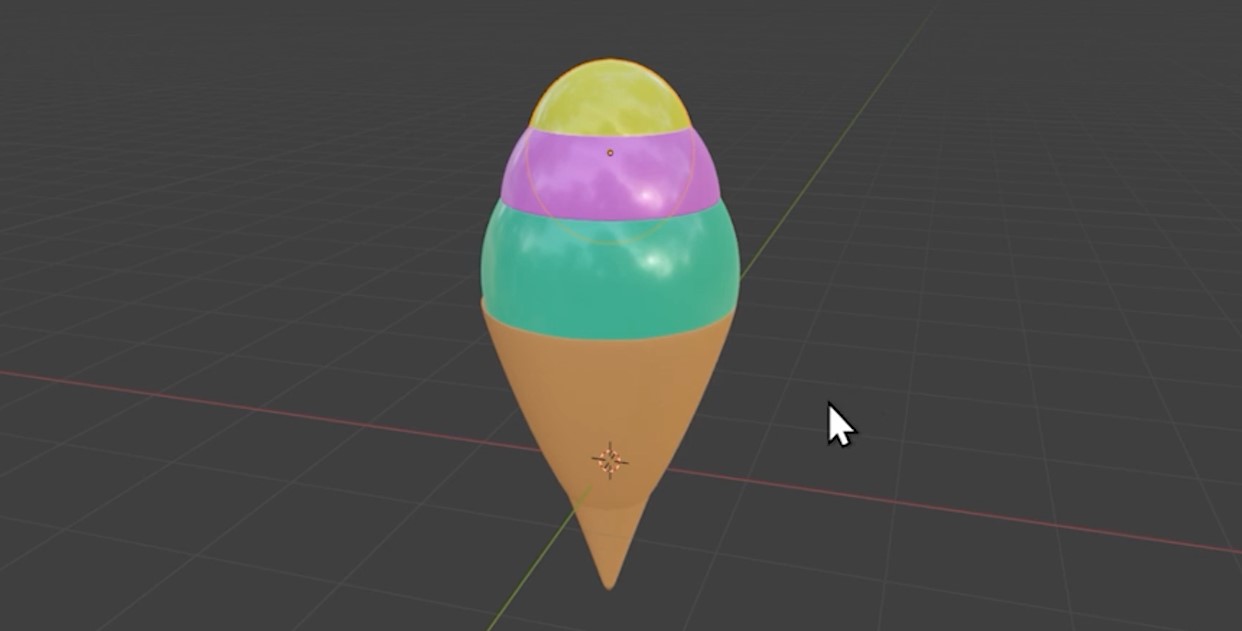
Step 2 - Colouring your ice cream scoops
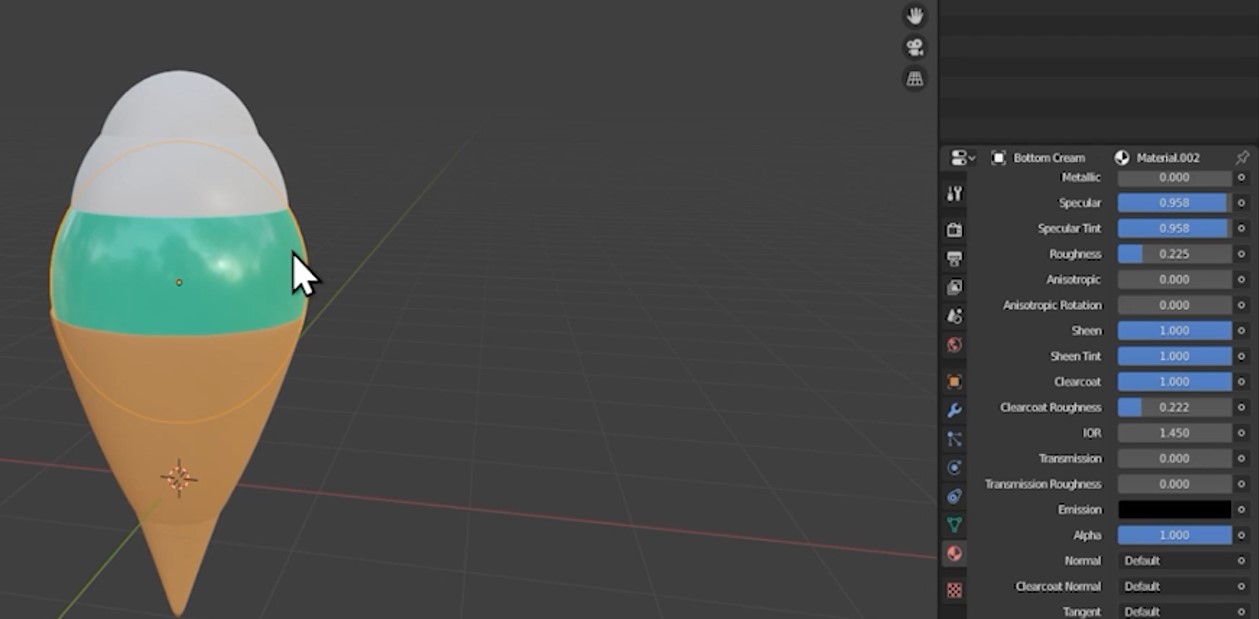
Repeat step 1 for your ice cream scoops.
This time, decrease the roughness slider.
Increase the specular tint, sheen, sheen tint, clearcoat and clearcoat roughness sliders to add some extra shine.
Repeat for all ice-cream scoops.
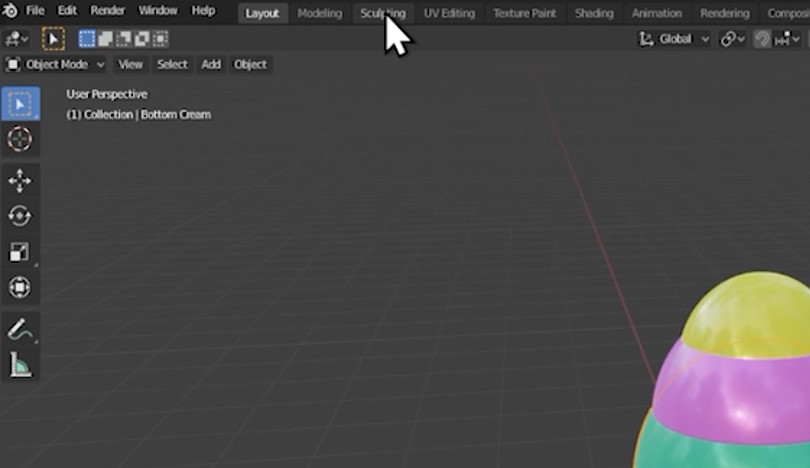
Step 3 - Sculpting the bottom scoop
In the top-right corner, select your bottom cream. Make sure that the upside-down triangle is also selected.
Click into the sculpting tab at the top of the screen.
Press Z and go to the material preview menu.
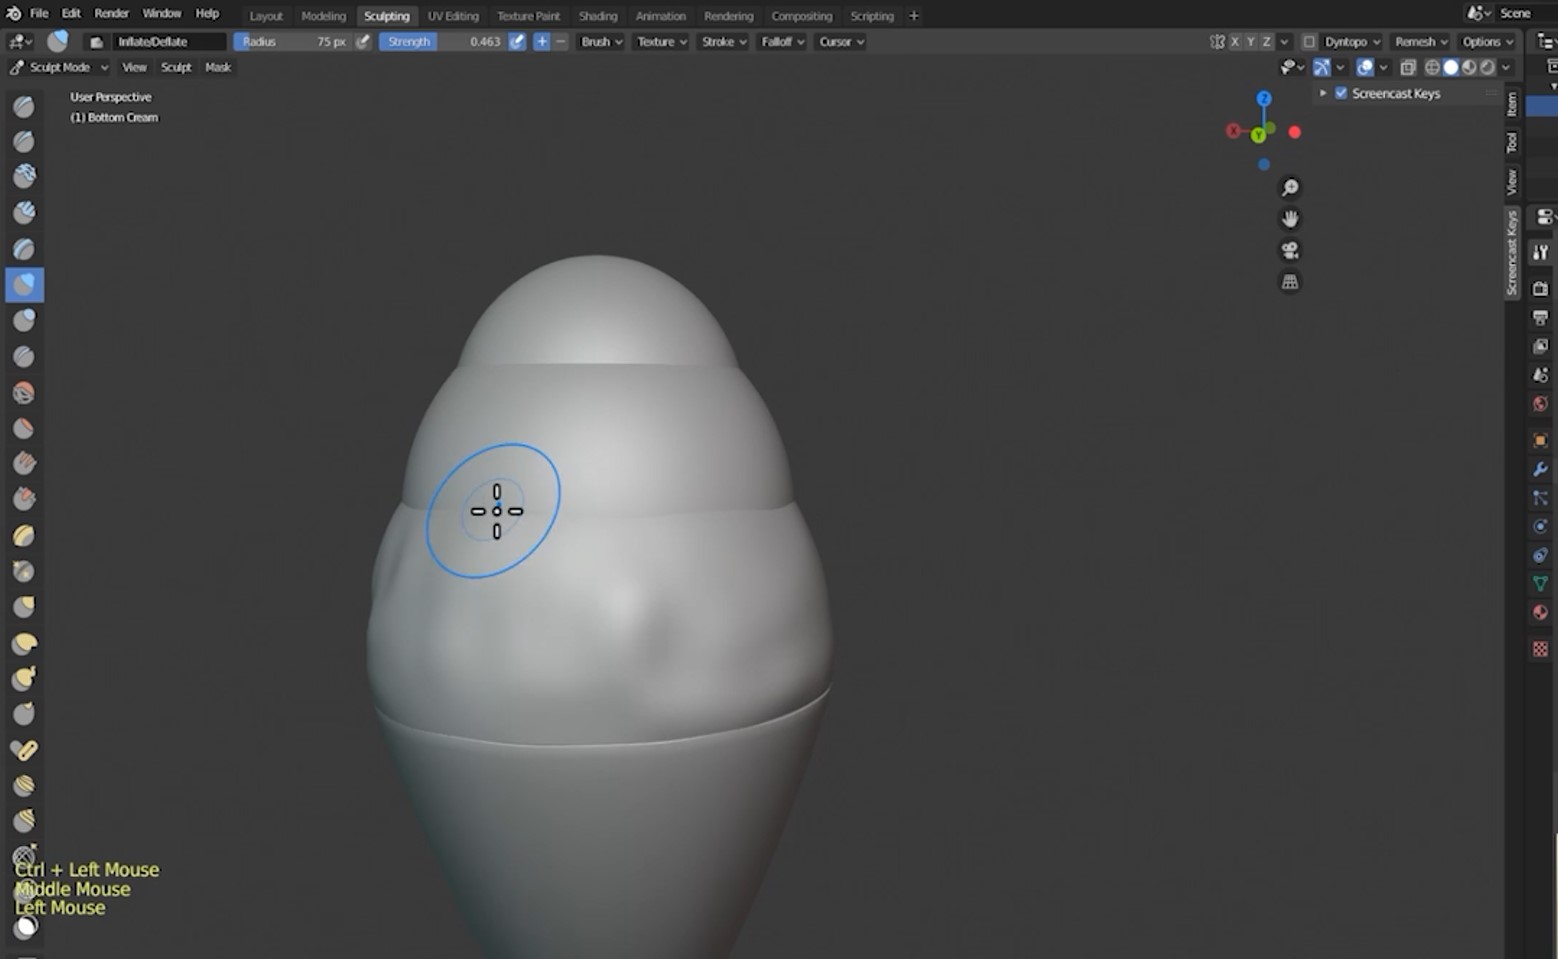
The three tools we're going to be using are the inflate, blob, and crease tools. These are 6th, 7th, and 8th tools from the top on the list at the left side of the screen.
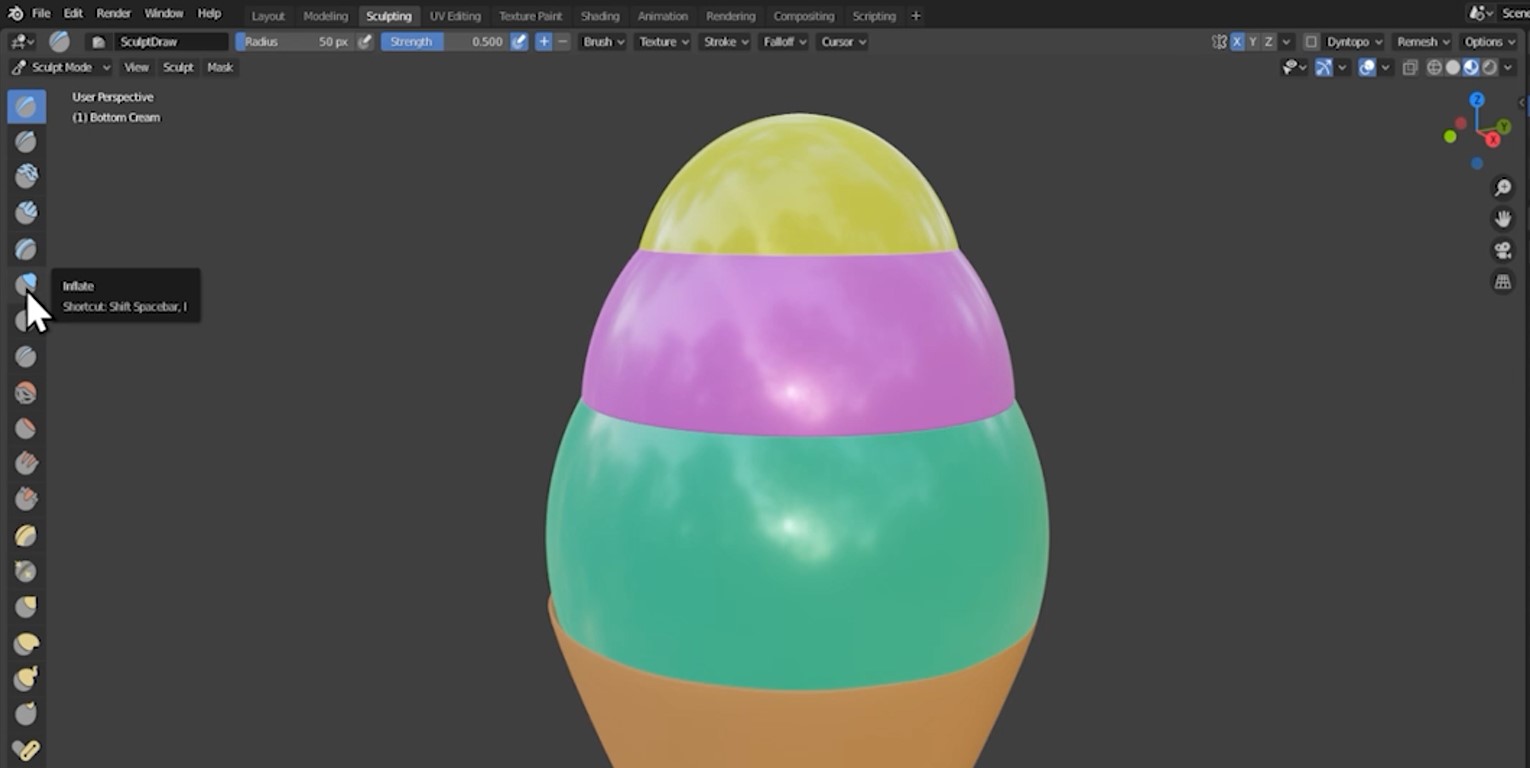
Switch off X, Y, and Z in the top right of your viewport. This will stop your sculpting tool from mirroring itself.
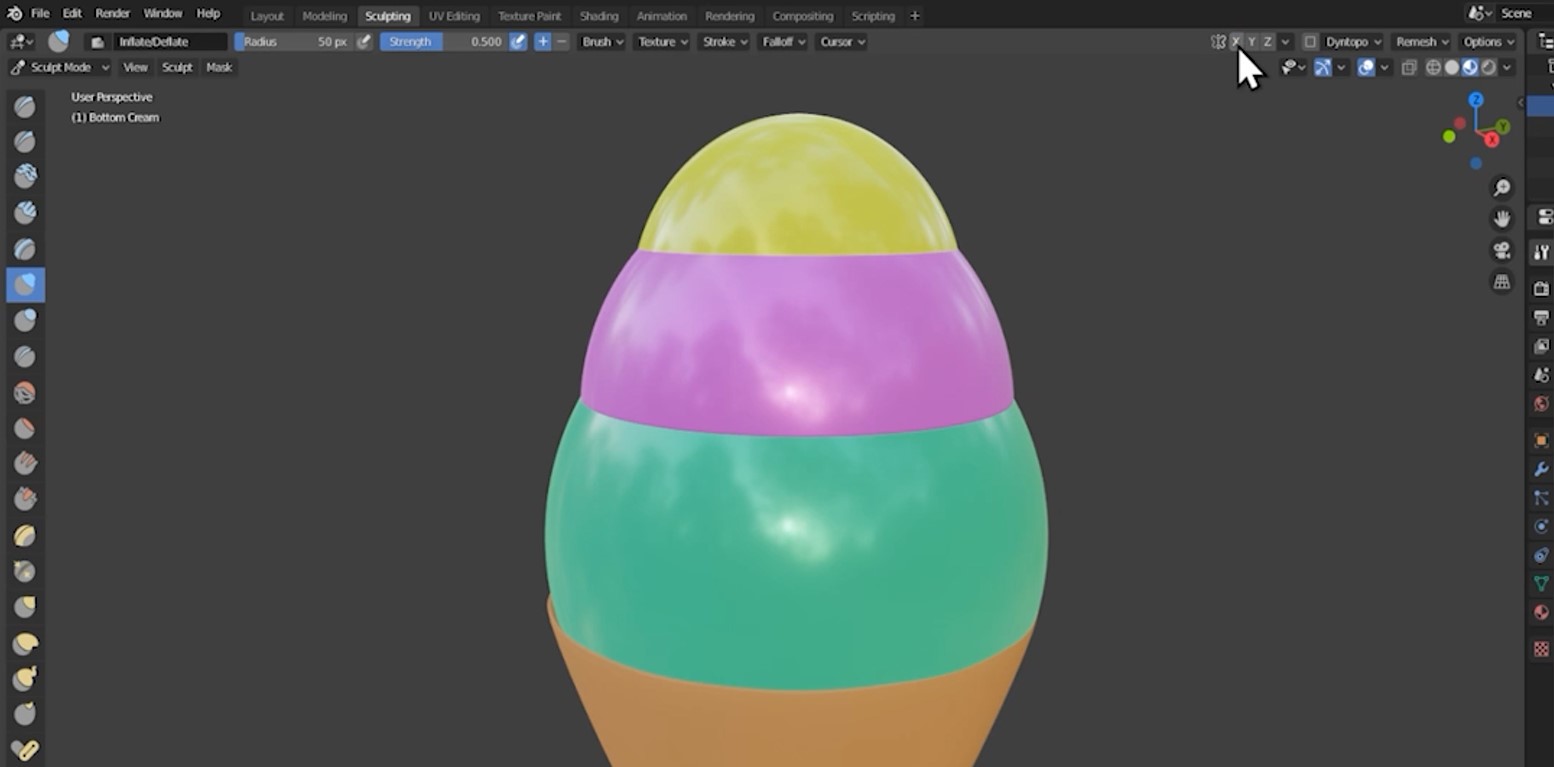
Start clicking on the scoops to inflate the mesh. Hold ctrl+click to deflate. Add some imperfections to make the scoops look more realistic.
Press F to change your brush size. You can also change this in the top left of the viewport.
Adjust the strength in the top left of the viewport.
Press Z and change to solid mode for a clearer view of the changes you're making.
Switch to the blob tool.
This time, click the X in the top-right.
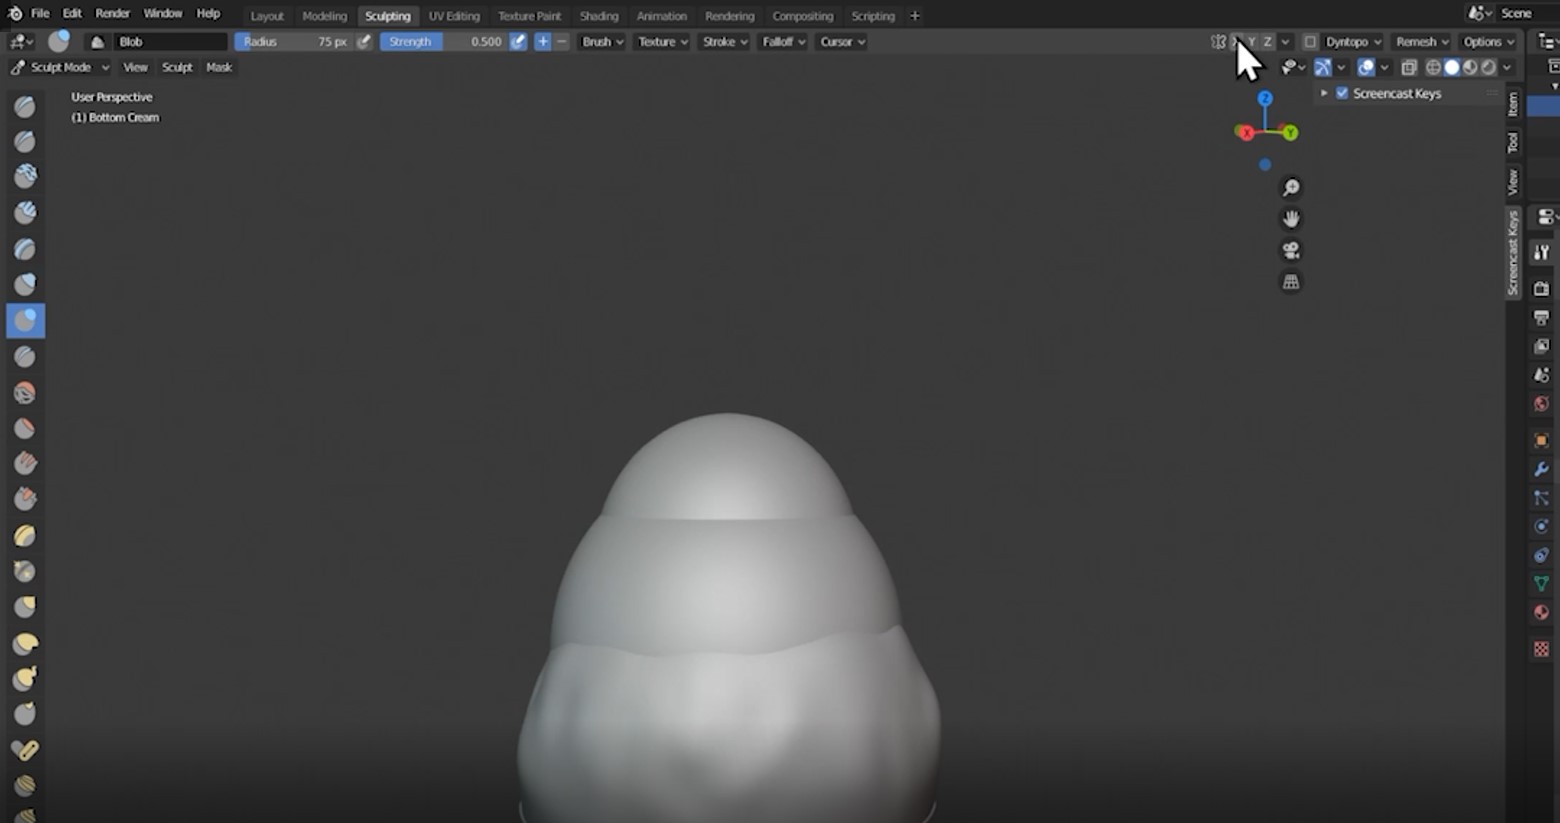
Hold left-click and move your mouse around the bottom of the scoop to blob it out at the sides.
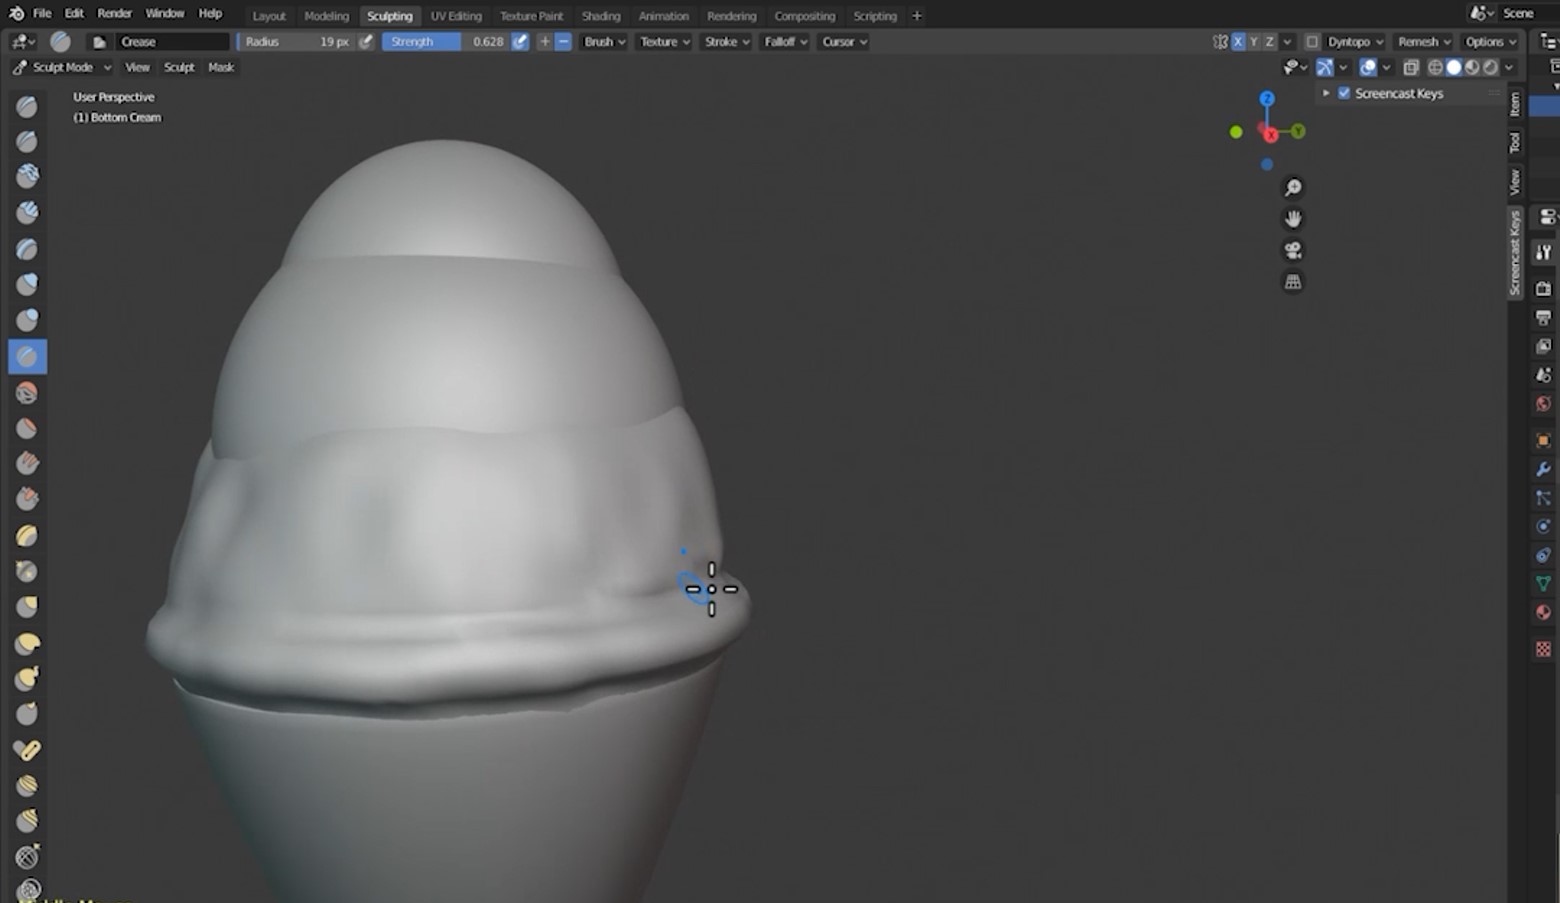
Switch to the crease tool.
Hold left-click and move your mouse just above the bottom of the scoop to crease it above the blob.
Step 4 - Sculpting the remaining scoops
Return to the layout tab at the top of the screen. Select the middle scoop.
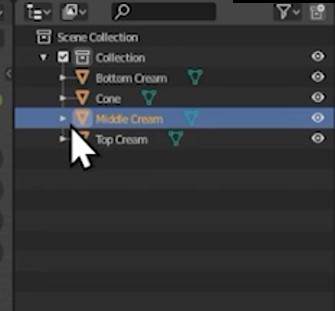
Repeat step 3 for the remaining scoops.
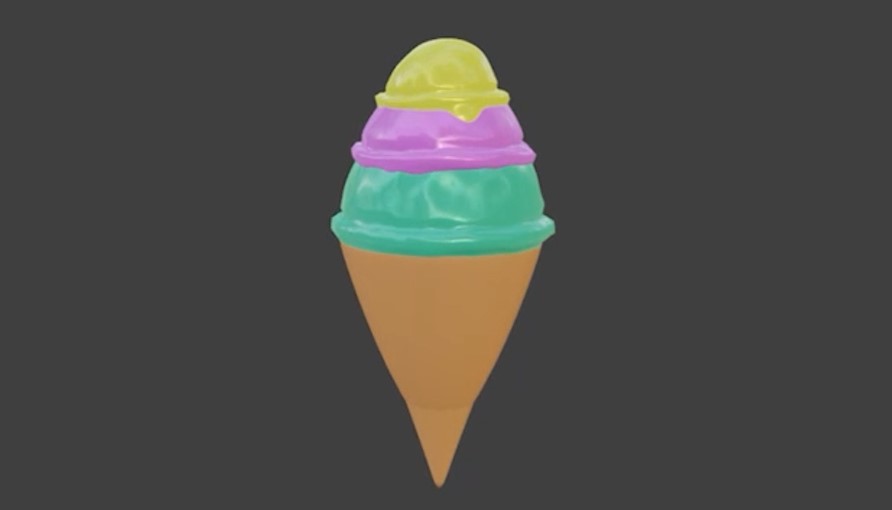
Conclusion
You have now successfully sculpted an ice-cream cone.
In the next part of this series, we're going to make our final render! This will involve adding the lighting, camera, and background.
Created by: David Corish