Gaming in Unity
07. Unity 2D Game 3 - Collisions
Collision will let SpriteCharacter bump into objects!
Step 1 - Adding Collision to Character and Objects
In order to simulate collision, we must make use of Unity's Physics System.
To do this, we add a Rigidbody 2D component to SpriteCharacter.
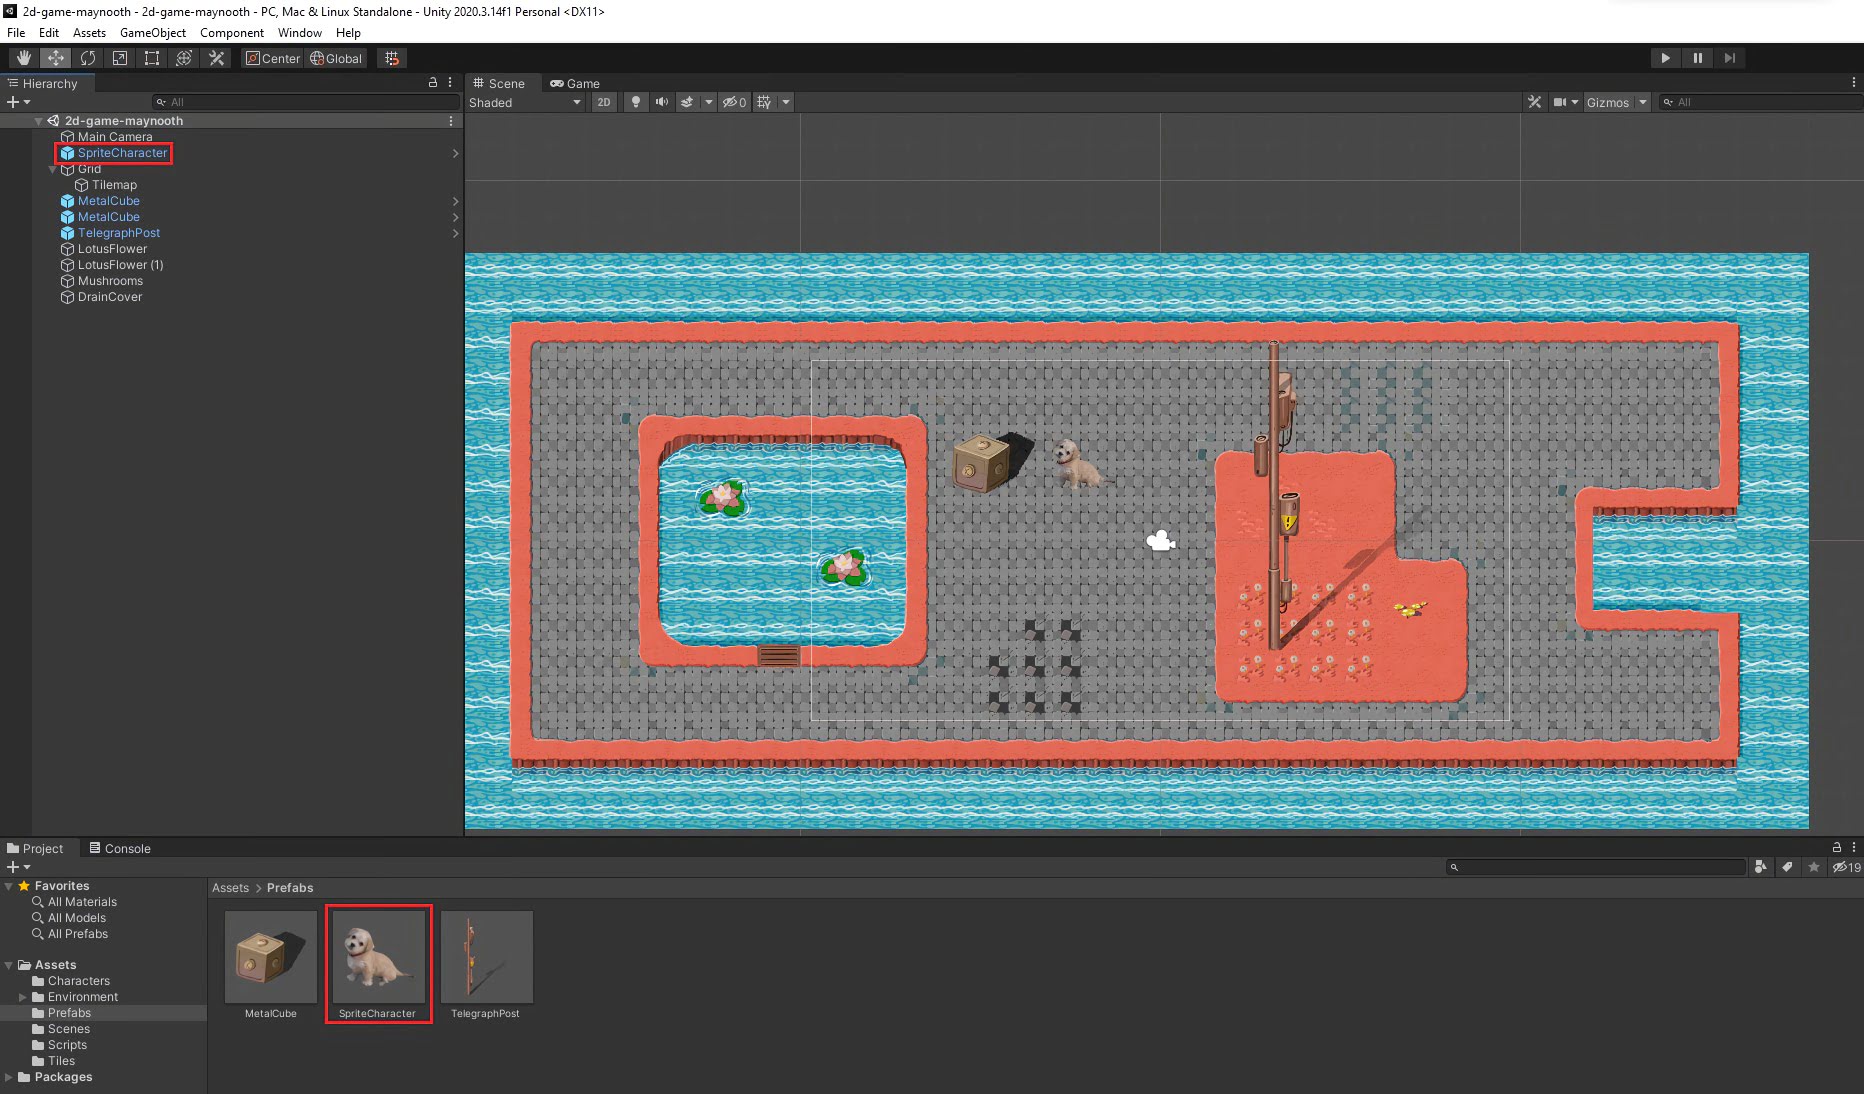
In the Hierarchy window, select SpriteCharacter.
Drag and drop SpriteCharacter into the Assets -> Prefab folder.
Double-click your newly created Prefab to open Prefab Mode.
Go to the Inspector and click the Add Component button.
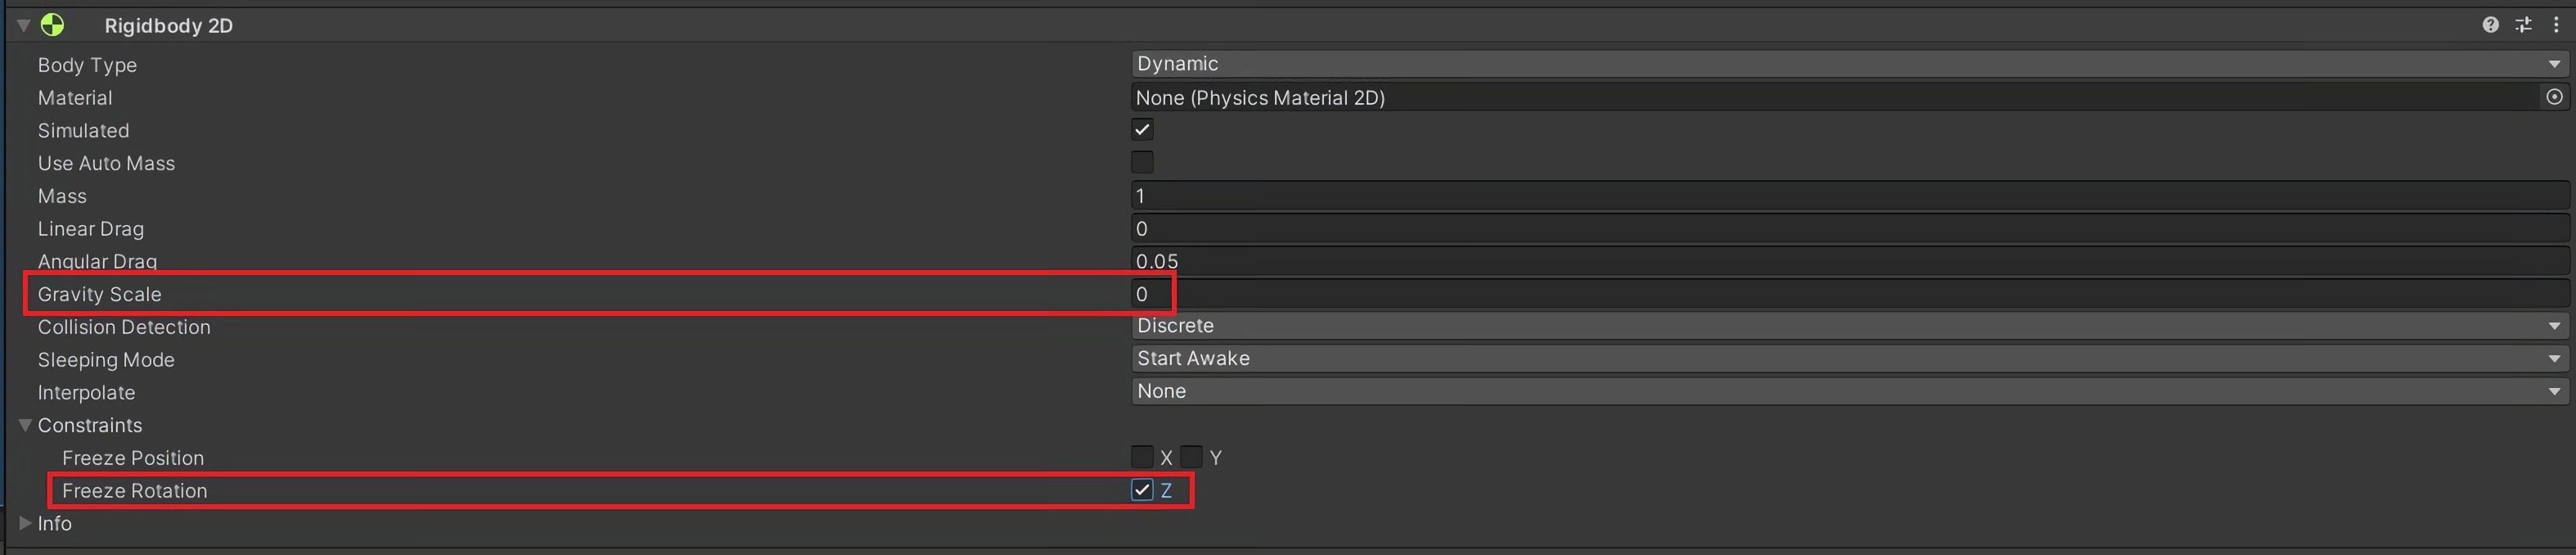
Search for Rigidbody 2D and select the component.
Once you've added the component, change Gravity Scale to 0. This will prevent SpriteCharacter from falling off the screen!
Enable Freeze Rotation underneath constraints. This will stop your SpriteCharacter from rotating due to the physics simulation.
You can now add a Collider.
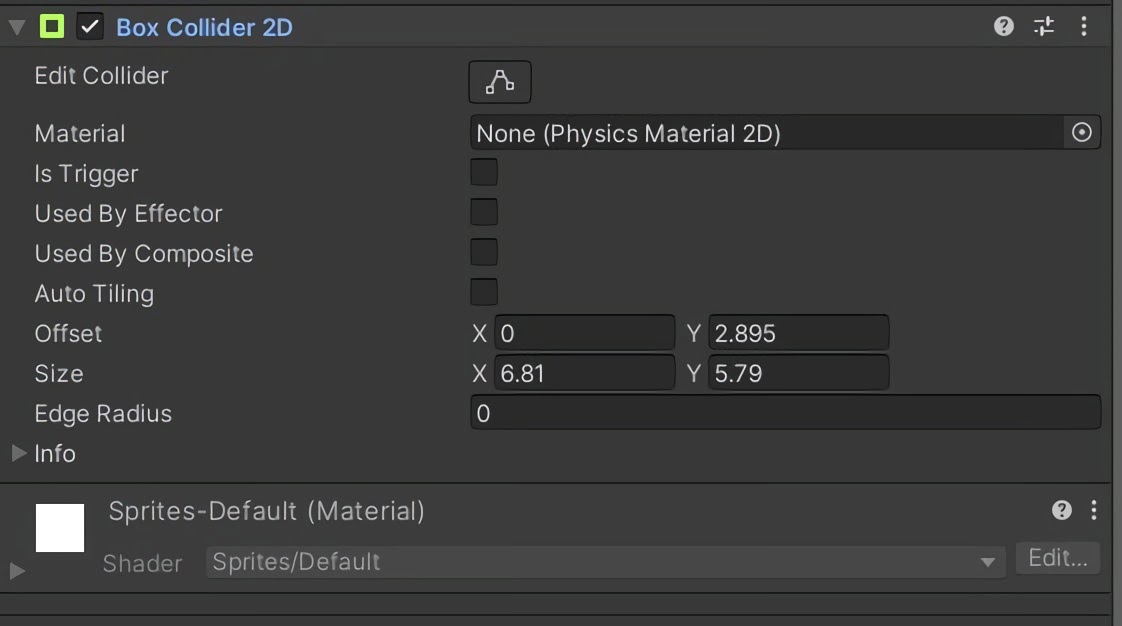
Click Add Component again and search for Box Collider 2D, select it.
Repeat this for the MetalCube Prefab (double-click, add Box Collider 2D component).
Click Play and try to move SpriteCharacter around the MetalCube.
You'll notice that SpriteCharacter jitters around. This is because the code of SpriteController does not agree with the physics system yet.
Step 2 - Modifying SpriteController Script
To fix the jittering, we need to make a modification to the original SpriteController Script.
Open SpriteController.cs in Assets -> Scripts.
Currently, our code moves the character itself by using Transform. We need to change this to moving the character's Rigidbody component.
To do this, first declare a Rigidbody variable at the start of your class.
Rigidbody2D rigidbody2d;
Also declare two floats:
float horizontal;
float vertical;
In the void Start() function, add the following line:
rigidbody2d = GetComponent<Rigidbody2D>();
This makes your variable rigidbody2d be equal to the characters Rigidbody2D component. We place it in void Start() as it only needs to run once at the start of the game.
Delete everything in void Update(). Add the following two lines:
horizontal = Input.GetAxis("Horizontal");
vertical = Input.GetAxis("Vertical");
These two lines will detect the player's input every frame.
As Void update() runs once every frame and frame rate can vary between devices, it is not suitable for physics calculations. To keep physics consistent between devices, we need to ensure that our calculations are done at a set rate. This can be done with the void FixedUpdate() function.
Add a function called void FixedUpdate().
Inside FixedUpdate, add the following line:
Vector2 position = rigidbody2d.position;
This stores the position of SpriteCharacter's Rigidbody2D component in a variable called position.
Add the following lines:
position.x = position.x + 3.0f * horizontal * Time.deltaTime;
position.y = position.y + 3.0f * vertical * Time.deltaTime;
rigidbody2d.MovePosition(position);
These calculate the new position of SpriteCharacter (based on player input). It then moves the Rigidbody2D component (and the character) to that new position.
Your final code should look like this:
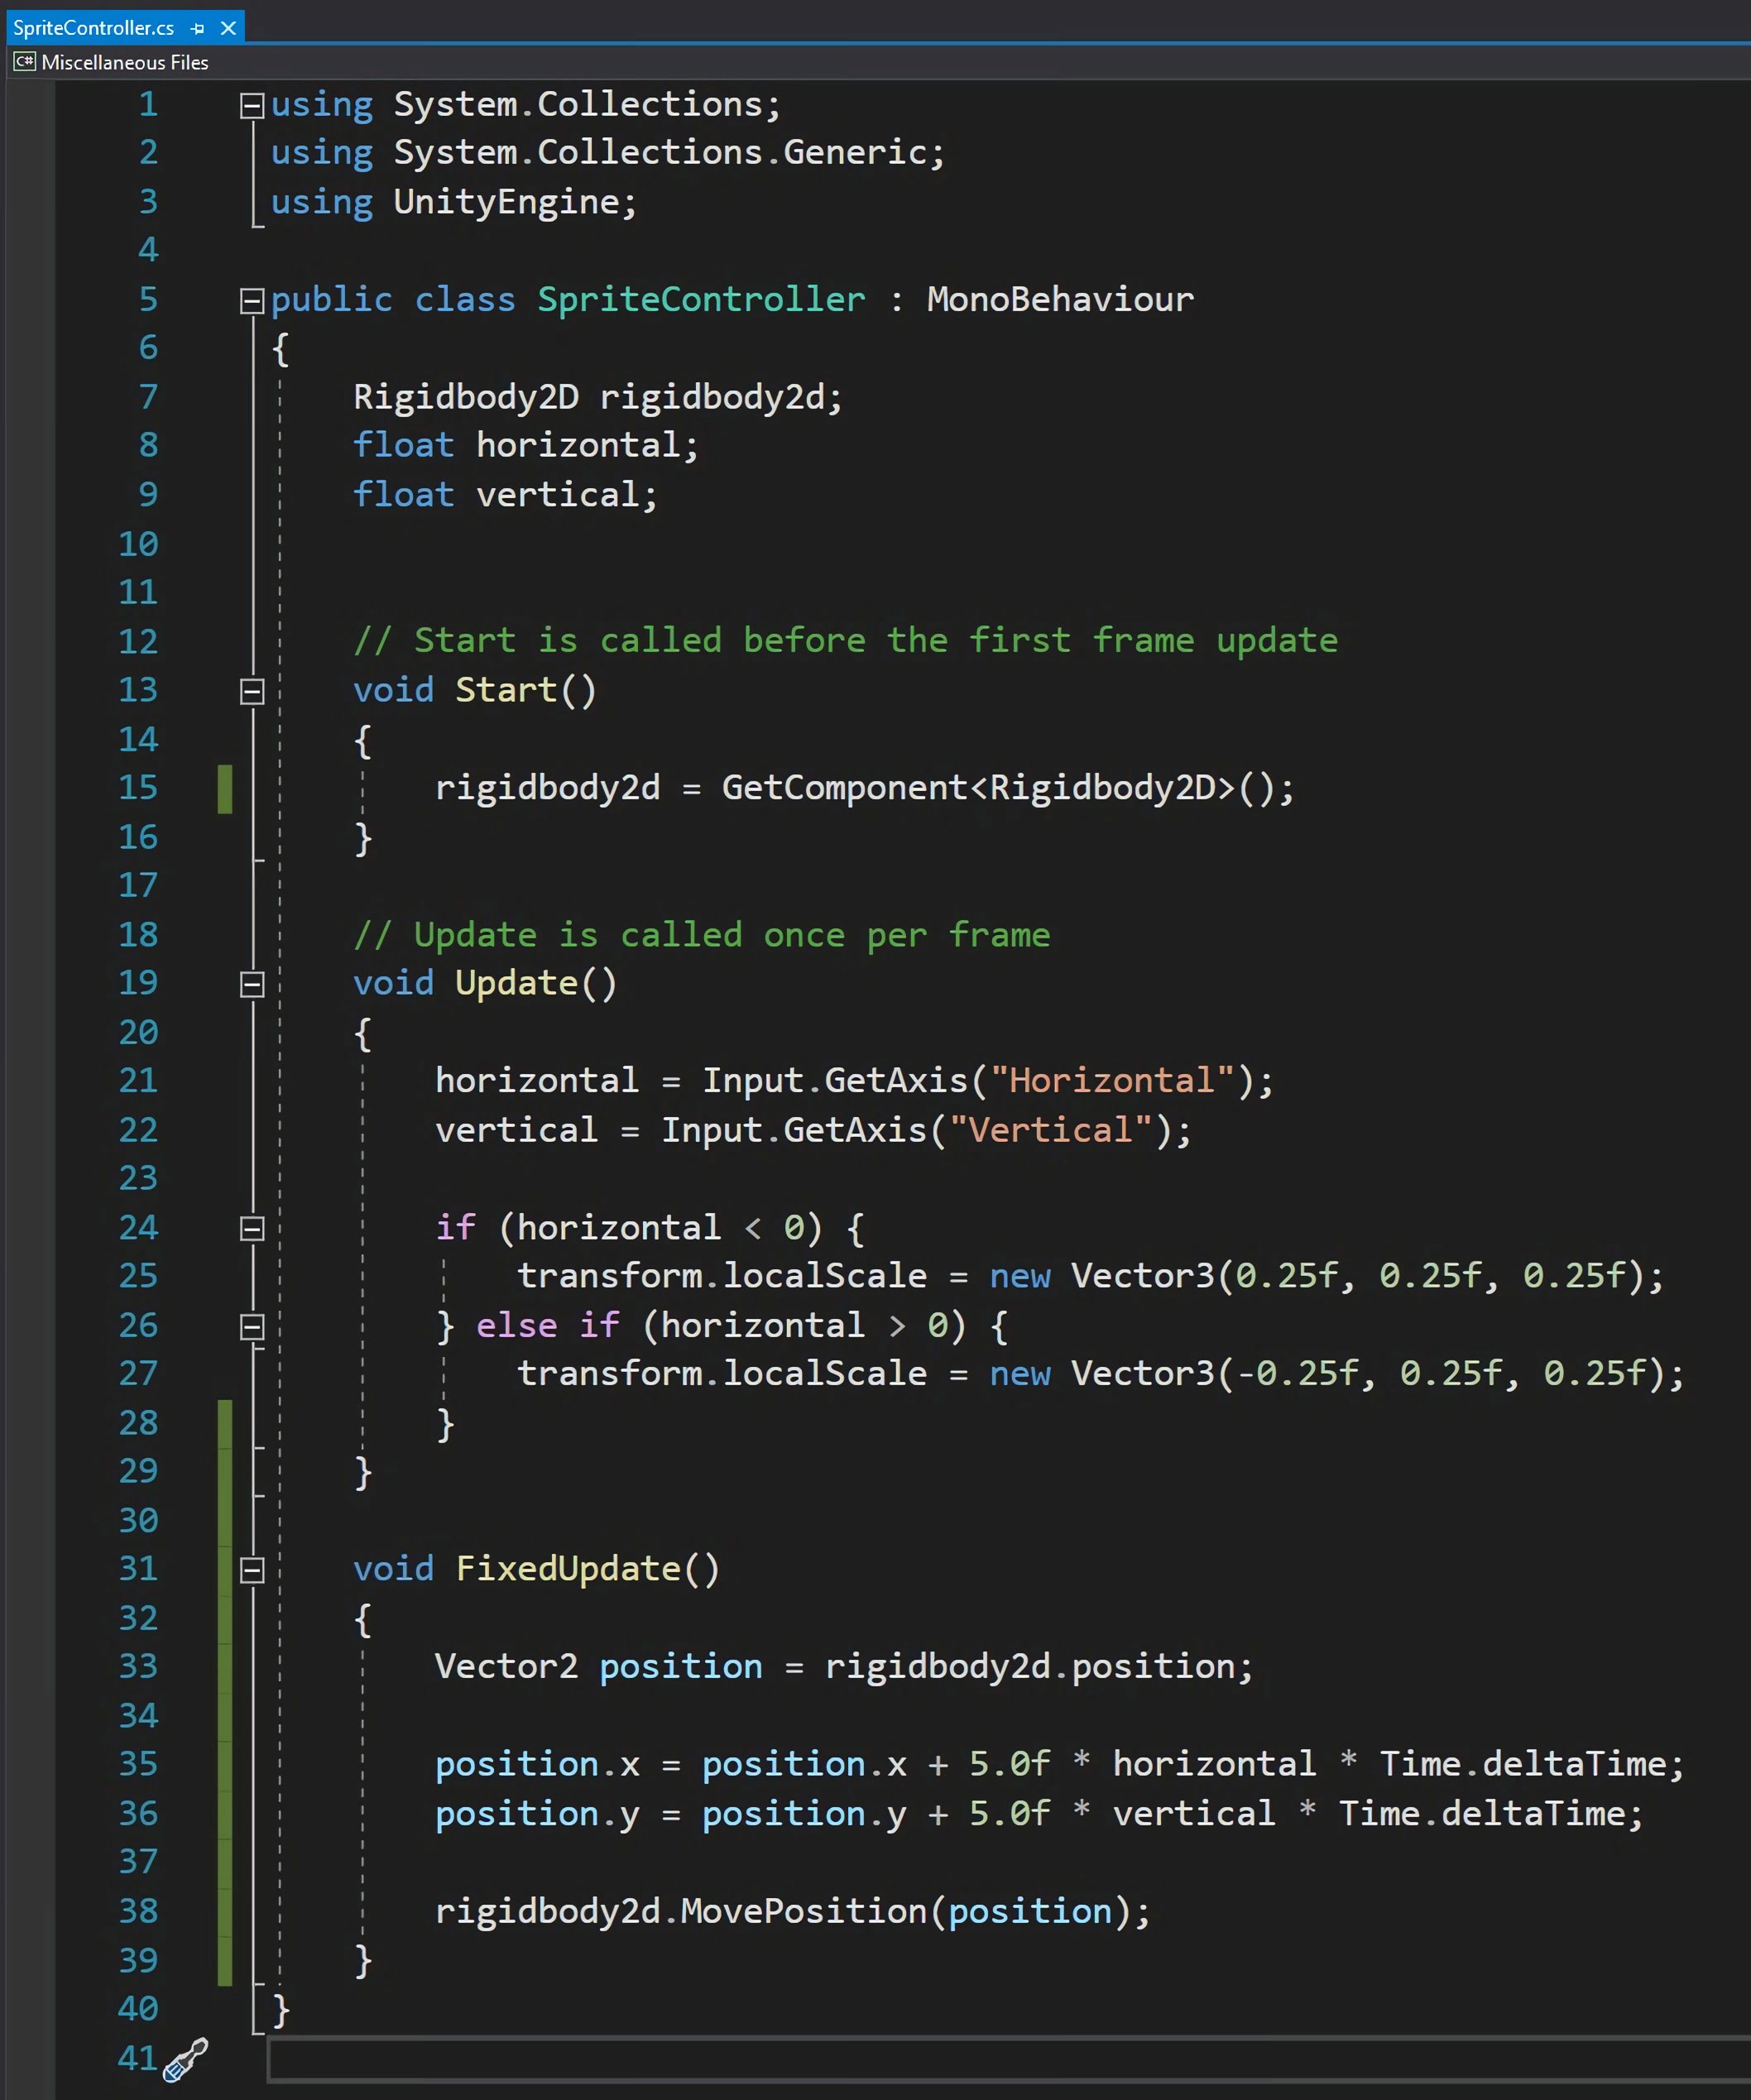
Click Play again and the jittering will be fixed!
You will notice that the shape of the MetalCube is not completely accurate to when it stops SpriteCharacter. To fix this, we need to resize the Collider.
Select MetalCube in Assets -> Prefabs.
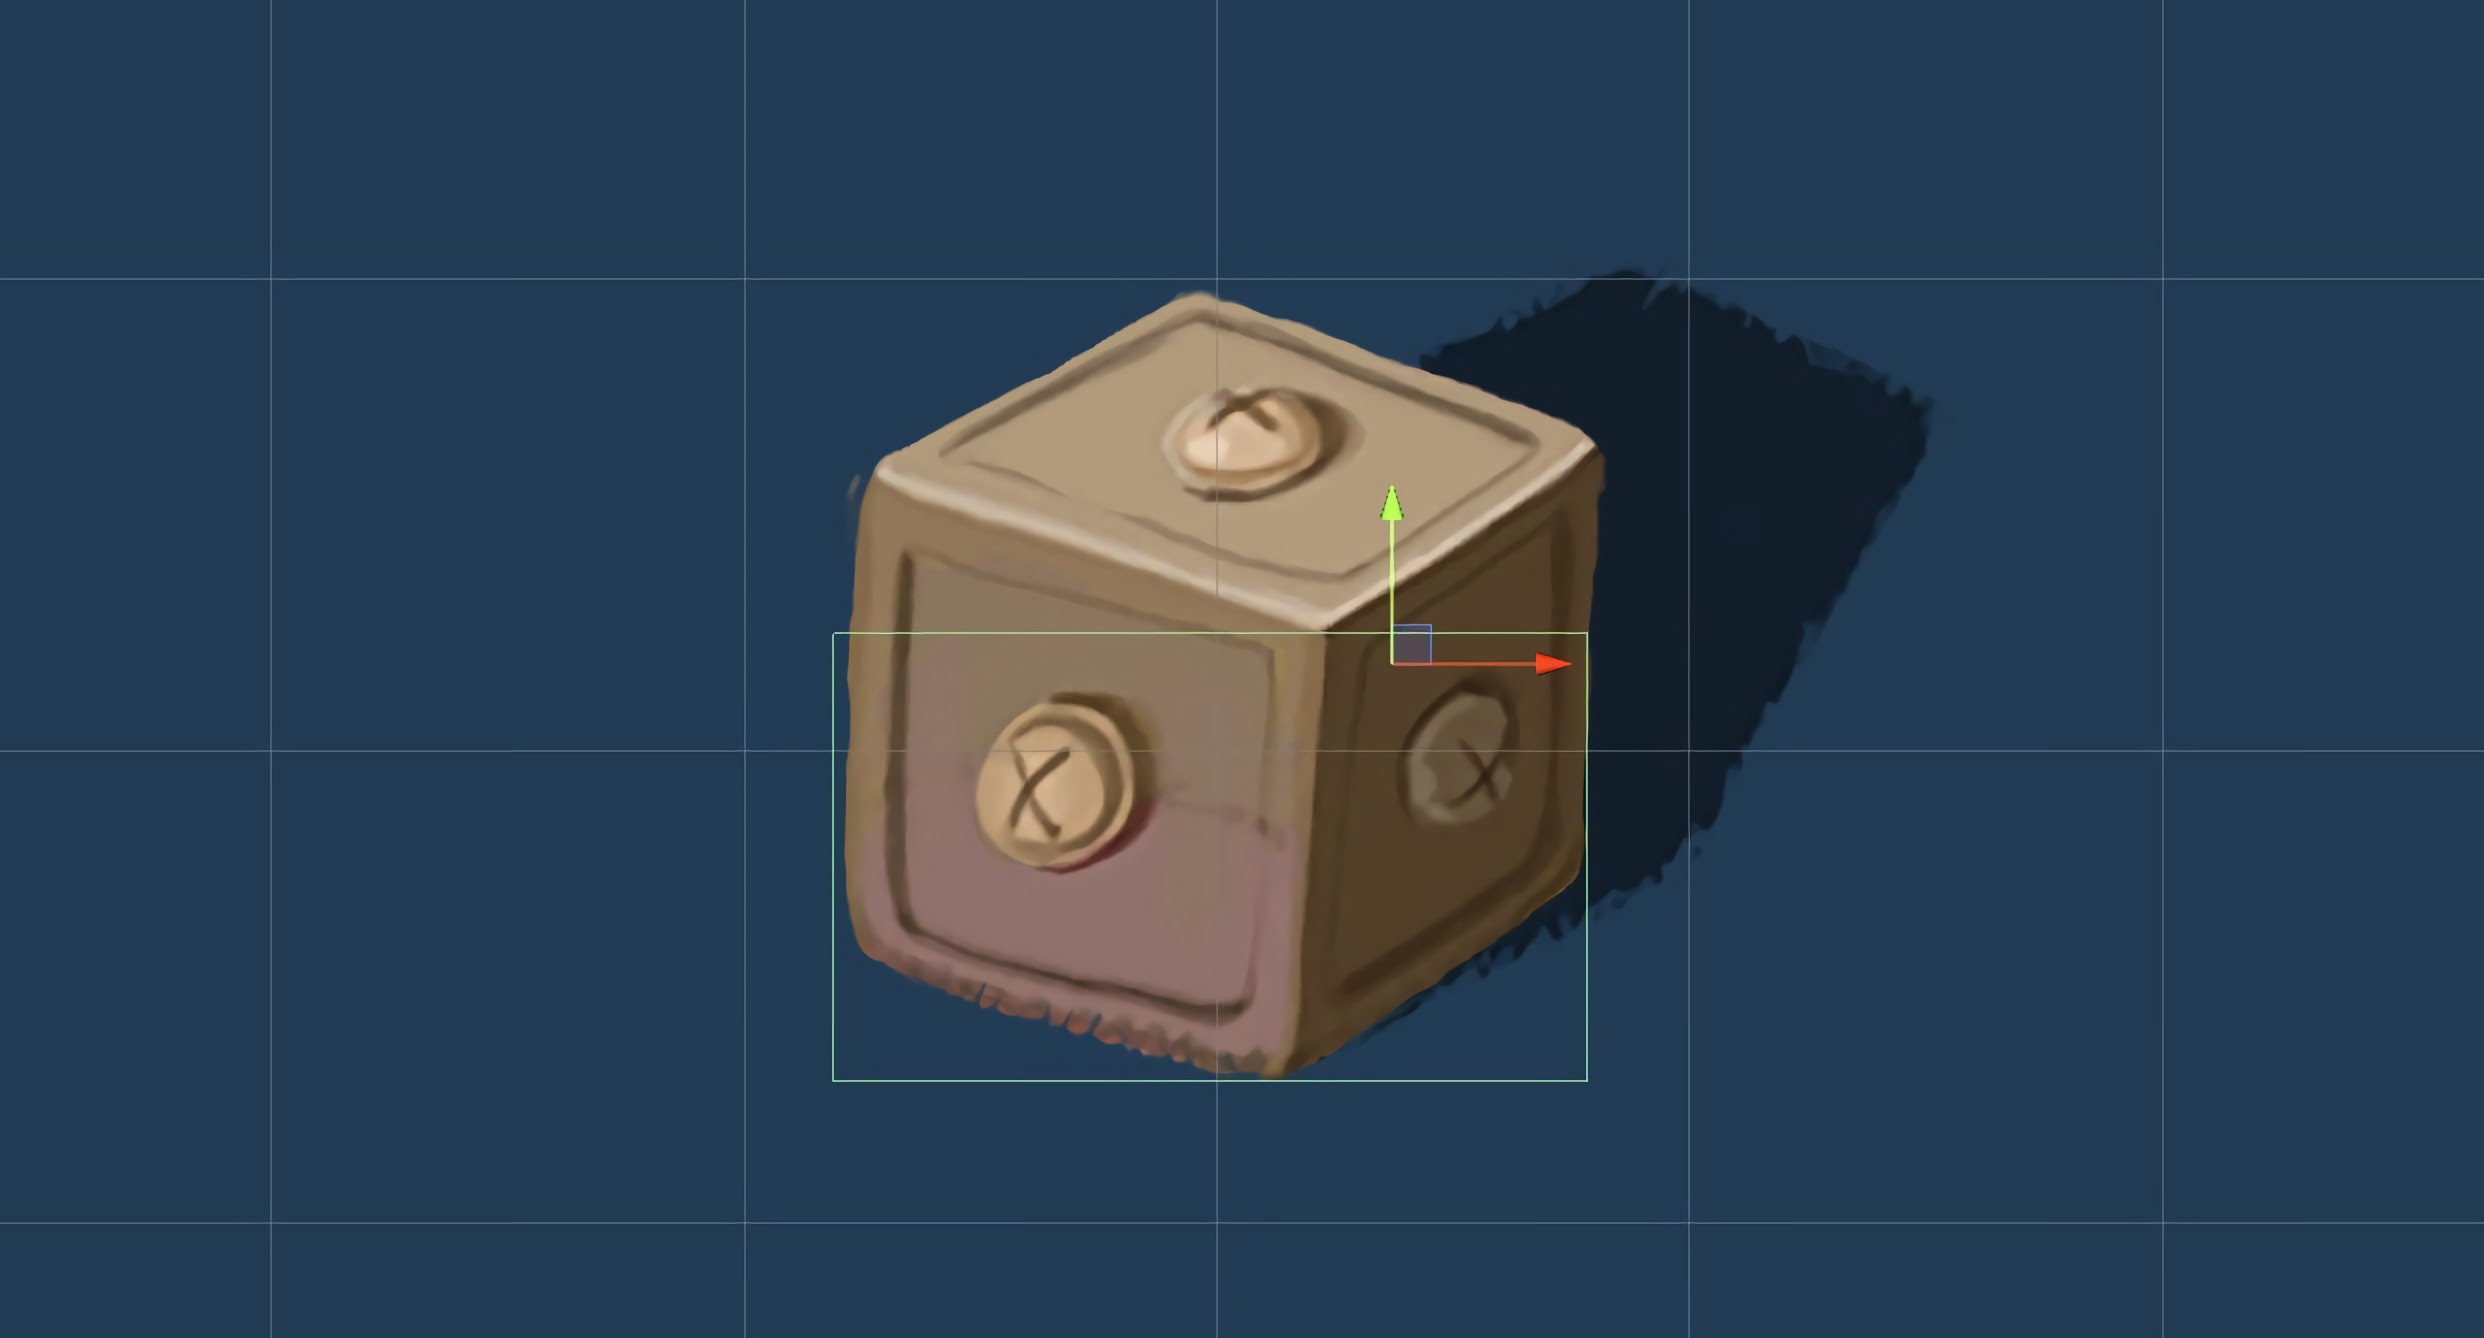
Go to the Inspector and click the Edit Collider button.

A green rectangle will appear around a MetalCube. These are the edges of the MetalCube's Collider. Click and drag the dots on each side to resize the shape.
Reshape the collider to roughly this. This will stop the character from colliding with MetalCube's shadow whilst still allowing the character to walk behind the MetalCube.
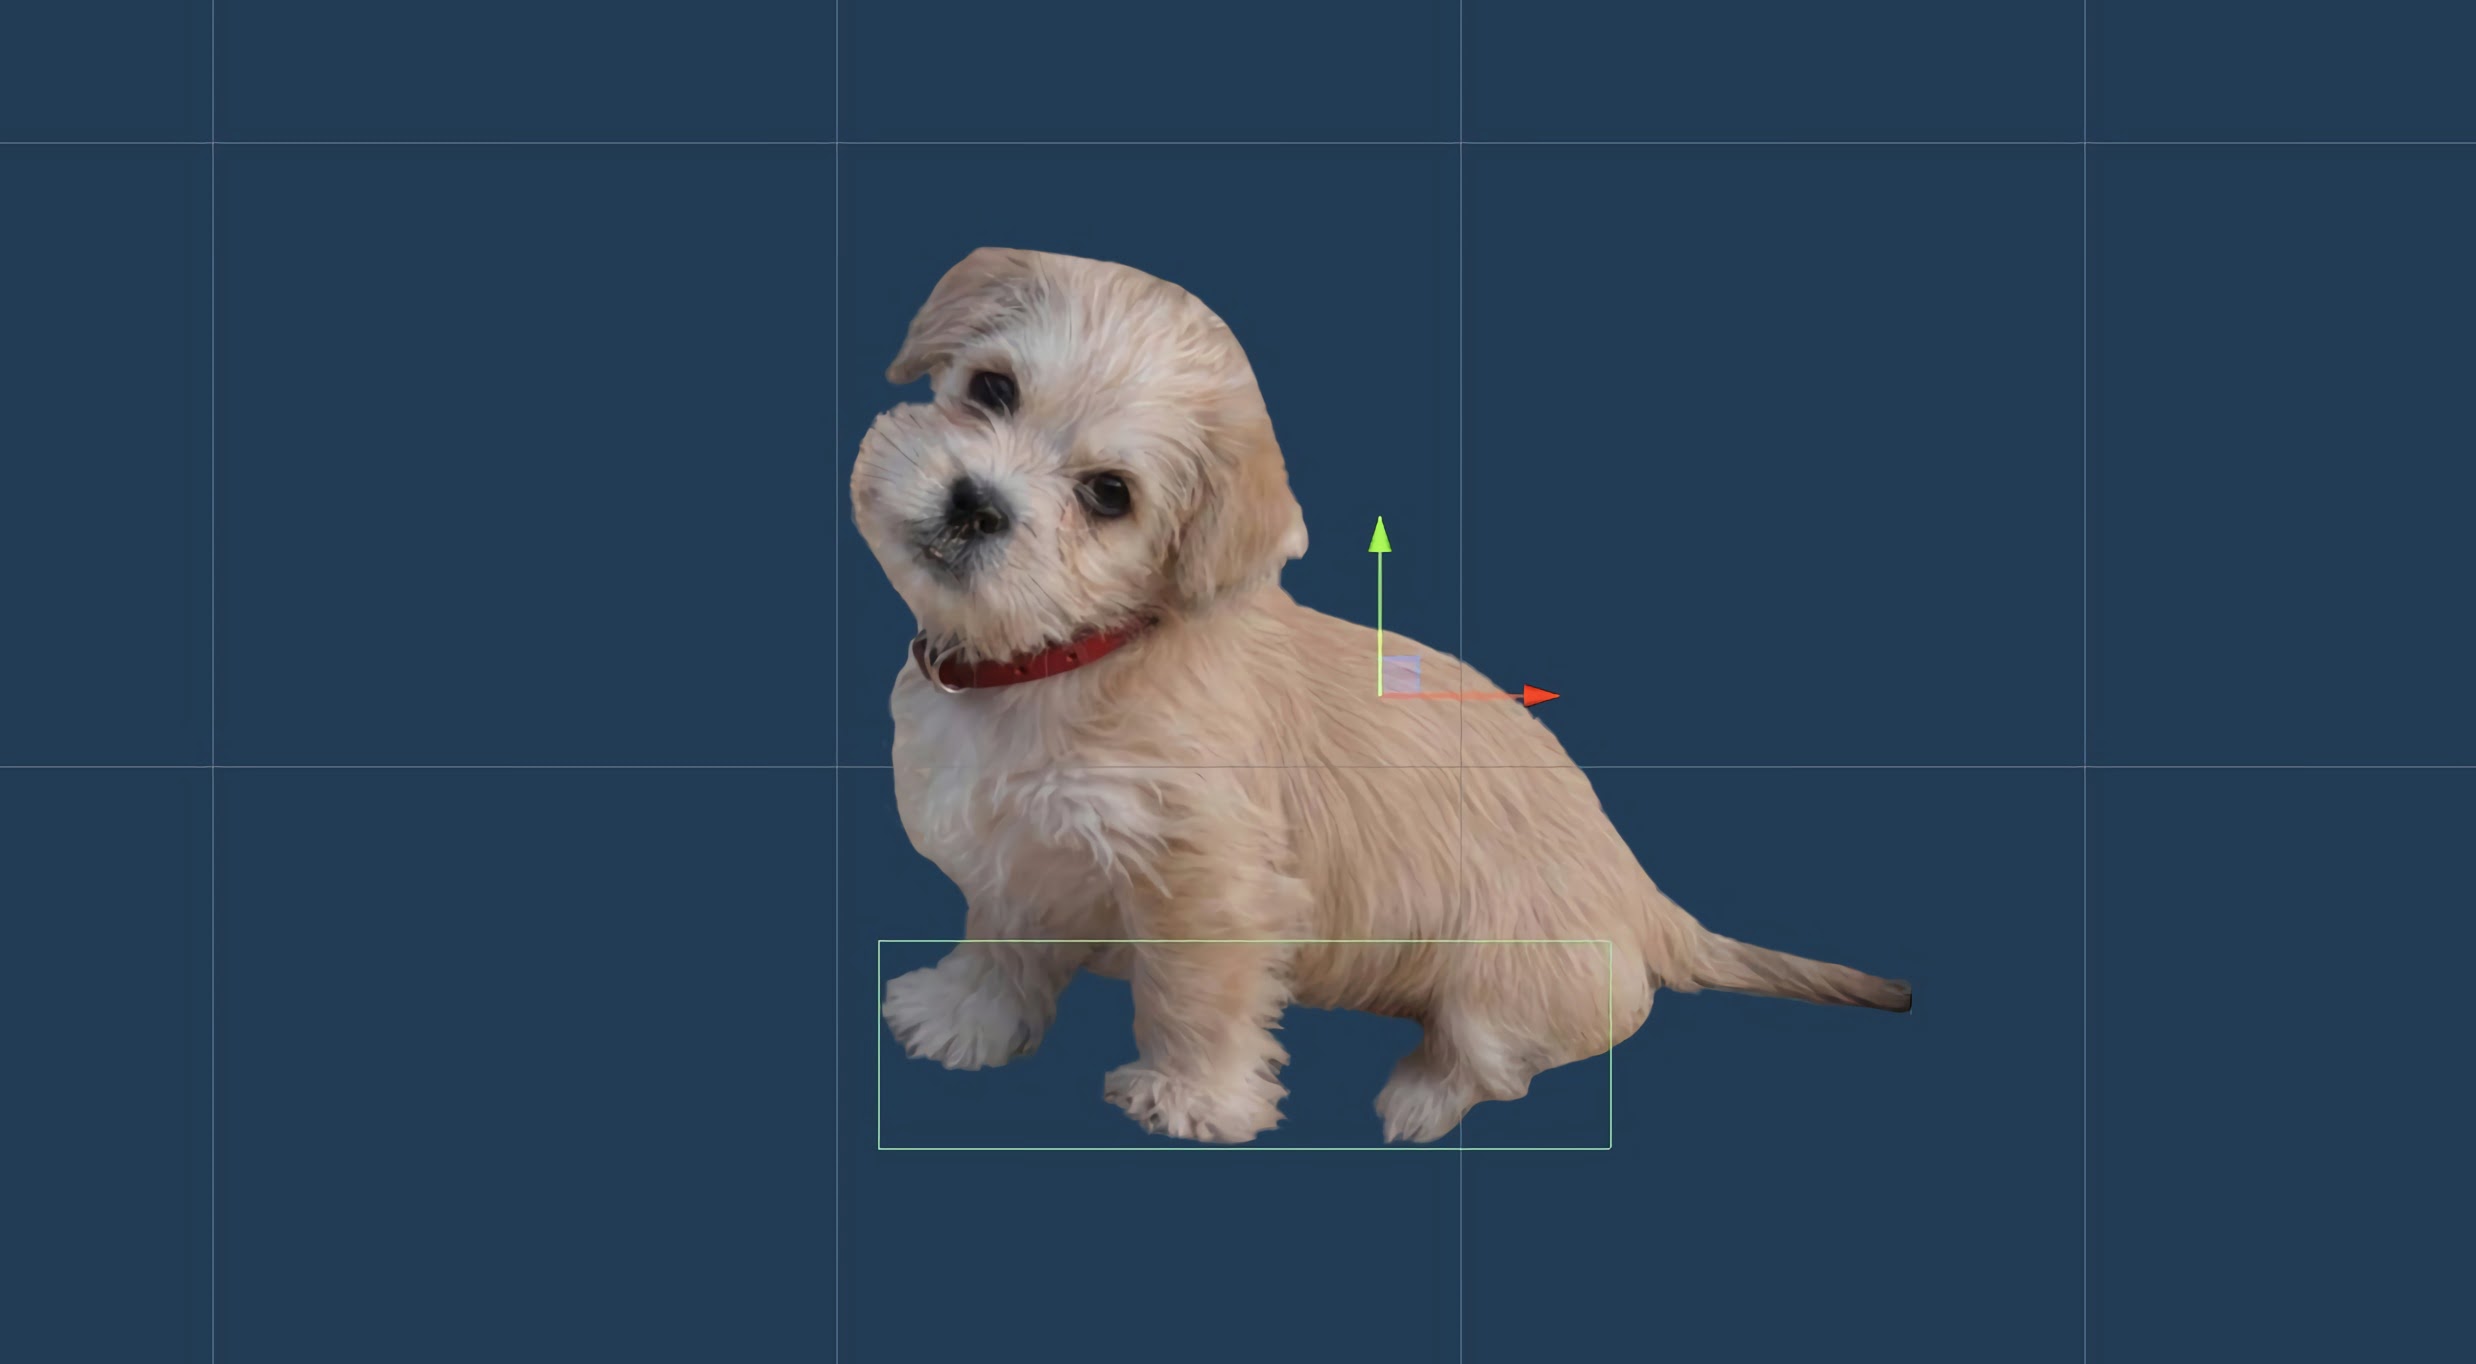
Repeat the process for SpriteCharacter as you see fit. I've resized Scamp's collider to just include her paws. This stops her tail from bumping into things.
Create colliders for any objects you want SpriteCharacter to bump into!
Step 3 - Adding Collisions to Tiles
In the Hierarchy, select the Tilemap.
Go to the Inspector and click the Add Component button.
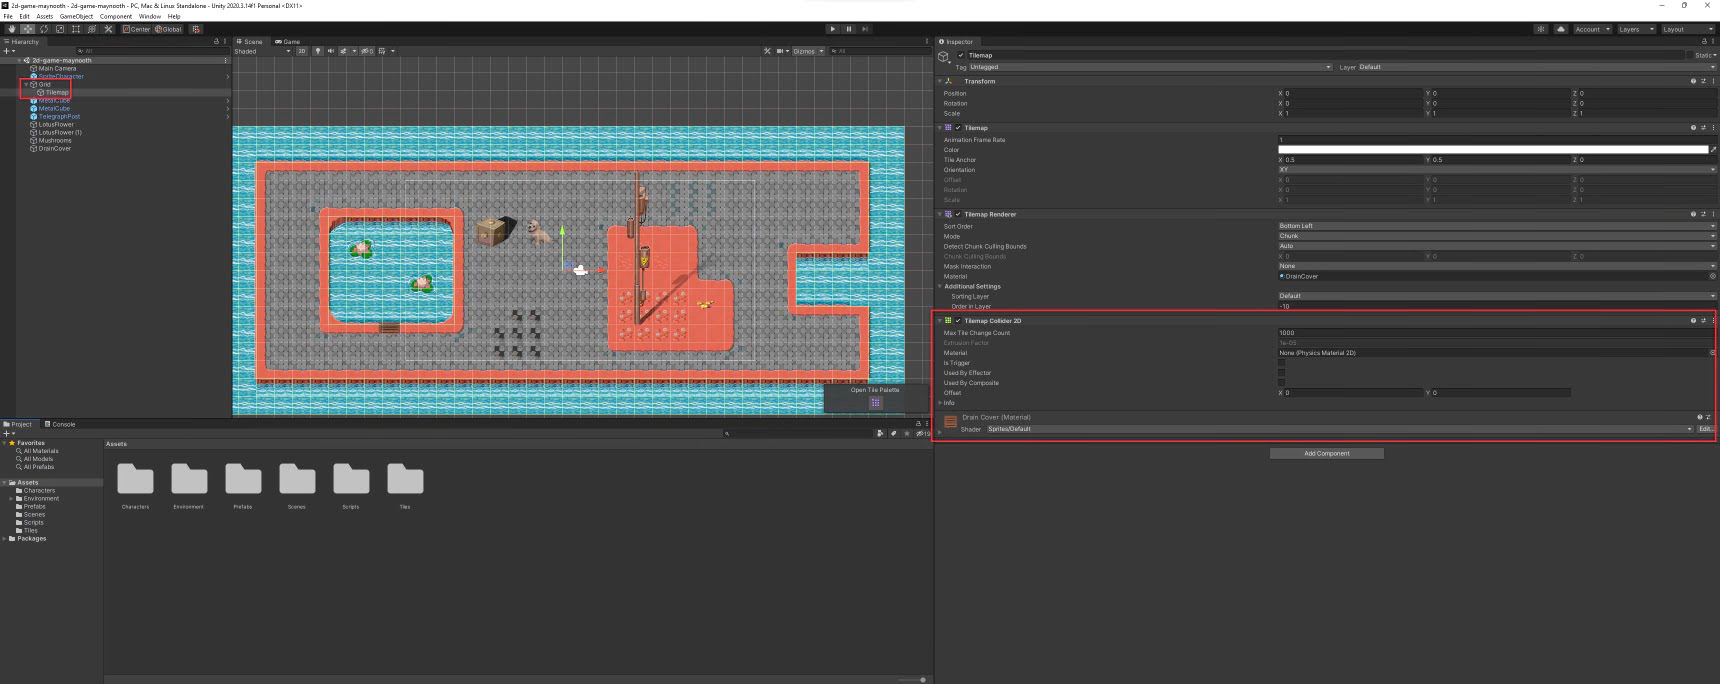
Search for Tilemap Collider 2D and add this component. This will give every tile a collider.
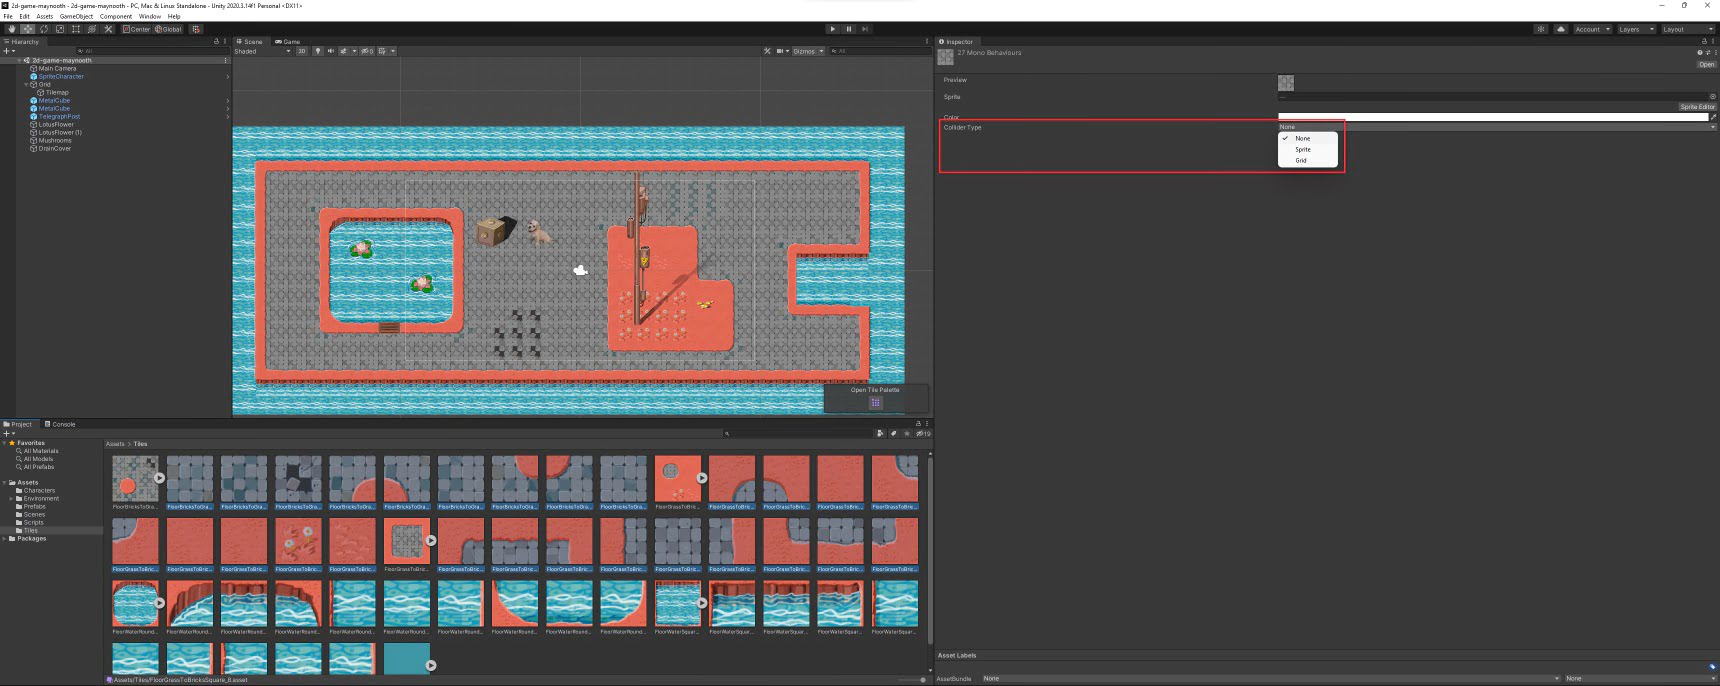
Go to Assets -> Tiles and select every tile that you don't want a collider on. I've selected every tile that's not a water tile.
Go to the Inspector and change Collider Type to None.
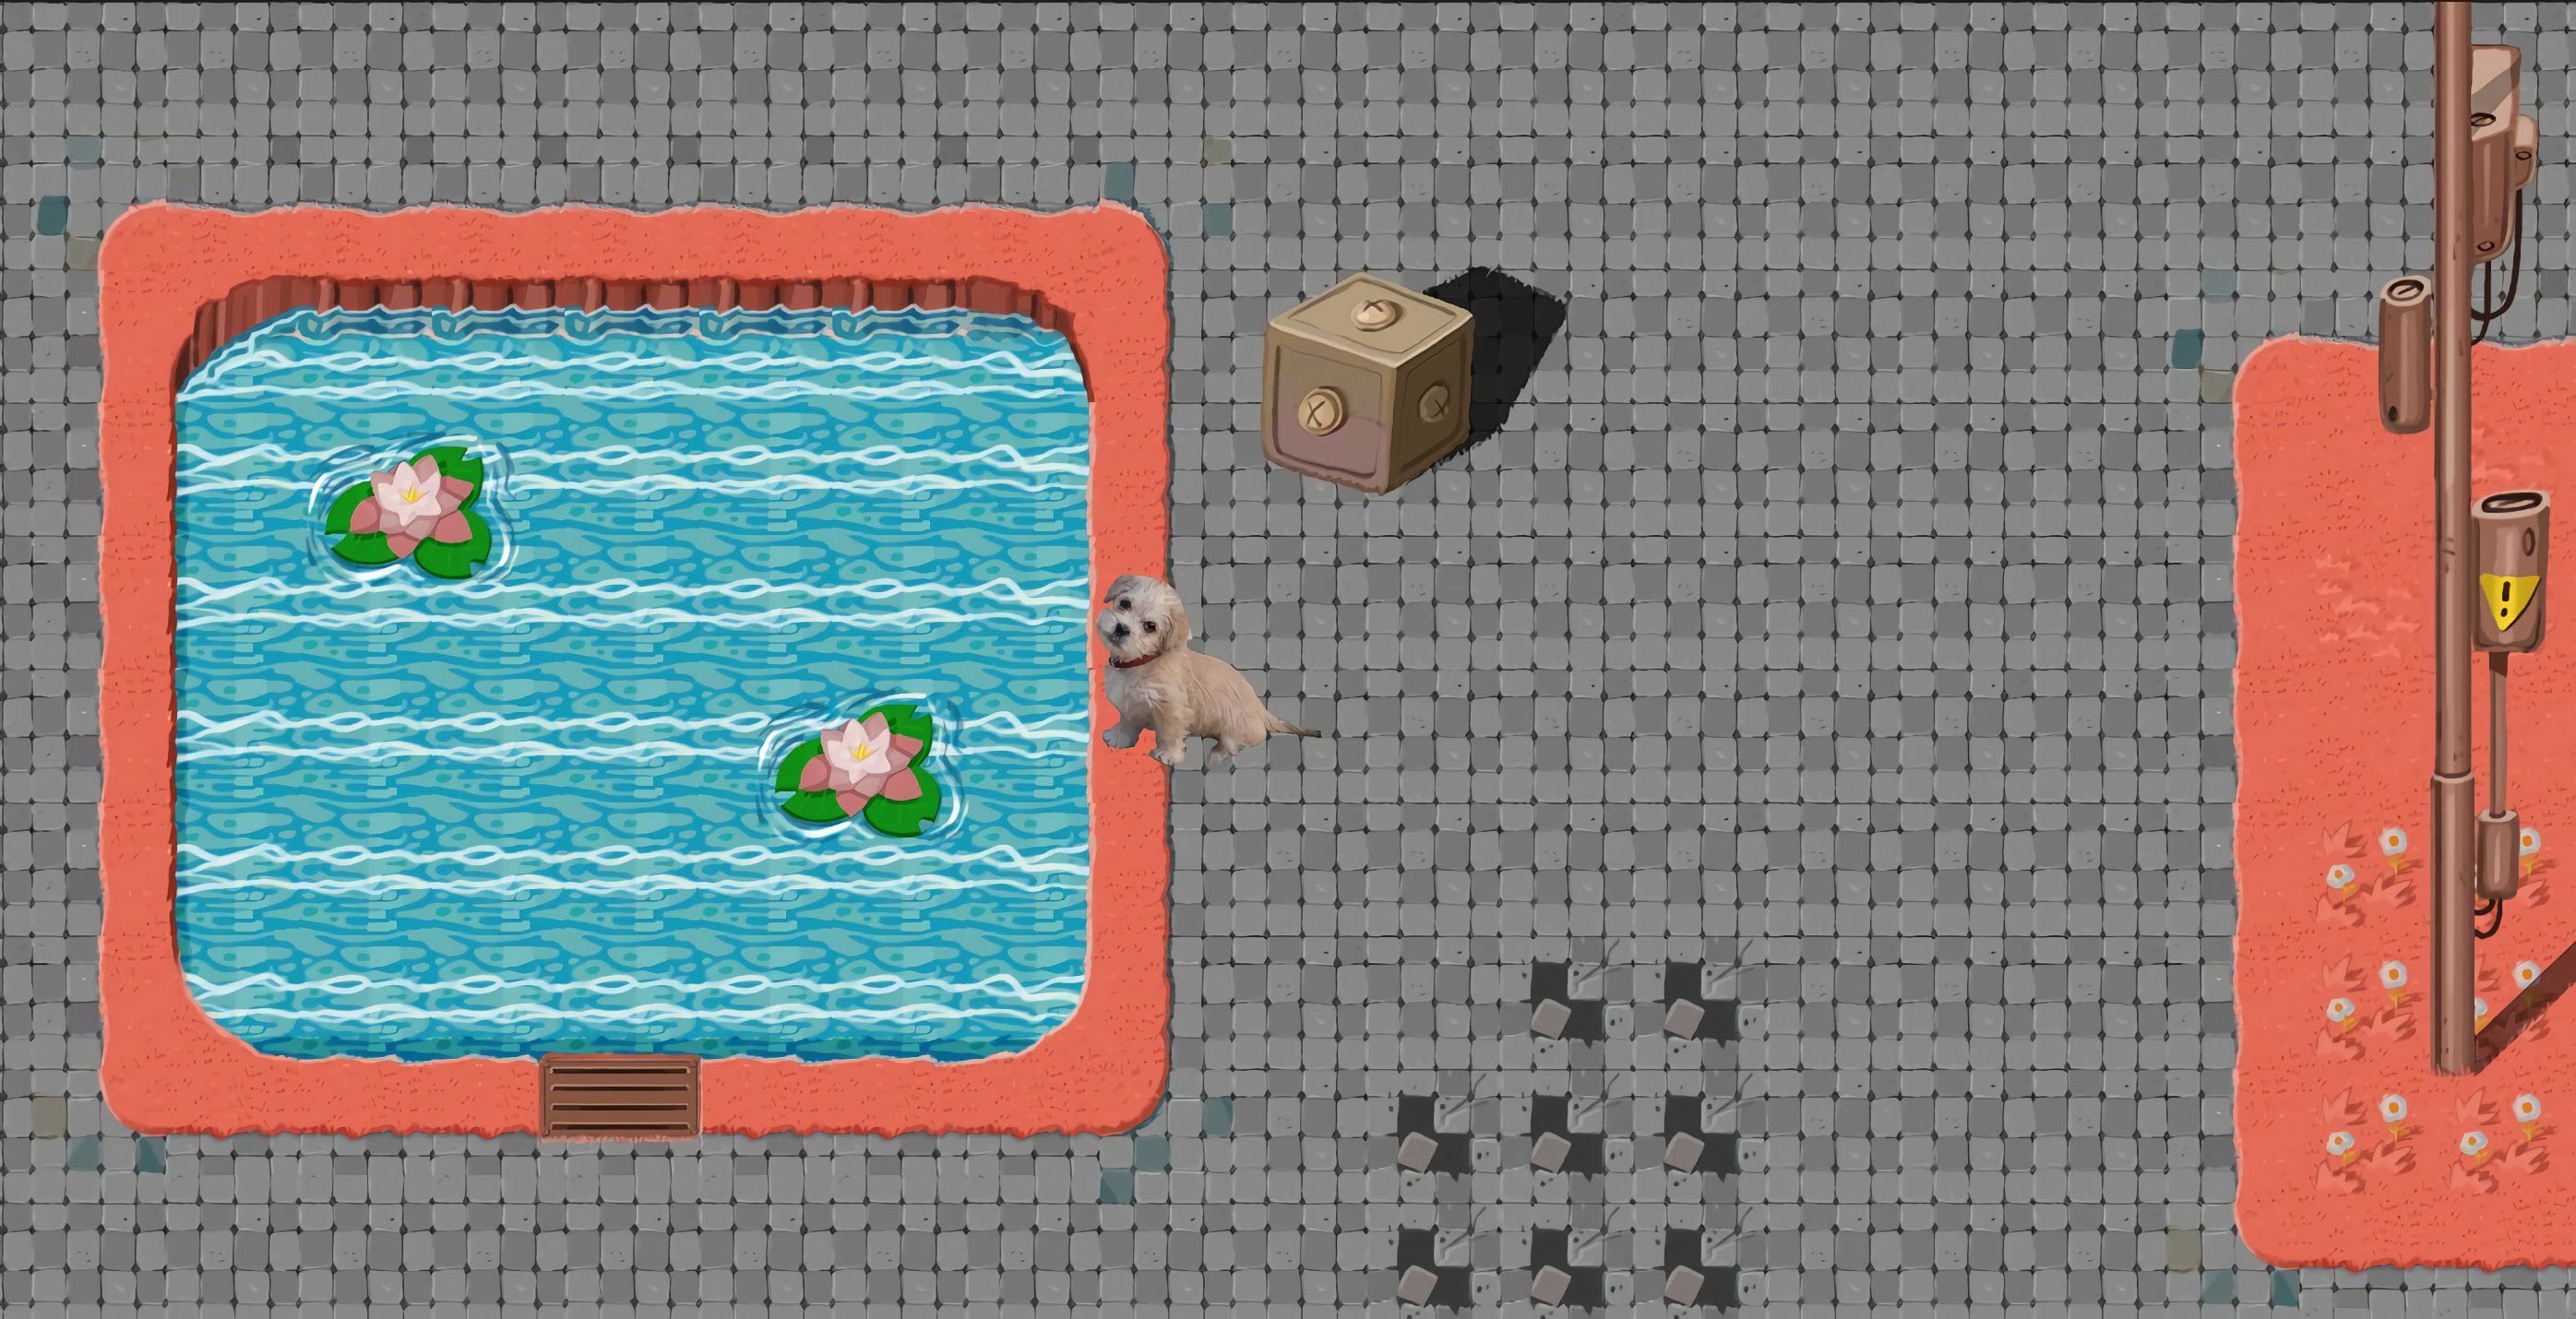
Click play and test it out! Scamp here can no longer go in the water.
If you click on the Tilemap in Hierarchy, you will notice that each Tile uses a separate Collider. This is inefficient and can be optimised.
To fix this, we use a Composite Collider.
Click on the Tilemap in Hierarchy and click Add Component in the Inspector.
Add Composite Collider.
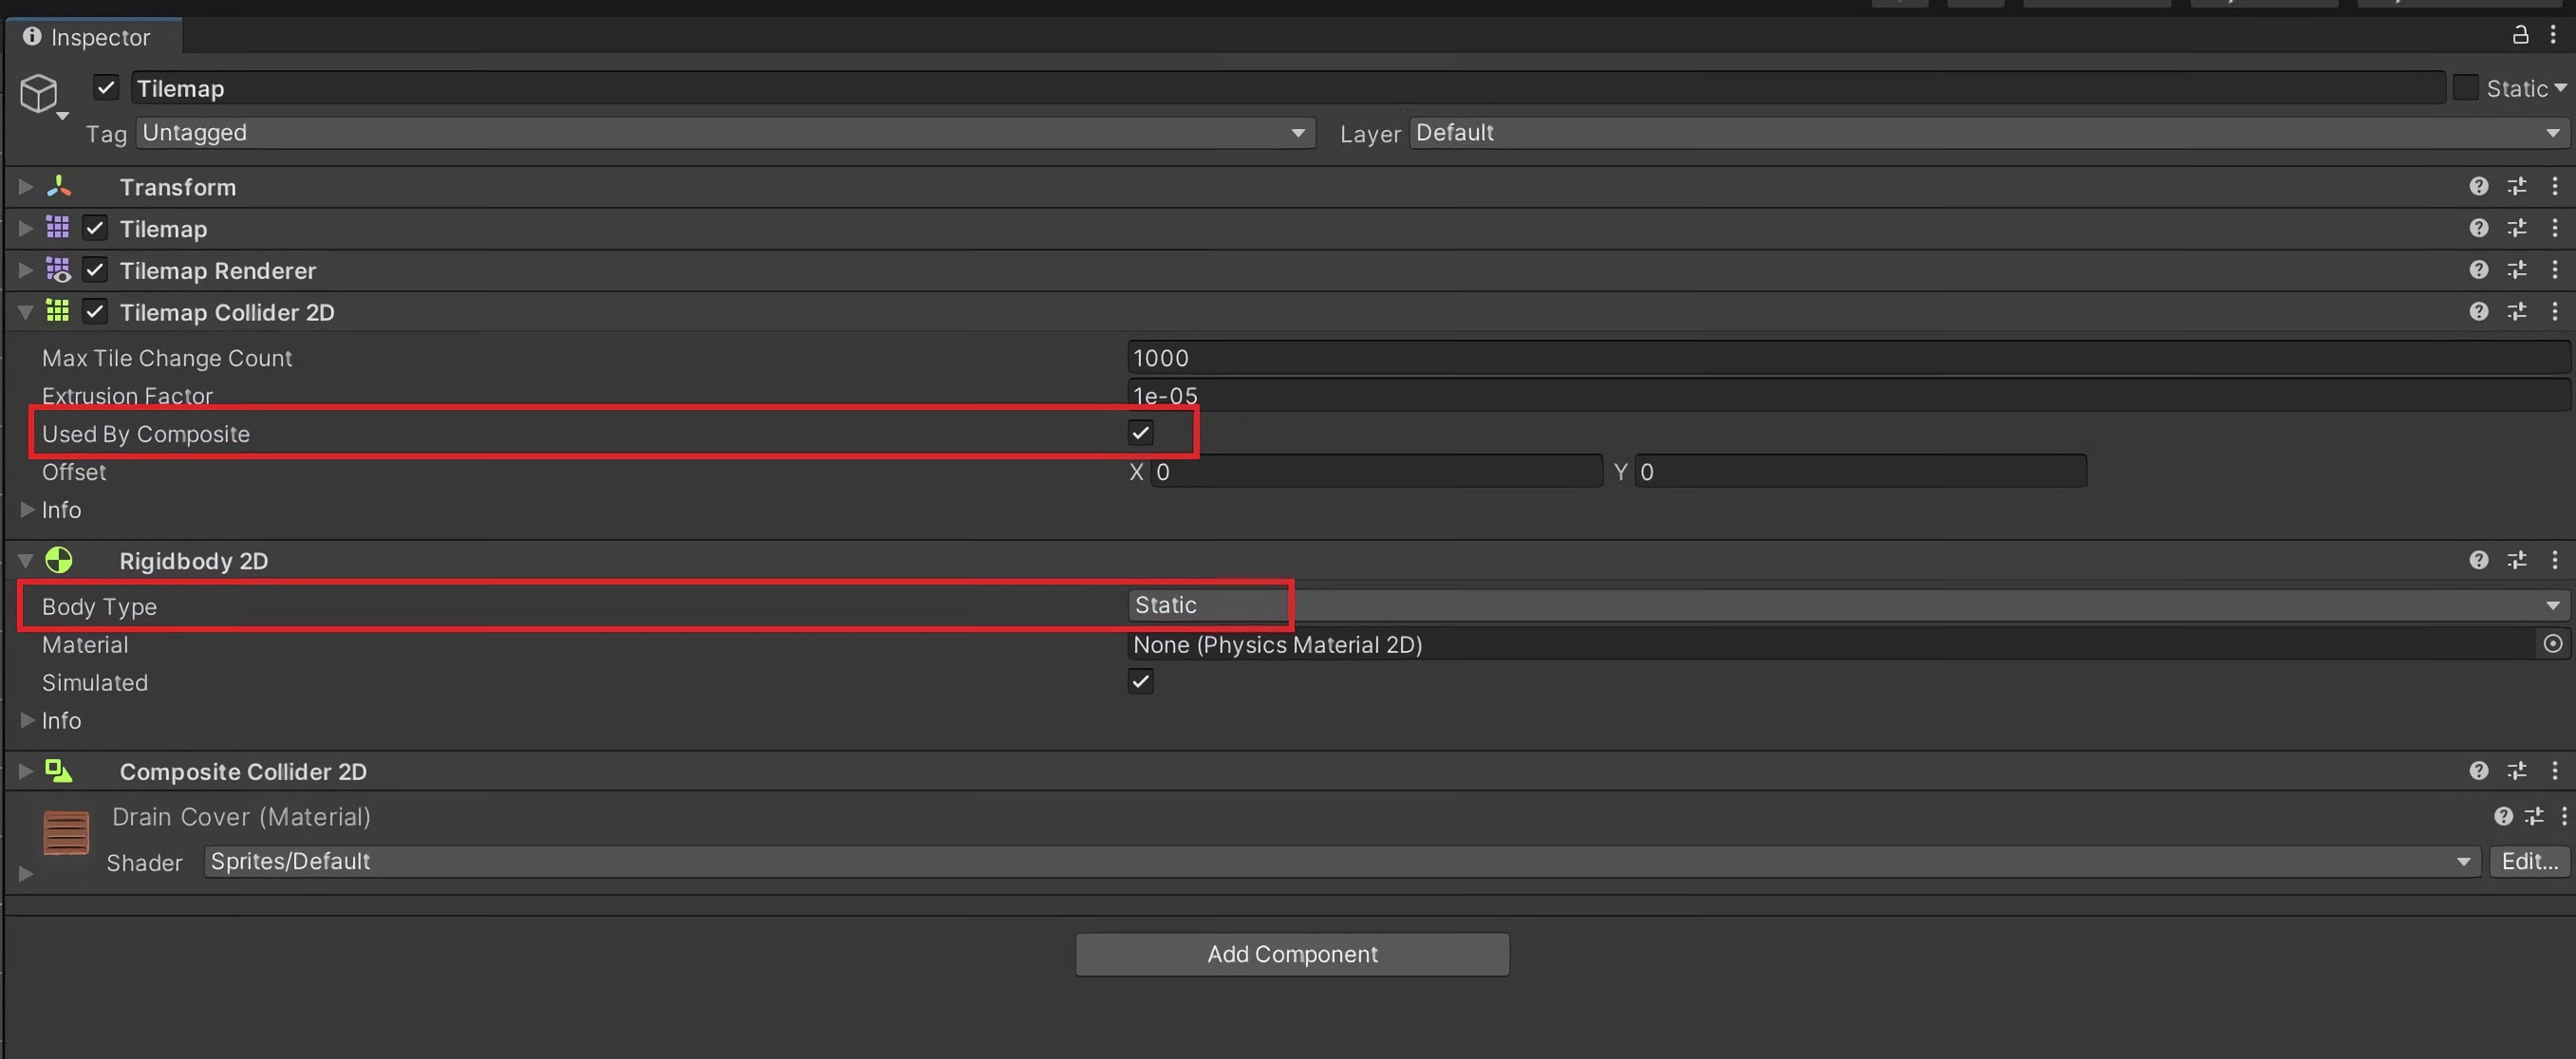
This adds a Rigidbody 2D component and a Composite Collider 2D component.
In Tilemap Collider 2D, tick Used By Composite.
In Rigidbody 2D, change Body Type to Static. The water tiles will never move so it helps to know that they will remain static.
You have now successfully taken your first steps into Unity's physics engine and added collision to SpriteCharacter, GameObjects, and Tiles!
Created by: David Corish