TurtleStitch
14. How the Embroidery Machine Works
How The Embroidery Machine Works
-
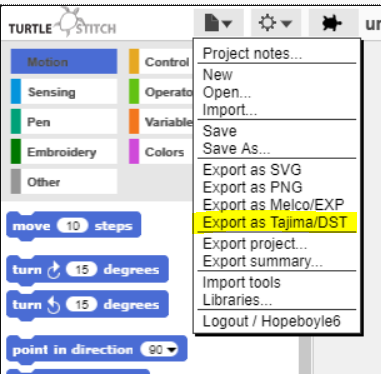
When you are finished designing you pattern and you are ready to stitch your design, go to the file section and export as DST. Then get a USB stick and transfer your project to it.
-
Once the machine is all set up and turned on, you can insert your USB and start stitching your design.
-
Before you do this, you need to get your fabric prepped. To prep your fabric you will need to make sure there are no wrinkles, you will also need to put a stabilizer on the back of the fabric where you are going to stitch your design. This stabilizer helps the fabric to remain flat when in the machine.
-
When all of this is done, you will need to put the fabric into the Embroidery hoop and make sure it is completely flat and tighten the screw of the hoop.
-
After, insert it into the machine. There is a locking system so the hoop doesn't move while machine is stitching.
-
Once this is all done and you have threaded you machine with the color you want and the bobbin thread is inserted. You can now pick your design and click start, the machine will do the work itself.
-
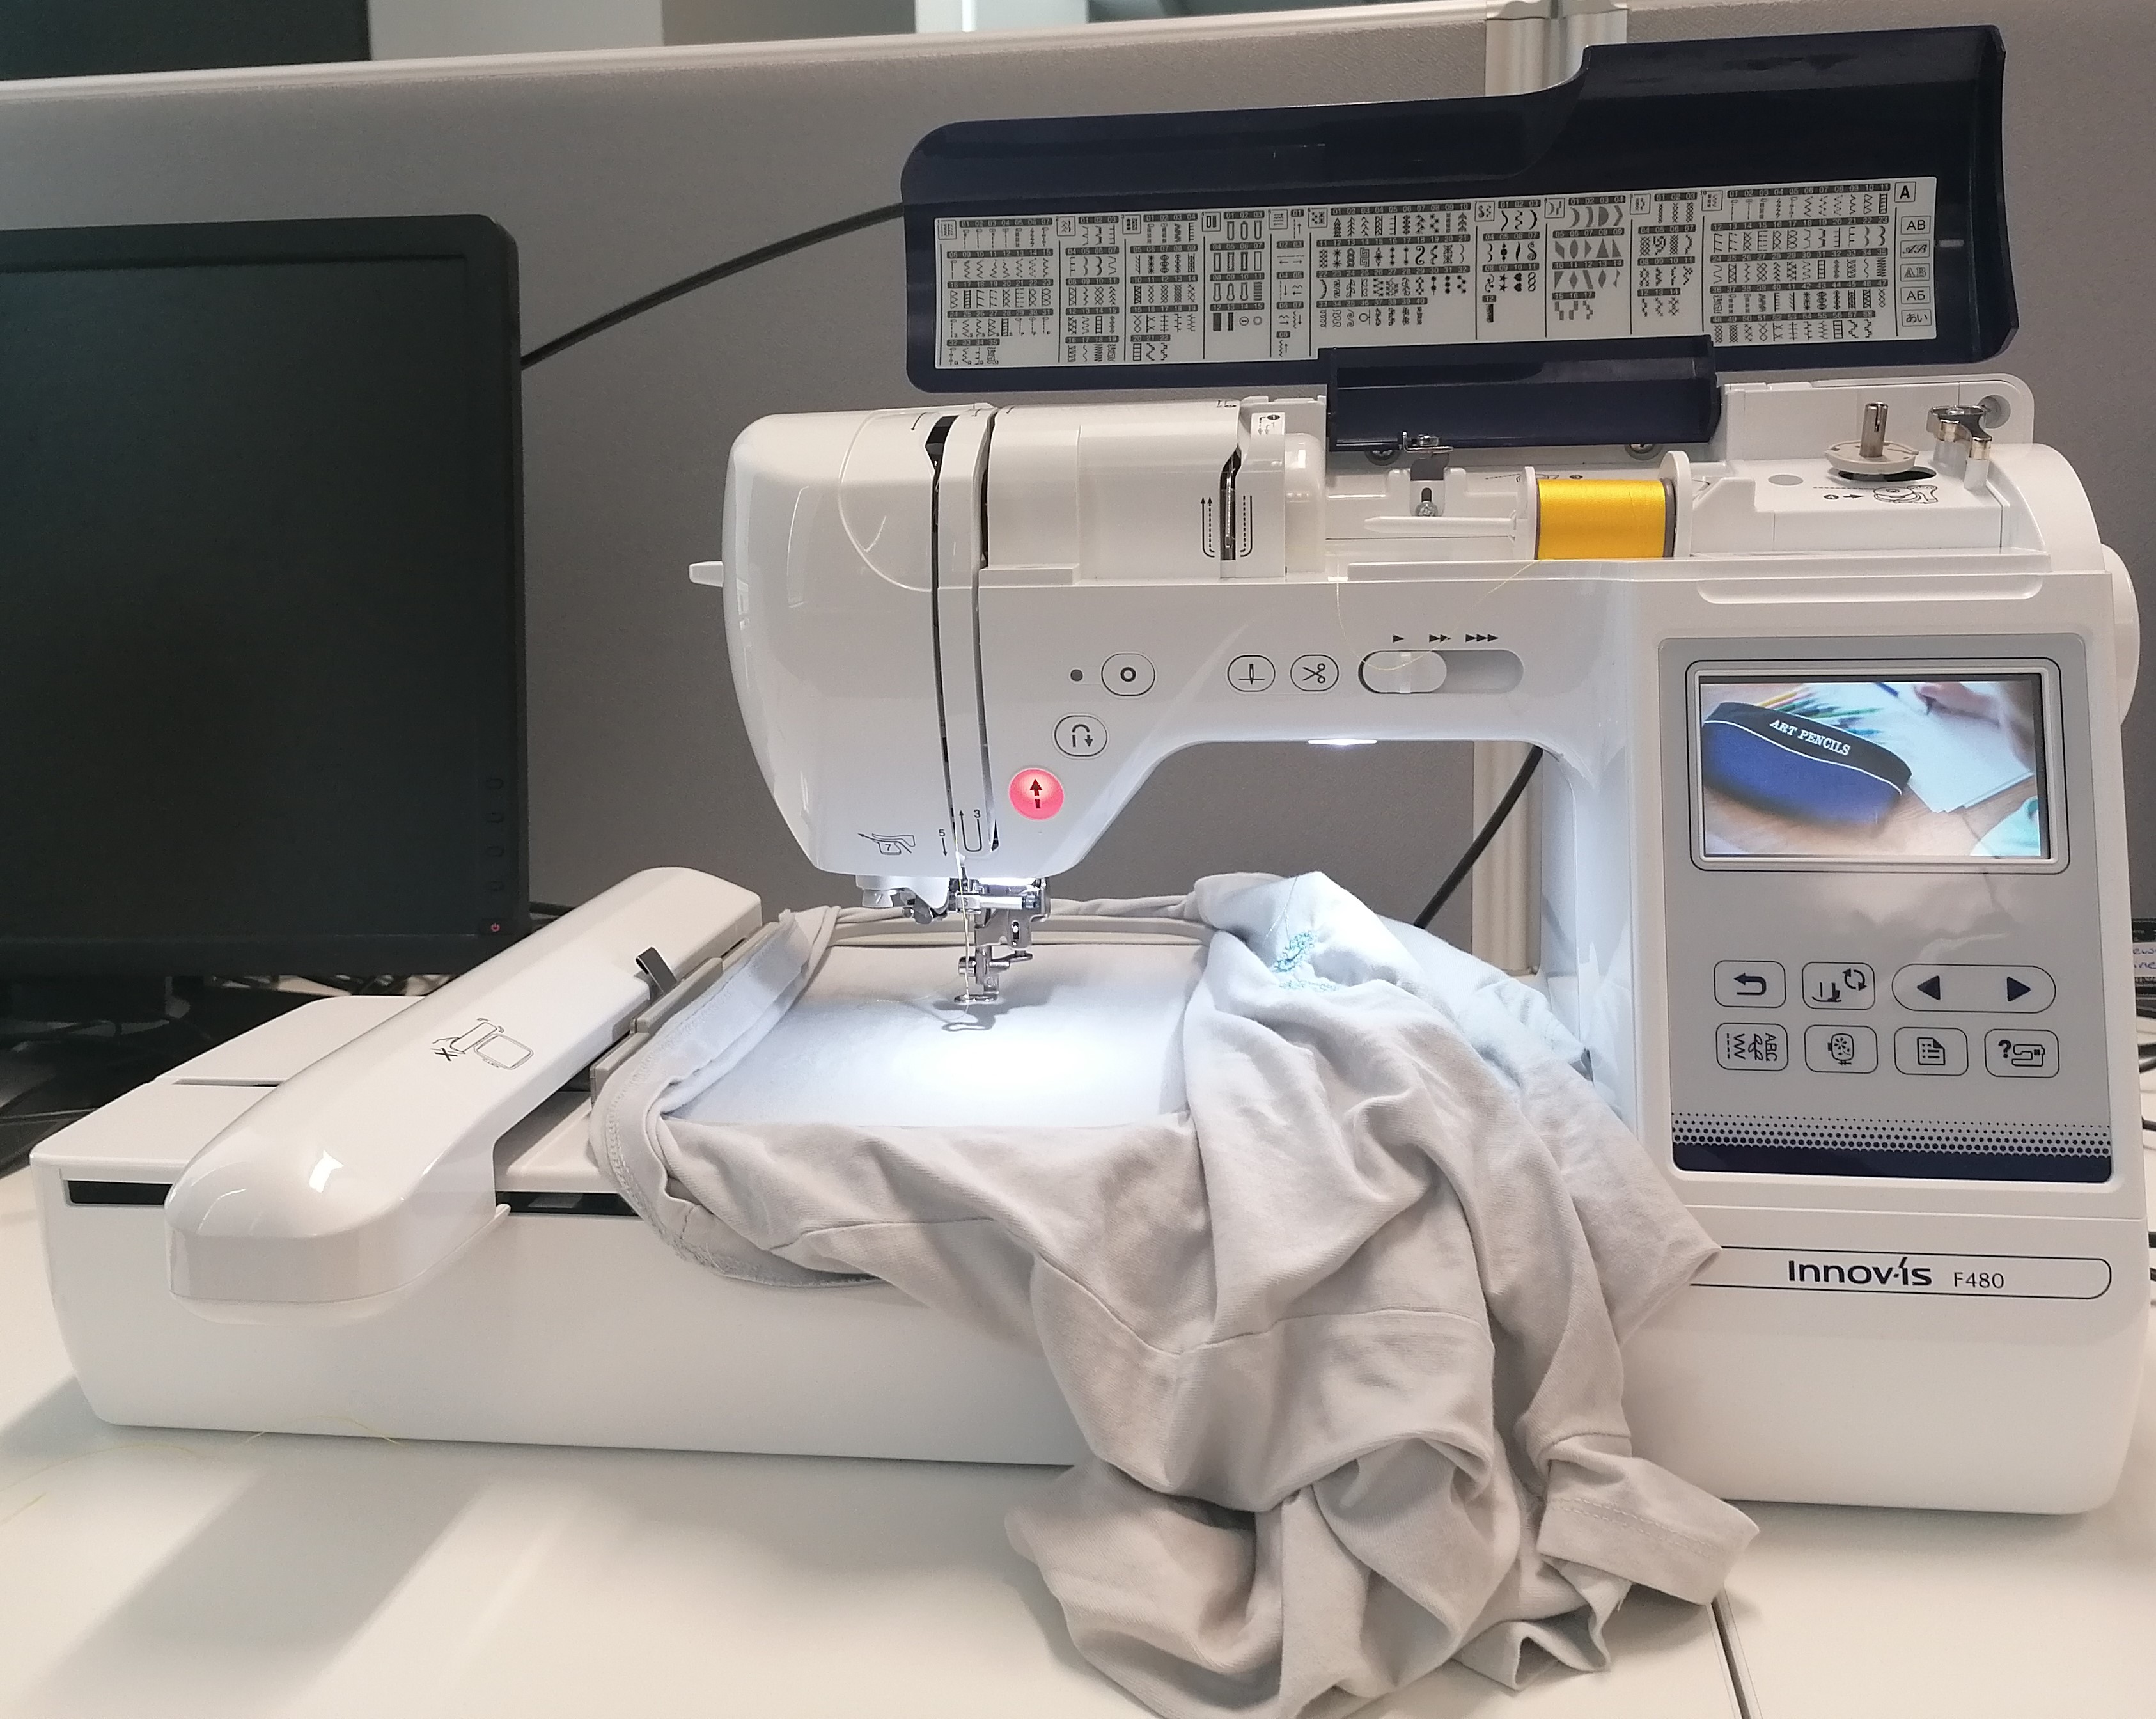
This is what the machine and embroidery hoop should look like before you begin stitching:
-
If you have different colors in your design, stop the machine and press the cut button. This cuts the thread and allows you to remove the old thread and put in the next color you want.
-
Once, the stitching is done, remove hoop from the machine and remove the fabric from the hoop. You will now be able to see your finished product.
This is how some patterns came out on fabric:

Created by: Hope Boyle